These fluffy garlic butter biscuits are a warm, buttery treat! Made with easy-to-use biscuit dough, they’re perfect as a side for dinner or just for snacking.
Whenever I make these, the smell of garlic fills the kitchen, and I can’t resist having one (or three!) straight from the oven. Trust me, they’re a hit with everyone!
Key Ingredients & Substitutions
Chicken Breasts: Diced chicken breasts are great for these wraps, but you can easily use rotisserie chicken for convenience. Just shred it before mixing. Shredded turkey or even tofu can work for a different twist!
Garlic: Fresh minced garlic is essential for flavor. If you don’t have fresh garlic, garlic powder is a decent substitute (about 1/4 teaspoon for each clove). But fresh is best for that zing!
Cream Cheese: This gives creaminess to your mixture. If you’re looking for a lighter version, try Greek yogurt or light cream cheese. For a dairy-free option, look for vegan cream cheese.
Cheddar and Mozzarella Cheese: I love using a sharp cheddar for a bold flavor. If you can’t find mozzarella, any melty cheese like Monterey Jack or Gouda will work well. You could even go for a spicy pepper jack for an extra kick!
Flour Tortillas: Large flour tortillas are perfect for wrapping. If you’re gluten-free, look for gluten-free tortillas made from almond or rice flour. Corn tortillas can also be used but may not hold the filling as well.
How Do I Ensure My Wraps Are Properly Rolled and Stay Closed?
Rolling tortillas can be tricky if you’re not sure how to do it. Here’s a simple way to make sure they stay closed: Lay the filling in the center of the tortilla, leaving some space at the edges. Fold the sides in and then roll from the bottom up, making sure to keep it tight but not overly stretched. This method keeps everything snug inside!
- Use a spatula to spread the filling evenly to avoid excessive bulging on one side.
- Don’t overfill the tortillas; this can make them hard to roll.
- Once wrapped, you can secure them with toothpicks if needed, but laying them seam-side down in the baking dish usually keeps them tight.
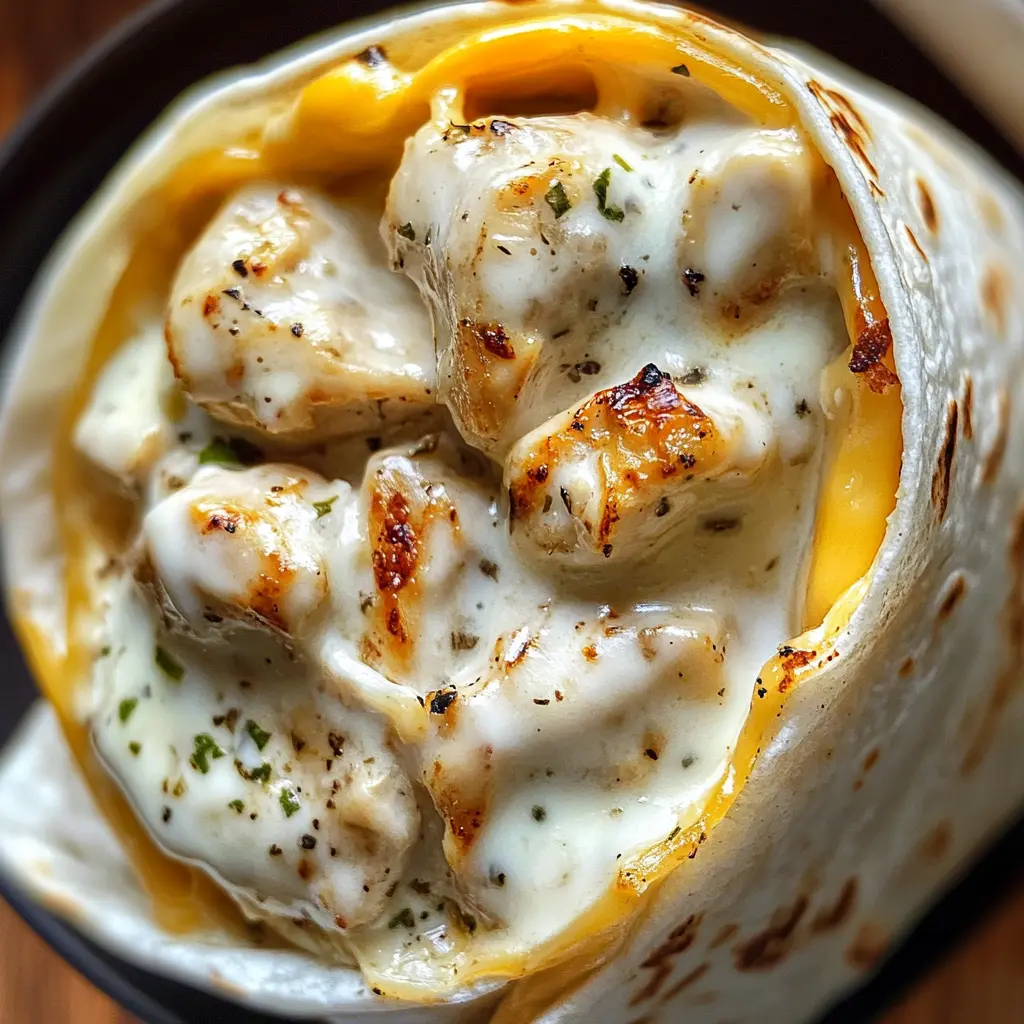
How to Make Great Cheesy Garlic Chicken Wraps
Ingredients You’ll Need:
For the Filling:
- 2 chicken breasts, diced
- 1 tablespoon olive oil
- 4 cloves garlic, minced
- 1 teaspoon Italian seasoning
- 1/2 teaspoon salt
- 1/4 teaspoon black pepper
- 1 cup cream cheese, softened
- 1 cup shredded cheddar cheese
- 1/2 cup shredded mozzarella cheese
For the Wraps:
- 4 large flour tortillas
- 1/4 cup freshly grated Parmesan cheese (for topping)
- Additional cheddar cheese for sprinkling on top
How Much Time Will You Need?
This recipe will take about 10 minutes for preparation and around 25 minutes for baking. Altogether, you’ll be set to enjoy these delicious wraps in about 35-40 minutes. Perfect for a quick and cheesy meal!
Step-by-Step Instructions:
1. Cook the Chicken:
In a skillet, heat the olive oil over medium heat. Once hot, add the diced chicken, minced garlic, Italian seasoning, salt, and black pepper. Cook everything together until the chicken is cooked through and no longer pink—this should take about 5-7 minutes. Once done, remove from heat and let it cool slightly.
2. Make the Cheesy Mixture:
In a mixing bowl, combine the softened cream cheese, shredded cheddar cheese, and shredded mozzarella cheese. Stir in the cooked chicken mixture until everything is well mixed and creamy.
3. Prepare the Tortillas:
Lay out each tortilla on a clean, flat surface. Divide the cheesy chicken mixture evenly among the tortillas, placing it in the center of each one. Be careful not to overfill!
4. Roll the Wraps:
Now it’s time to roll! Start by folding in the sides of the tortilla and then roll it tightly from the bottom up, securing the filling inside. Make sure the filling stays put!
5. Bake the Wraps:
Preheat your oven to 375°F (190°C). Place the wrapped tortillas seam-side down in a baking dish. This helps keep them closed during baking.
6. Add the Cheese Topping:
Sprinkle the grated Parmesan cheese and any additional cheddar cheese you like on top of each wrap. This will create a delicious, cheesy crust!
7. Finish Baking:
Pop the dish into your preheated oven and bake for about 20-25 minutes, or until the wraps are golden brown and the cheese is nice and bubbly. Your kitchen will smell amazing!
8. Serve and Enjoy:
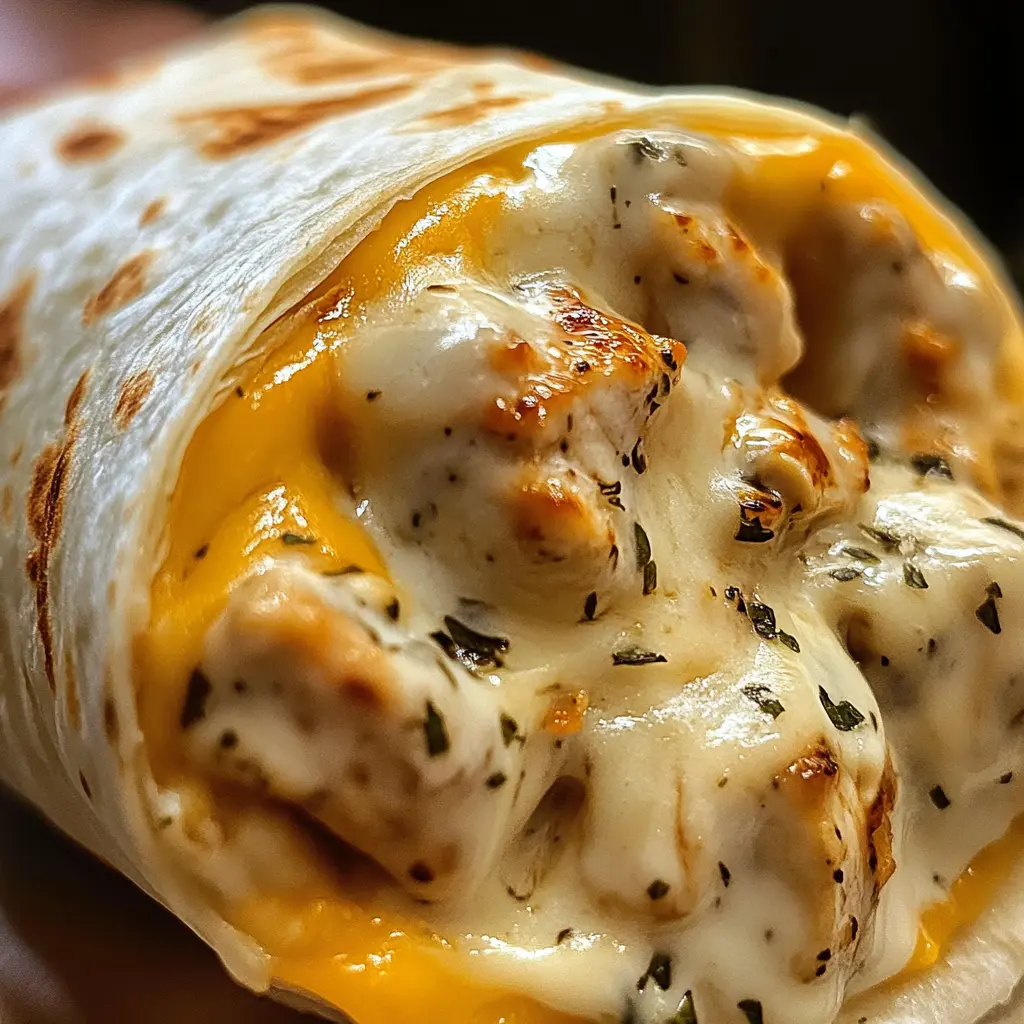
Once done, carefully remove the wraps from the oven and let them cool for a few minutes. Slice them in half, serve warm, and enjoy your cheesy garlic chicken wraps. They’re sure to be a hit!
Can I Use Different Types of Chicken in This Recipe?
Absolutely! You can substitute the chicken breasts with thighs if you prefer darker meat. Just ensure to adjust the cooking time slightly if the pieces are thicker. You can also use rotisserie chicken for a quicker option—simply shred it and mix it in with the cheeses!
Can I Make This Recipe Vegetarian?
Yes, you can easily make these wraps vegetarian! Substitute the chicken with sautéed mushrooms, spinach, or a combination of your favorite vegetables. You might want to add some extra seasoning to enhance the flavor since you’re removing the chicken.
How Should I Store Leftover Wraps?
Store any leftovers in an airtight container in the fridge for up to 3 days. To reheat, simply pop them in a toaster oven, or microwave them until heated through. If reheating in the oven, consider covering with aluminum foil to prevent drying out.
Can I Freeze These Cheesy Garlic Chicken Wraps?
Yes! These wraps freeze well. To freeze, wrap them tightly in plastic wrap or foil once they’ve cooled completely. When you’re ready to enjoy them, just thaw in the fridge overnight and reheat in the oven or microwave!
