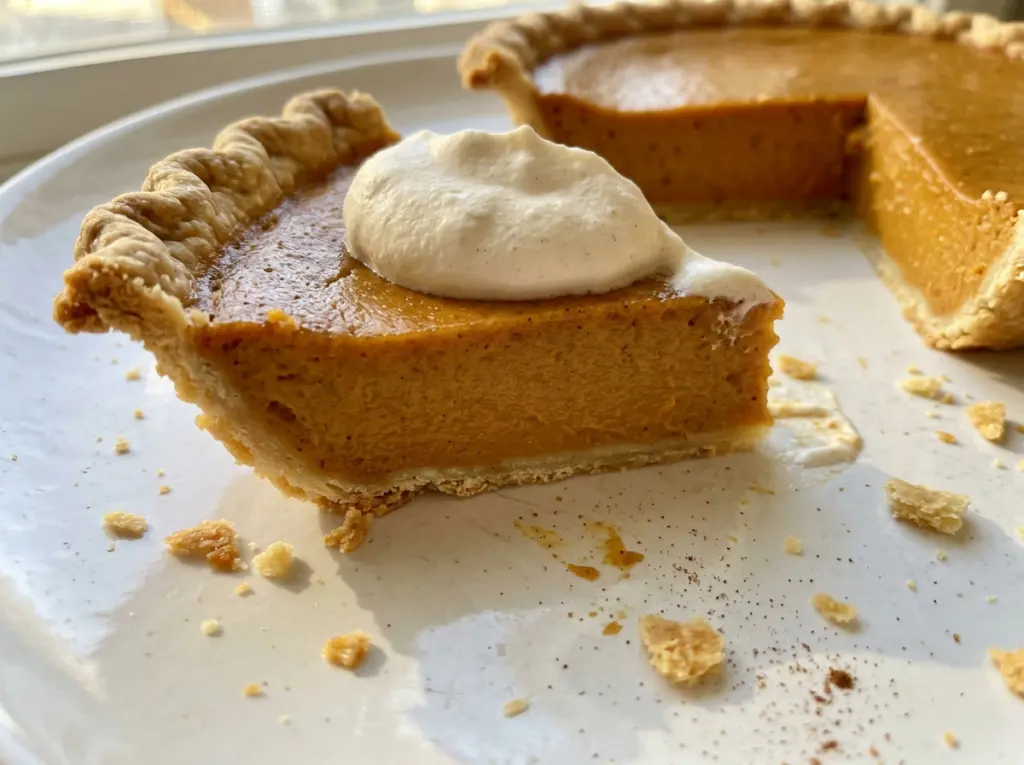
The filling in this pie is thin enough to pour, which can make the unbaked shell feel a little vulnerable at first. I set the shell on a baking sheet before mixing anything; it’s much easier to move, and the pan catches any drips on the way into the oven. That small bit of planning makes Libbys New Fashioned Pumpkin Pie a calmer bake, with a smooth, warmly spiced custard in a tender crust.
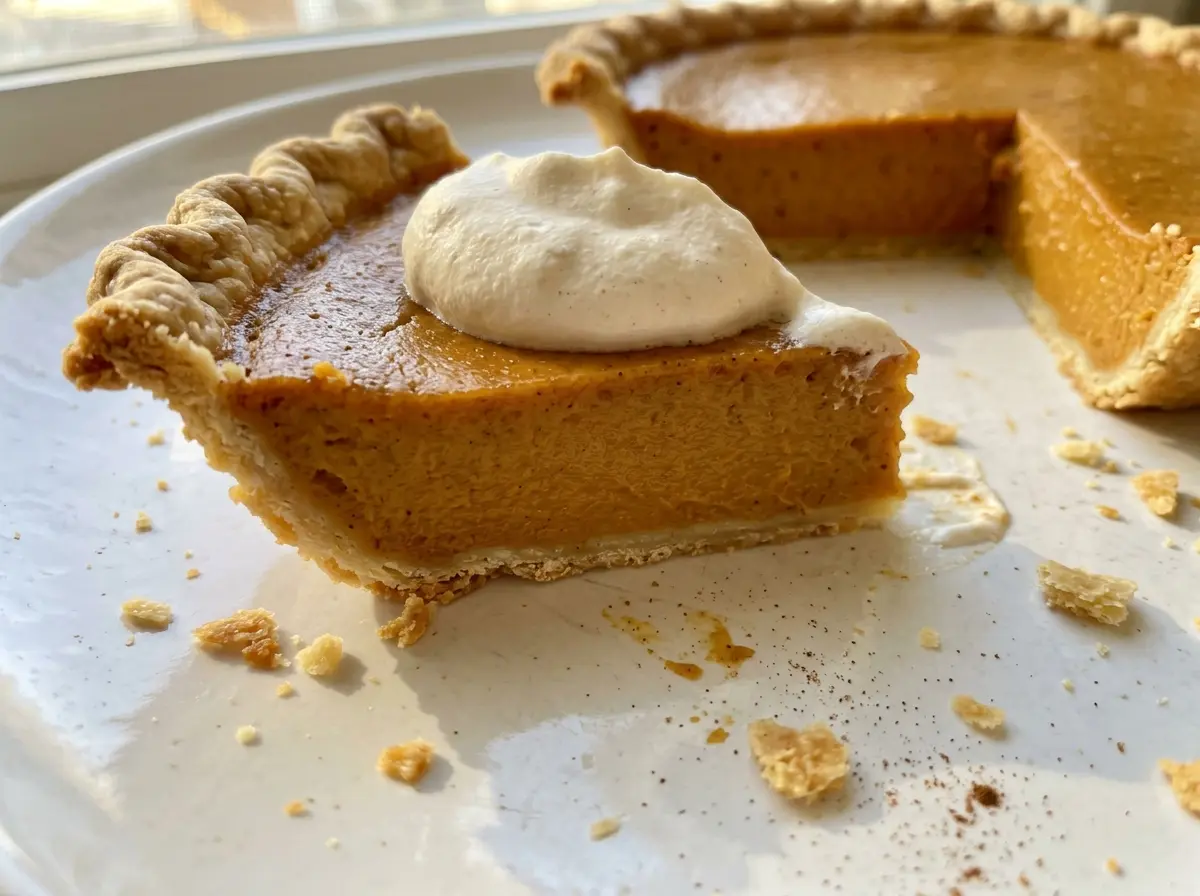
The two-temperature bake is what gives the filling time to set without asking the edges to take the full bake at high heat. I watch the center closely near the end: a clean knife and a reading of 160°F tell me it’s ready, even if the pie still looks soft while hot. After its rack rest, the custard slices neatly and tastes gently sweet, with cinnamon, ginger, and cloves in balance.
Kitchen Note
Put the empty pie shell on the baking sheet before you start mixing. Once the shell is full, moving it without sloshing the custard is awkward; the sheet gives you a steady base from counter to oven.
Save Libbys New Fashioned Pumpkin Pie for its silky custard, classic warm spices, and dependable two-temperature bake.
Why the Unbaked Shell Goes Straight Into the Oven
This pie is built as a single bake: the custard goes into an unbaked deep-dish shell, and both cook together. Blind-baking first would add another round of oven time to the crust, while the filling still needs its full bake to set. Starting with the shell unbaked keeps the timing and texture in step, so there’s no need to handle a hot, partially baked crust while pouring in a loose filling.
The deep-dish part matters as much as the unbaked part. Pumpkin custard is more fluid than a thick fruit filling when it first goes into the shell, and the full batch needs the extra depth of a 9-inch deep-dish crust. A standard shallow shell doesn’t give this quantity the same room, so it can spill or leave you with filling left over. Keep the shell level on its baking sheet as you pour, and move the whole sheet into the oven rather than lifting the filled pie by its rim.
The bake begins hot, then continues at a lower temperature. That staged heat suits a custard pie: it gets the bake underway, then gives the center time to cook through without holding the whole pie at the higher setting. There’s no need to judge doneness by how firm the center looks straight from the oven; the required checks are more reliable than a set-looking surface.
What Gives This Pumpkin Custard Its Classic Texture

- 100% pure pumpkin — Pure pumpkin gives the filling its earthy flavor and body without bringing extra sugar or spice. Check the can carefully: pumpkin pie filling is already sweetened and seasoned, so it won’t behave like plain pumpkin in this mixture.
- Evaporated milk — This unsweetened canned milk adds richness while keeping the filling pourable. Don’t confuse it with sweetened condensed milk; condensed milk contains added sugar and would throw off the balance as well as make the custard denser.
- Eggs — Beaten eggs bind the pumpkin and milk into a custard that firms as it bakes. Use large eggs, as the recipe is balanced around that size; cold eggs straight from the refrigerator are fine here.
- The spice blend — Cinnamon brings the familiar warm aroma, while ginger and cloves add sharper, deeper notes. Fresh spices smell stronger when you open the jar, but older ground spices still work; if they’ve lost most of their aroma, the pie will taste flatter.
- Granulated sugar and salt — Sugar sweetens the pumpkin and contributes to the custard’s texture, while salt keeps the sweetness from tasting one-note. Whisk both with the spices before they meet the wet ingredients, so the seasoning spreads through the filling instead of collecting in a pocket.
- Unbaked deep-dish pie shell — The shell needs to hold the entire filling and bake alongside it. A ready-made shell is a practical choice; if you choose a different one, keep it unbaked and use the same 9-inch deep-dish size.
How to Bake the Custard Without Guessing at Doneness
Blend the dry spices first
Heat the oven to 425°F and set the unbaked shell on a baking sheet. In a medium bowl, whisk the sugar with the cinnamon, salt, ginger, and cloves until the color looks even and no spice clumps remain. Doing this before the spices meet the wet ingredients makes them easier to distribute. Keep the baking sheet nearby so the filled shell can go straight into the oven.
Build a smooth, pourable filling
Beat the eggs in a large bowl, then stir in the pumpkin and the sugar-spice mixture until combined. Gradually stir in the evaporated milk, letting each addition blend in before adding more. The finished filling should look uniformly orange and flow smoothly from a spoon; streaks of egg or dry spice mean it needs another gentle stir. Avoid beating it hard once the milk is in, since the goal is an even custard, not a foamy one.
Start hot, then lower the heat
Pour the filling into the shell while it’s still on the baking sheet. Bake for 15 minutes at 425°F, then reduce the oven to 350°F and bake for 40 to 50 minutes. Don’t shorten the second bake just because the outer ring looks firm; the center is the last area to finish. Near the end, insert a knife near the center and check that the center reaches 160°F.
Let the center settle as it cools
Transfer the pie to a wire rack and cool it for 2 hours before serving. The hot custard will continue to firm during that rest, so cutting early makes a softer, messier slice. Give the pie time to cool evenly rather than putting it straight into the refrigerator while hot. Once cooled, the center should hold its shape when sliced while staying tender, not rubbery.
Two Ingredient Swaps That Keep the Pie in Reach
For a gluten-free crust
Use an unbaked gluten-free deep-dish shell that fits a 9-inch pie plate, keeping the filling unchanged. The custard stays the same, but gluten-free crusts vary in how quickly their edges brown, so check the crust as the pie bakes and follow any package guidance for that shell if it differs.
For a dairy-free filling
Replace the evaporated milk with 12 fluid ounces of unsweetened canned full-fat coconut milk, stirred until smooth before you add it. The pie will have a light coconut note and a less milky finish, though the pumpkin and spices still lead. Use unsweetened coconut milk rather than sweetened cream of coconut, which would make the filling too sweet.
Storage and Reheating
- Refrigerator: Cover the fully cooled pie and refrigerate it for up to 3 to 4 days. The custard becomes firmer when cold.
- Freezer: Freeze the cooled pie tightly wrapped for up to 1 month. Thaw it overnight in the refrigerator; the crust may soften slightly after thawing.
- Reheating: This custard pie is best served chilled or cool, so reheating isn’t necessary. Avoid microwaving the whole pie, which can heat the filling unevenly and make the eggs rubbery.
Questions That Come Up While Making Pumpkin Pie
Libbys New Fashioned Pumpkin Pie
Ingredients
Equipment
Method
- Heat the oven to 425°F.
- Set the unbaked pie shell on a baking sheet.
- In a medium bowl, whisk together the sugar, cinnamon, salt, ginger, and cloves.
- In a large bowl, beat the eggs.
- Stir the pumpkin and sugar mixture into the eggs until combined.
- Gradually stir in the evaporated milk until the filling is smooth.
- Pour the filling into the pie shell.
- Bake for 15 minutes at 425°F.
- Reduce the oven to 350°F and bake for 40 to 50 minutes, until a knife inserted near the center comes out clean and the center reaches 160°F.
- Cool the pie on a wire rack for 2 hours before serving.


