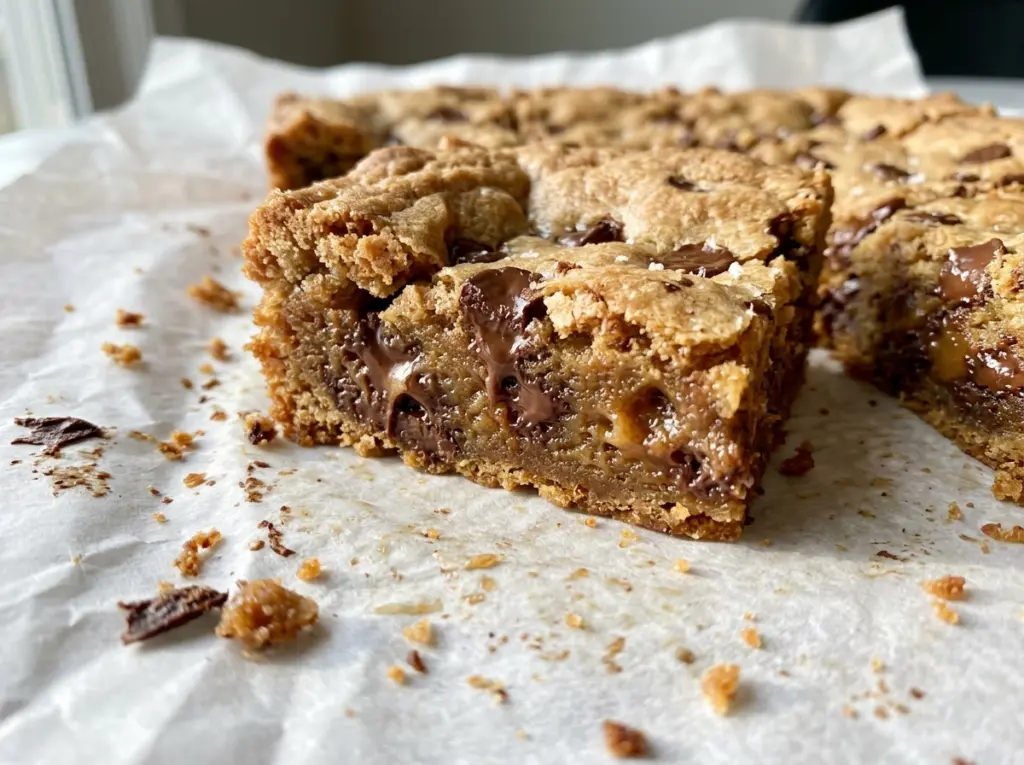
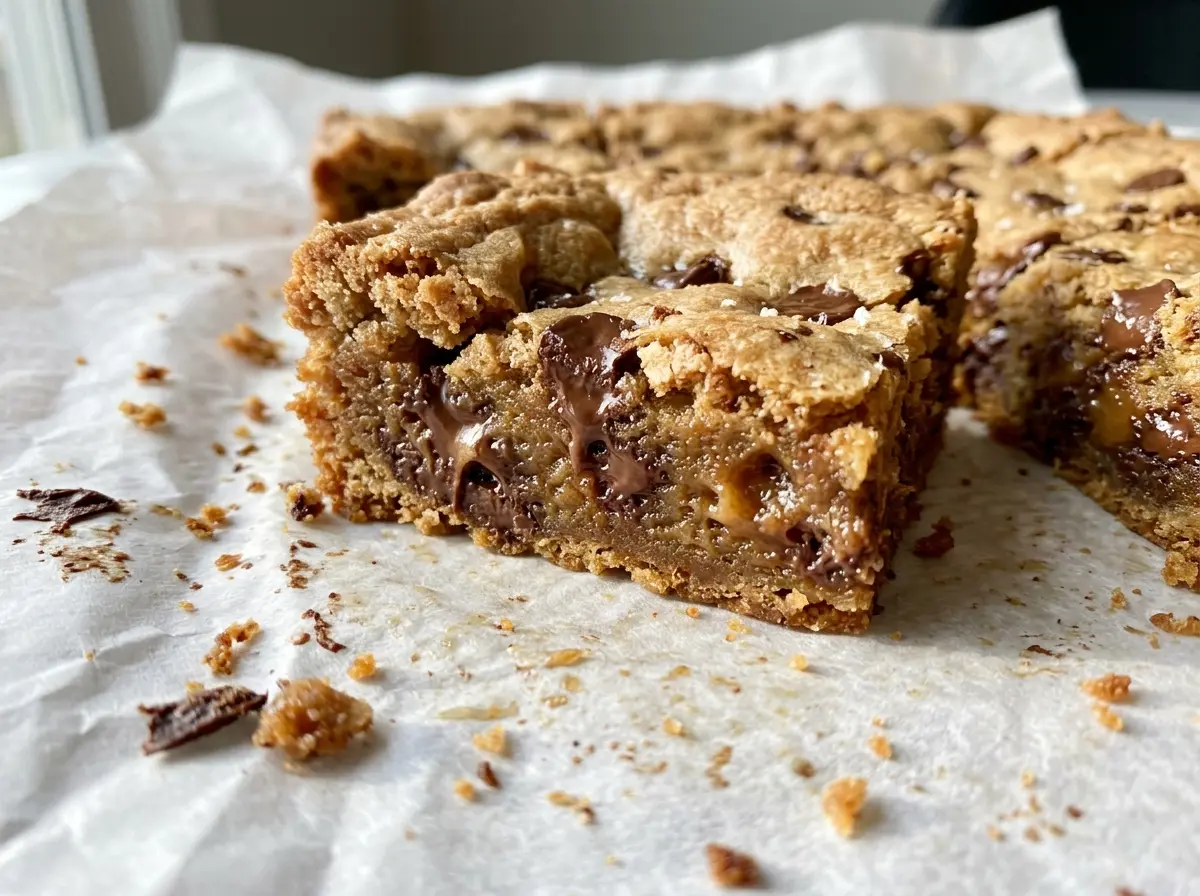
The butter gets quiet for a moment, then tiny brown flecks appear at the bottom of the pan and a warm, nutty smell fills the kitchen. That’s when I know the best part of these Brown Butter Chocolate Chip Cookie Bars is underway. The browned butter gives the bars a deeper flavor than a standard batch, and baking the dough in one pan means no rotating trays or scooping cookies one by one.
I whisk the sugars into the warm butter, then add the eggs, milk, and vanilla before folding in the flour and chocolate chips. That order keeps the dough straightforward to mix, while the milk adds moisture after some of the butter’s water has cooked away during browning. Once baked, the edges turn golden and the center looks just set; after a full cool, each square cuts cleanly and has that soft, chewy middle beneath its chocolate-studded top.
Kitchen Note
Give the browned butter its full 20 to 30 minutes to cool until warm before adding the eggs. If it’s still hot, the eggs can begin to set instead of whisking smoothly into the sugars.
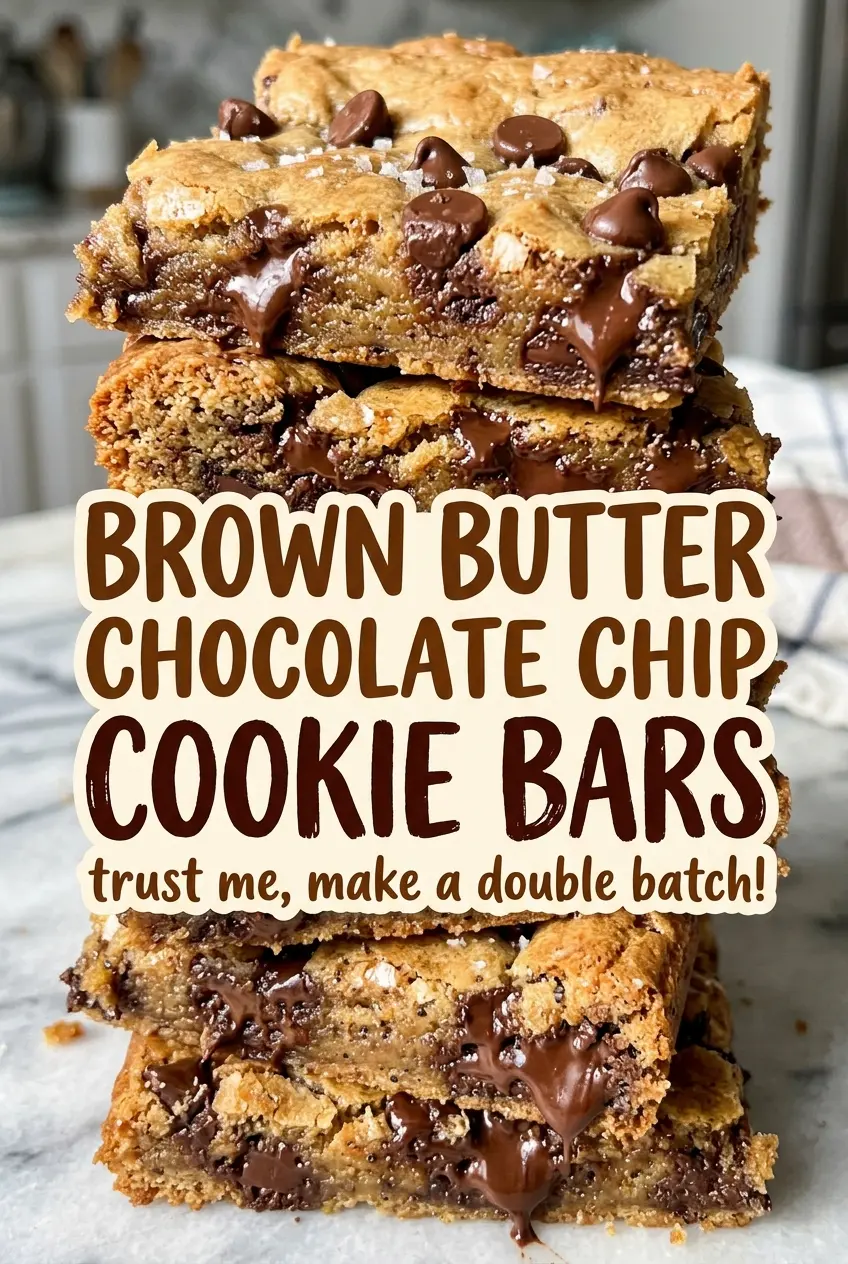
Save these brown butter chocolate chip cookie bars for their nutty browned-butter flavor, chewy centers, and easy-to-share squares.
Why These Bars Use Milk After the Butter Browns
Brown butter brings a toasted, nutty taste, but browning also drives off some of butter’s water. A dough made with browned butter alone can end up drier than one made with butter that hasn’t been cooked. The milk in this batter puts moisture back into the mix, helping the flour come together into a spreadable dough instead of a stiff, crumbly one.
That small addition lets the butter do its flavor work without asking it to do everything. Whisk the milk in with the eggs and vanilla, after the sugars have been incorporated. The mixture should look combined before the dry ingredients go in; once the flour is added, switch to folding and stop as soon as the last dry streak disappears. The result is a dough that spreads across the pan and bakes into bars with a tender middle rather than a dry, sandy bite.
The Ingredients That Give These Bars Their Chewy Structure
- Unsalted butter — Butter is what browns and leaves the toasted milk solids that give these bars their signature flavor. Use real dairy butter; margarine won’t brown in the same way. Scrape the browned flecks into the mixing bowl rather than leaving them behind in the saucepan.
- All-purpose flour and baking soda — Flour gives the bars their shape, and baking soda helps them bake up tender rather than dense. Spoon flour into the measuring cup and level it instead of packing it down; too much flour is one of the quickest ways to lose the chewy texture. Fresh baking soda matters more than choosing a specialty brand.
- Light brown and granulated sugars — The brown sugar brings moisture and a mellow caramel note, while granulated sugar balances it with a cleaner sweetness. Pack the brown sugar into its measuring cup so the amount is consistent. Dark brown sugar can replace light brown for a stronger molasses flavor and a slightly deeper-tasting bar.
- Large eggs — Eggs bind the dough and help it set as it bakes. Stick with large eggs for the intended balance; there isn’t a simple swap that keeps the same structure in this particular bar dough.
- Semisweet chocolate chips — Semisweet keeps the bars from becoming overly sweet against the two sugars. A standard grocery-store bag works well here, so there’s no need to seek out a premium brand. If you’re out of chips, chopped semisweet chocolate can stand in by weight and will make more irregular chocolate pockets.
- Vanilla extract — Vanilla rounds out the browned-butter flavor. Pure vanilla has a fuller aroma, but imitation vanilla works in the same amount if that’s what’s in your cupboard.
From Browned Butter to Bars That Slice Neatly
Line the Pan and Brown the Butter
Heat the oven to 350°F and line a 9×13-inch metal baking pan with parchment, leaving enough overhang to lift the bars out later. Melt the butter in a medium saucepan over medium heat, stirring frequently for 5 to 8 minutes. Watch for browned bits forming and a nutty smell; once you see and smell both, pour the butter into a large heatproof bowl right away. Scrape in the browned bits, then let the butter cool until warm, about 20 to 30 minutes.
Whisk the Dry and Wet Mixtures
While the butter cools, whisk the flour, baking soda, and salt together in a medium bowl. Whisk both sugars into the warm butter until smooth, then whisk in the eggs, milk, and vanilla until combined. The wet mixture should look cohesive, not streaked with separate pools of butter. If the butter is still hot, give it more time to cool before adding the eggs.
Fold the Dough Just Until Combined
Add the flour mixture to the butter mixture and fold until no dry streaks remain. A few careful turns are better than vigorous mixing once the flour goes in; overworking the dough can make the finished bars tougher. Fold in the chocolate chips and stop when they’re spread throughout. The dough will be thick, but it should still be easy to press evenly into the lined pan.
Bake Until the Center Is Just Set
Spread the dough evenly in the prepared pan and bake for 25 to 30 minutes. Look for golden, set edges and a center that appears just set, rather than waiting for the middle to look deeply browned. Let the pan cool completely on a wire rack, about 1 hour; cutting while the bars are warm makes them more likely to break apart. Lift them out by the parchment overhang, then cut into bars.
Three Simple Swaps for a Different Batch
Use a Cup-for-Cup Gluten-Free Flour Blend
Replace the all-purpose flour with a 1:1 gluten-free baking blend that includes xanthan gum. The bars will still hold together, though the crumb may be a little more delicate than the original.
Choose Dark Brown Sugar for More Molasses Flavor
Swap the light brown sugar for the same amount of dark brown sugar. The bars take on a deeper, more molasses-forward taste, with a slightly softer chew.
Go Bittersweet for a Less-Sweet Bar
Use bittersweet chocolate chips in place of the semisweet chips, keeping the amount the same. Their sharper cocoa flavor gives each bite more contrast with the brown sugar.
Storage and Reheating
- Refrigerator: Store the bars in an airtight container for up to 1 week. They’ll firm up when cold, so let a bar come to room temperature before eating.
- Freezer: Freeze the cut bars in a single layer until firm, then transfer them to an airtight container or freezer bag for up to 2 months. Thaw at room temperature.
- Reheating: Microwave one bar for about 10 seconds if you’d like the chocolate softened. Longer heating can make the chocolate too hot before the center is warm.
Questions That Come Up When Baking These Cookie Bars
Brown Butter Chocolate Chip Cookie Bars
Ingredients
Equipment
Method
- Heat the oven to 350°F and line a 9x13-inch metal baking pan with parchment paper, leaving enough overhang to lift out the bars.
- Melt the butter in a medium saucepan over medium heat, stirring frequently, for 5 to 8 minutes, until browned bits form and it smells nutty. Immediately pour it into a large heatproof bowl, scraping in the browned bits, and cool until warm, about 20 to 30 minutes.
- Whisk the flour, baking soda, and salt together in a medium bowl.
- Whisk the brown sugar and granulated sugar into the cooled butter until smooth, then whisk in the eggs, milk, and vanilla until combined.
- Fold the flour mixture into the butter mixture just until no dry streaks remain, then fold in the chocolate chips.
- Spread the dough evenly in the prepared pan and bake for 25 to 30 minutes, until the edges are golden and set and the center looks just set.
- Cool completely in the pan on a wire rack, about 1 hour, then lift out by the parchment and cut into bars.


