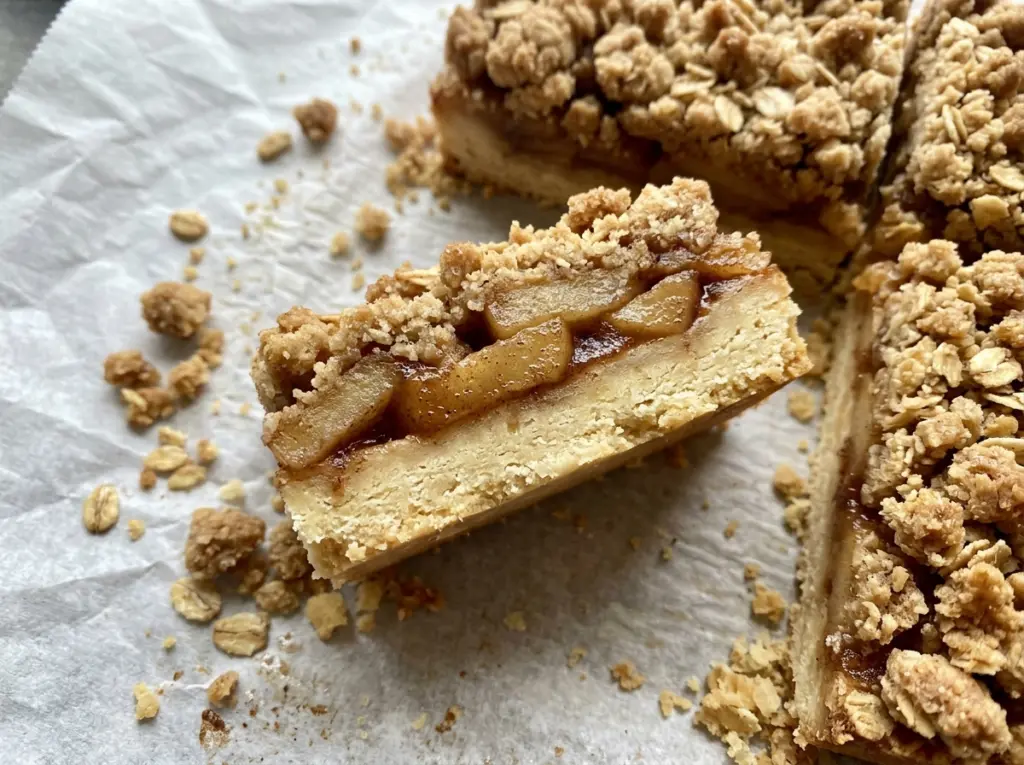
The crust goes into the oven before the apples, and that extra bake is what keeps these bars from turning into a soft pile of crumbs. I learned to watch the edges rather than wait for the whole shortbread layer to look deeply browned: lightly golden is enough. Then the apples and oat topping go on, and the pan bakes again until the fruit is tender and bubbling.
These Apple Crisp Shortbread Bars bring together a firm, buttery base and the cinnamon-scented apple filling I want in a crisp, with a clumpy oat topping that browns in the oven. The apples are sliced thinly and coated with cornstarch before they touch the crust, so the filling sets instead of running everywhere when you cut it. Let the pan cool completely, and each square holds together with a tender apple center and a crisp, sandy edge.
Kitchen Note
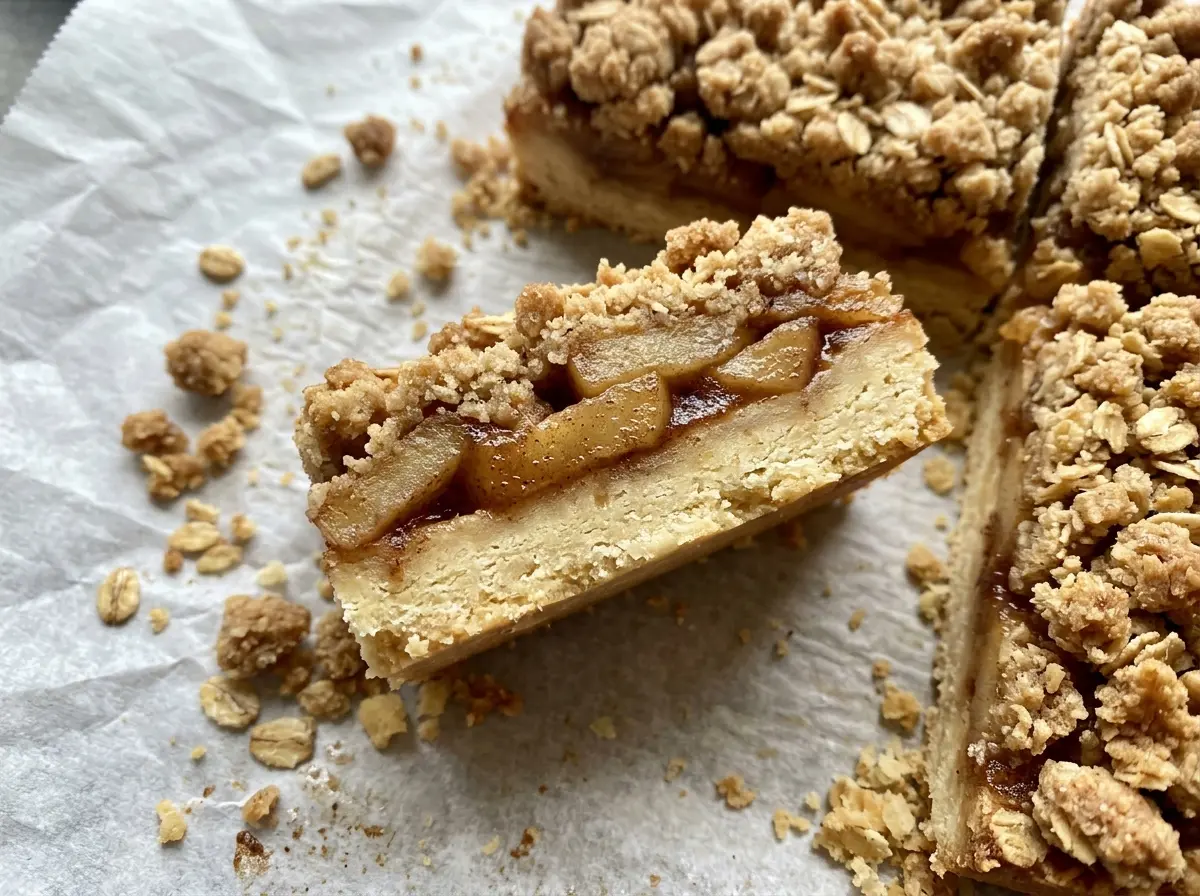
Stop stirring the topping as soon as the melted butter has formed clumps. Those uneven pieces bake into a crisp, craggy layer; a smooth, packed mixture won’t give you the same texture.
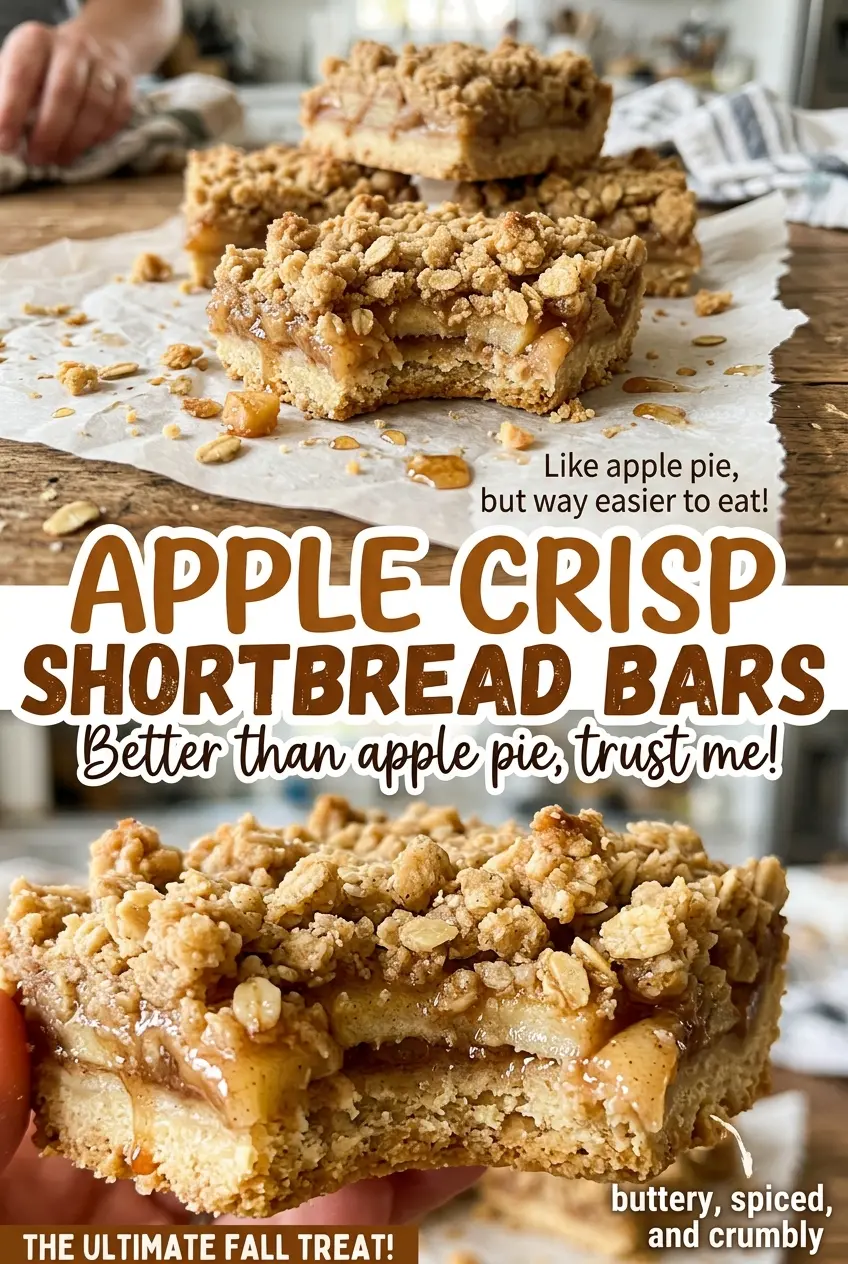
Save these Apple Crisp Shortbread Bars for apple season: a buttery shortbread base, tender cinnamon apples, and a crisp oat topping.
Why the Apples Get Coated Before They Hit the Crust
Apples release juice as they bake. If that juice gathers at the bottom of the pan, it can soften the shortbread and leave the center of a bar too loose to slice neatly. Tossing the fruit with lemon juice first, then coating it with a separate mix of sugar, cornstarch, and cinnamon, spreads the thickener over the slices instead of leaving it in a few clumps.
The cut matters, too. Slices about a quarter inch thick cook through at a similar pace, so you’re less likely to find firm pieces beside mushy ones. Use firm apples rather than fruit that’s already soft or mealy; the filling should have tender pieces you can still recognize after baking. Once the cornstarch mixture clings evenly, spread the apples across the crust instead of piling them in the middle. An even layer gives the topping a level surface and helps the edges and center bake together.
What Makes the Crust, Apples, and Topping Work Together
- Firm apples — Choose fruit that feels solid and holds its shape, such as Granny Smith, Honeycrisp, or Pink Lady. A mix gives you a balance of tart and sweet; the best choice is fruit that isn’t mealy. Peel, core, and slice it evenly so the filling cooks at a steady pace.
- Unsalted butter — Butter gives the shortbread its tender, rich bite and helps the oat topping form crisp clumps. Standard grocery-store butter works well here; use it softened for the crust and melted for the topping, as each needs a different texture. For a dairy-free version, see the adaptation below.
- All-purpose flour — Flour gives the crust its structure and helps bind the topping. Spoon it into the measuring cup and level it rather than packing it down; too much flour can make both layers dry and crumbly. A measure-for-measure gluten-free flour blend is the most practical swap.
- Old-fashioned rolled oats — Their larger flakes give the topping a distinct chew and crisp edge. Quick oats will work in a pinch, but they make a finer, more compact topping. No specialty brand is needed.
- Cornstarch and lemon juice — Cornstarch thickens the apple juices, while lemon juice adds a little brightness and coats the fruit before the dry mixture goes on. Fresh or bottled lemon juice works; stir the cornstarch into the sugar and cinnamon before tossing so it distributes evenly.
Building Each Layer for Bars That Hold Their Shape
Press and Partially Bake the Shortbread
Heat the oven to 350°F and line a 9×13-inch pan with parchment, leaving overhang on two sides, then coat the parchment with cooking spray. Beat the softened butter and sugar until creamy, then mix in the flour and salt until moist crumbs form. Press the crumbs into an even, firm layer; loose patches can break when you lift the bars. Bake for 18–22 minutes, until the edges are lightly golden, then cool the crust in the pan for 10 minutes.
Coat the Apple Slices Evenly
Toss the peeled, cored, quarter-inch apple slices with lemon juice. In a separate bowl, stir together the remaining granulated sugar, cornstarch, and cinnamon, then toss that mixture with the apples until each slice has a light coating. Scrape any dry mixture from the bowl onto the fruit rather than leaving it behind. The apples should look evenly coated, not dusted in isolated patches.
Make Clumps for the Oat Topping
Stir the rolled oats, brown sugar, and remaining flour together in a medium bowl. Add the melted butter and stir just until clumps form; stop before the mixture turns into a uniform paste. The clumps should vary in size, which gives the finished topping its crisp, uneven surface. If the butter sits in a puddle at the bottom, keep stirring until it’s incorporated.
Layer, Bake, and Cool Before Cutting
Spread the apples evenly over the shortbread, then scatter the oat mixture across the top. Bake at 350°F for 45–55 minutes, looking for golden topping, bubbling filling at the edges, and apples that yield when pierced with a knife. If the topping is golden but the apples still feel firm, give the pan more time so the fruit can finish cooking. Cool completely in the pan for at least 2 hours, then use the parchment overhang to lift out the slab and cut it into bars.
Three Smart Ways to Adapt These Apple Bars
Make Them Gluten-Free
Replace the all-purpose flour with a measure-for-measure gluten-free baking blend, using the same amount, and choose certified gluten-free rolled oats. The bars may be a little more delicate, so let them cool fully before lifting and slicing.
Use a Dairy-Free Butter Alternative
Swap in unsalted plant-based butter sticks in the same amounts, keeping one portion softened for the crust and melting the portion for the topping. Choose sticks rather than a soft tub spread, which has a different water content and can make the crust greasy or soft. Expect a slightly different buttery flavor, but the layers will still bake into bars.
Trade the Apples for Firm Pears
Use firm pears in place of the apples, peeling, coring, and slicing them the same way. Keep the lemon juice and cornstarch coating, since pears also release juice as they bake. The filling will taste milder and have a softer texture than the apple version.
Storage and Reheating
- Refrigerator: Store the cooled bars in an airtight container for up to 4 days. The topping softens somewhat as it sits in the fridge.
- Freezer: Freeze cut bars in a single layer until firm, then transfer them to an airtight freezer container with parchment between layers. They keep well for up to 3 months; thaw in the refrigerator.
- Reheating: Warm bars in a 300°F oven for about 8–10 minutes to crisp the topping again. Avoid microwaving if you want to preserve the crisp texture.
Questions That Come Up When Baking Apple Crisp Bars
Apple Crisp Shortbread Bars
Ingredients
Equipment
Method
- Heat the oven to 350°F.
- Line a 9x13-inch baking pan with parchment paper, leaving overhang on two sides, and coat the parchment with the cooking spray.
- Beat 1 cup softened butter with 1/2 cup granulated sugar until creamy.
- Mix in 2 cups flour and the kosher salt until moist crumbs form.
- Press the mixture firmly and evenly into the prepared pan.
- Bake for 18–22 minutes, until the edges are lightly golden.
- Cool the crust in the pan for 10 minutes.
- Toss the apples with the lemon juice.
- Stir together the remaining 1/4 cup granulated sugar, cornstarch, and cinnamon.
- Toss the sugar mixture with the apples until evenly coated.
- Combine the oats, brown sugar, and remaining 3/4 cup flour.
- Stir in the melted butter until clumps form.
- Spread the apple mixture evenly over the crust.
- Scatter the topping over the apples.
- Bake at 350°F for 45–55 minutes, until the topping is golden, the filling bubbles at the edges, and the apples are tender when pierced with a knife.
- Cool completely in the pan for at least 2 hours.
- Lift the bars out using the parchment and cut into bars.


