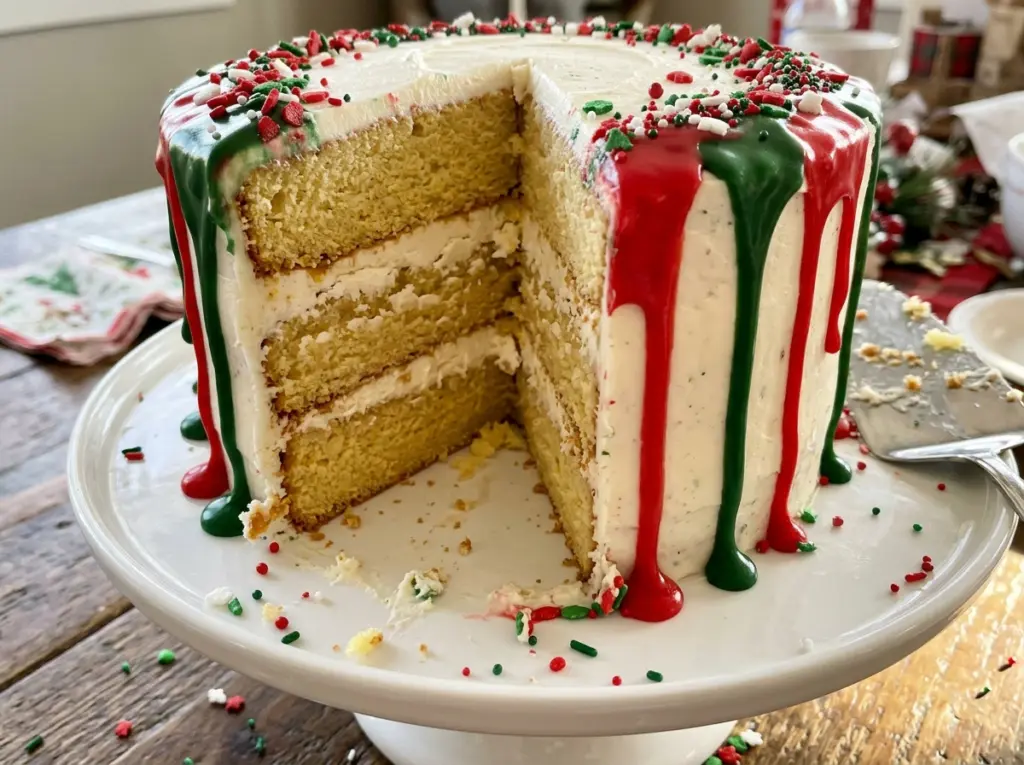
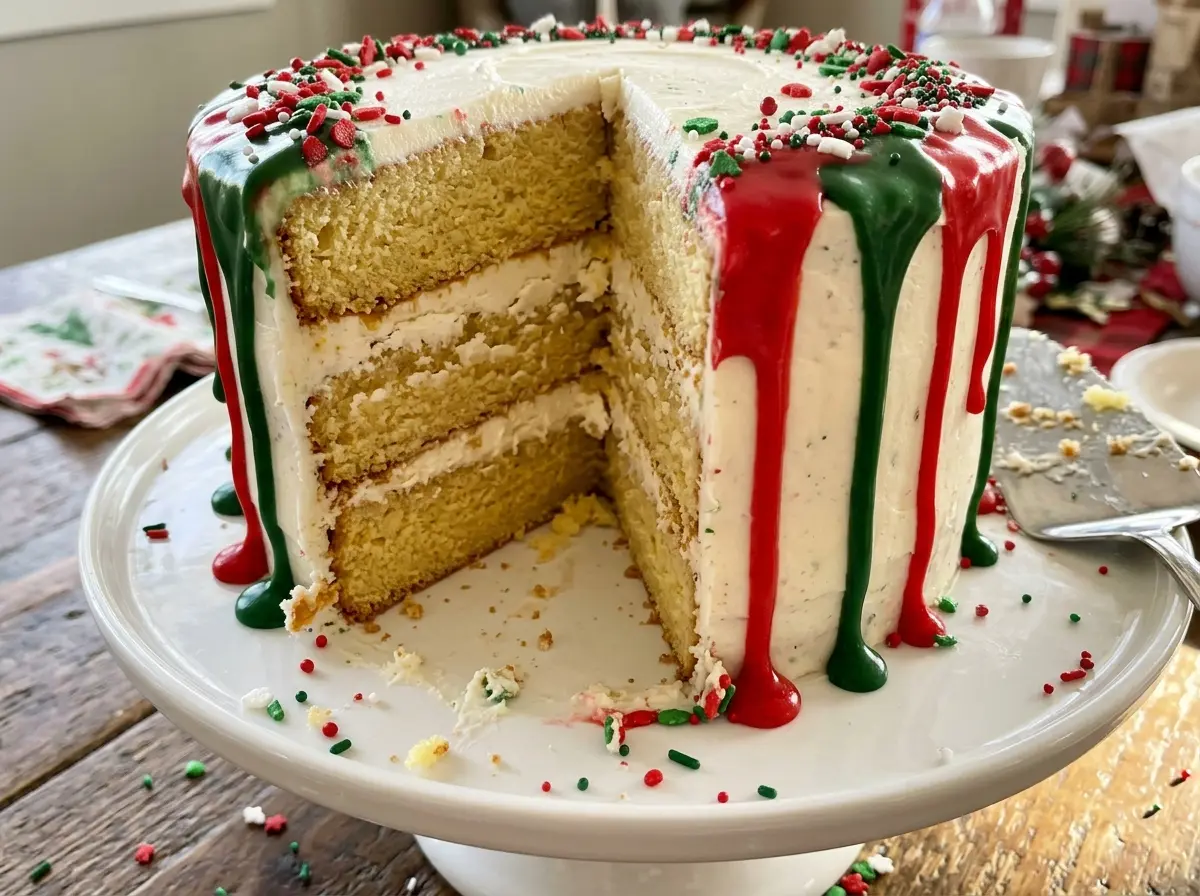
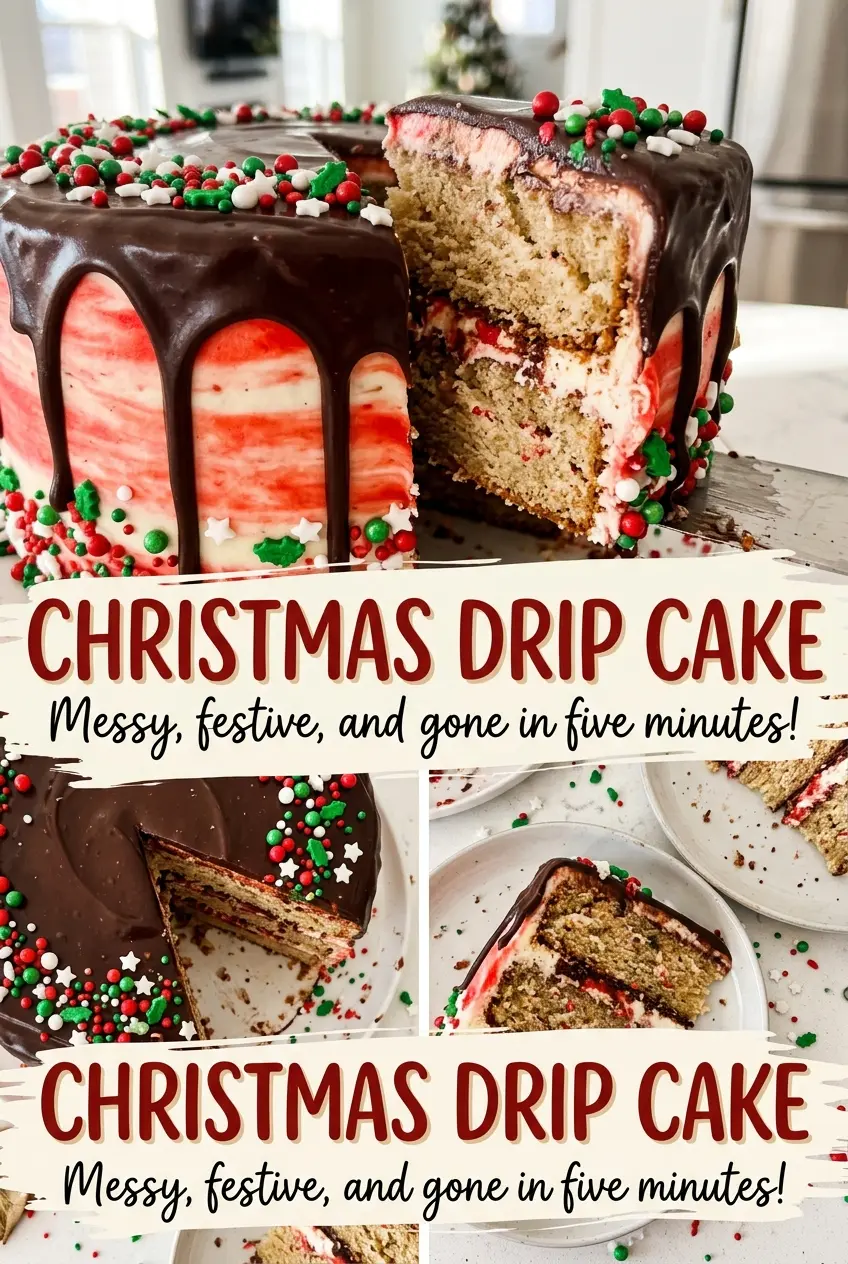
The chocolate reaches the edge, catches the light, and starts its slow path down the sides—that’s the moment this Christmas Drip Cake begins to look like a celebration. Under the ganache, there are three soft vanilla cake layers, creamy buttercream, and a finish of Christmas sprinkles. I like that the flavors stay familiar while the tall layers and glossy drips make the cake feel special enough to bring to the table for a crowd.
The part that makes this cake satisfying to serve is the contrast: tender cake, smooth frosting, and a thin layer of semisweet chocolate on top. It serves 12, and each slice has enough frosting to feel festive without burying the vanilla crumb. Let the ganache settle into a thick, pourable consistency before decorating, and you’ll get distinct drips rather than a pool of chocolate at the base.
Kitchen Note
Use room-temperature eggs and whole milk for the cake batter. They blend into the creamed butter more smoothly than cold ingredients, which helps the batter come together evenly.
Save this Christmas Drip Cake for a holiday table centerpiece with tender vanilla layers, chocolate drips, and a sprinkle-covered finish.
Why the Crumb Coat Gets Its Own 20-Minute Chill
A tall layer cake has three cut surfaces and a lot of frosting to spread, so loose crumbs can quickly get dragged into the final coat. The thin first layer of buttercream works like a seal: it catches those crumbs before you apply the thicker, visible layer. The chill gives that seal time to firm up, making it less likely to mix into the final frosting as you smooth the sides.
Don’t skip straight to the thick coat, even if the cake layers look tidy. A few crumbs in the buttercream are easy to miss until you’re halfway around the sides, and then smoothing them out can leave streaks. After the crumb coat has chilled, the cake is steadier to frost and the outside looks cleaner. The second chill matters too; it firms the finished buttercream before the ganache goes on, so the chocolate lands on a stable surface instead of softening the frosting as soon as it touches.
This two-stage frosting approach takes a little patience, but it’s what gives the cake its smooth sides and defined finish. Each short wait has a job: first hold the crumbs in place, then firm the finished coat for decorating.
What Keeps Three Vanilla Layers Tender Beneath the Ganache
- All-purpose flour and baking powder — All-purpose flour gives the layers enough structure to stack while keeping the crumb tender. The baking powder provides the lift, so use fresh baking powder for the most reliable rise; there isn’t a direct flour swap that keeps this exact balance.
- Unsalted butter — Butter is the base of both the cake and the frosting, so its softened texture matters for smooth mixing. A standard store-brand unsalted butter works well; the separately measured kosher salt lets the cake and buttercream taste balanced.
- Eggs and whole milk — Eggs give the cake structure and richness, while milk loosens the batter and contributes moisture. Whole milk is the best fit for the texture here; lower-fat milk won’t bring the same richness.
- Granulated sugar and confectioners’ sugar — Granulated sugar creams with the cake butter, helping build a light batter. Confectioners’ sugar dissolves into the buttercream for a smooth finish, so don’t swap one for the other.
- Vanilla extract — Vanilla carries through both the cake and the buttercream. A familiar everyday extract is plenty; there’s no need for a specialty bottle for this dessert.
- Semisweet chocolate and heavy cream — Finely chopped chocolate melts evenly under the steaming cream and makes a pourable ganache that sets on the cake. Heavy cream gives it the richness and consistency the drips need, so thinner dairy isn’t a like-for-like replacement.
- Christmas sprinkles — These add the color and crunch on top, so choose a mix you like looking at. A budget-friendly jar is fine; the sprinkles don’t affect the cake’s structure.
From Even Layers to a Drip That Holds Its Shape
Mix and Bake the Vanilla Layers
Heat the oven to 350°F, spray three 8-inch round cake pans with nonstick cooking spray, and line the bottoms with parchment. Whisk the flour, baking powder, and cake salt together. Beat the cake butter and granulated sugar until pale and fluffy, about 3 minutes, then beat in the eggs one at a time and add the cake vanilla.
Add the flour mixture in three additions, alternating with the milk in two additions; start and finish with flour, and stop mixing as soon as the batter comes together. Divide it evenly among the pans. Bake for 24–29 minutes, until the tops spring back when lightly touched and a toothpick inserted in the centers comes out clean.
Beat the Buttercream Until Fluffy
Beat the remaining softened butter until creamy, then gradually beat in the confectioners’ sugar. Add the water, remaining vanilla, and remaining salt, and beat until fluffy, about 2 minutes. If the frosting looks powdery while the sugar is going in, keep adding it gradually and let the mixture come together before adding the next portion.
Stack, Seal, and Frost the Cake
Let the cakes cool in their pans for 10 minutes, then turn them out onto wire racks and cool completely. Set one layer on a serving plate and spread about 3/4 cup buttercream over it; repeat with the second layer and another 3/4 cup, then set the last layer on top. Spread a thin coat over the top and sides to seal in crumbs, and chill for 20 minutes.
Frost the cake with the remaining buttercream, keeping 1 cup aside for piping. Chill the frosted cake for another 20 minutes. If you frost before the layers are fully cool, the buttercream can soften and slide instead of holding the stack steady.
Make the Ganache and Finish the Drips
Put the finely chopped semisweet chocolate in a heatproof bowl. Warm the heavy cream in a small saucepan over medium-low heat until steaming, pour it over the chocolate, and leave it undisturbed for 3 minutes. Stir until smooth, then cool the ganache for 10–15 minutes, until it’s thick but still pourable.
Spoon small amounts around the top edge so the ganache runs down the sides, then spread the rest over the top. Let it set for 10 minutes before piping rosettes with the reserved buttercream and finishing with Christmas sprinkles. If the ganache is still thin and runs quickly off the spoon, give it a little more time to cool before decorating.
Two Ways to Change the Finish Without Changing the Cake
Keep the chocolate on top
For a cleaner-sided cake, skip the edge drips and spread the ganache over the top only. You’ll still get the chocolate-and-vanilla contrast, but the sides stay fully visible under the buttercream.
Swap rosettes for a sprinkle border
Use the reserved buttercream to pipe a simple border around the top instead of individual rosettes, then concentrate the Christmas sprinkles along that border. The finish looks more graphic, and the chocolate stays open and glossy in the center.
Storage and Reheating
- Refrigerator: Keep the covered cake refrigerated for up to 4 days. The buttercream and ganache firm up, and the crumb will feel a little denser when cold.
- Freezer: Freeze the completely cooled, unfrosted cake layers individually wrapped for up to 2 months. Thaw them while still wrapped in the refrigerator before assembling.
- Reheating: Don’t heat this cake. Let refrigerated slices sit at room temperature before serving; microwaving can melt the ganache and soften the buttercream unevenly.
Questions That Come Up While Building This Drip Cake
Christmas Drip Cake
Ingredients
Equipment
Method
- Preheat the oven to 350°F.
- Grease three 8-inch round cake pans with nonstick cooking spray and line the bottoms with parchment paper.
- Whisk the flour, baking powder, and 1 teaspoon of the salt in a medium bowl.
- Beat 1 cup of the softened butter and the granulated sugar in a large bowl until pale and fluffy, about 3 minutes.
- Beat in the eggs one at a time and 2 teaspoons of the vanilla.
- Beat in the flour mixture in three additions, alternating with the milk in two additions and beginning and ending with the flour; mix just until combined.
- Divide the batter evenly among the pans.
- Bake for 24–29 minutes, until the tops spring back when lightly touched and a toothpick inserted in the centers comes out clean.
- Cool the cakes in the pans for 10 minutes.
- Turn the cakes out onto wire racks and cool completely.
- Beat the remaining 2 cups of softened butter until creamy.
- Gradually beat in the confectioners' sugar.
- Add the water, remaining 1 teaspoon vanilla, and remaining 1/2 teaspoon salt and beat until fluffy, about 2 minutes.
- Place one cake layer on a serving plate and spread about 3/4 cup buttercream over it.
- Place the second layer on top and spread another 3/4 cup buttercream over it.
- Place the third layer on top.
- Spread a thin layer of buttercream over the top and sides to seal in crumbs.
- Refrigerate the cake for 20 minutes.
- Frost the cake with the remaining buttercream, reserving 1 cup for piping.
- Chill for another 20 minutes.
- Put the chocolate in a heatproof bowl.
- Heat the heavy cream in a small saucepan over medium-low heat until steaming.
- Pour the cream over the chocolate and let stand for 3 minutes.
- Stir the chocolate and cream until smooth.
- Let the ganache cool for 10–15 minutes, until thick but still pourable.
- Spoon small amounts of ganache around the top edge so it drips down the sides.
- Spread the remaining ganache over the top.
- Let the ganache set for 10 minutes.
- Pipe rosettes with the reserved buttercream.
- Finish with the Christmas sprinkles.


