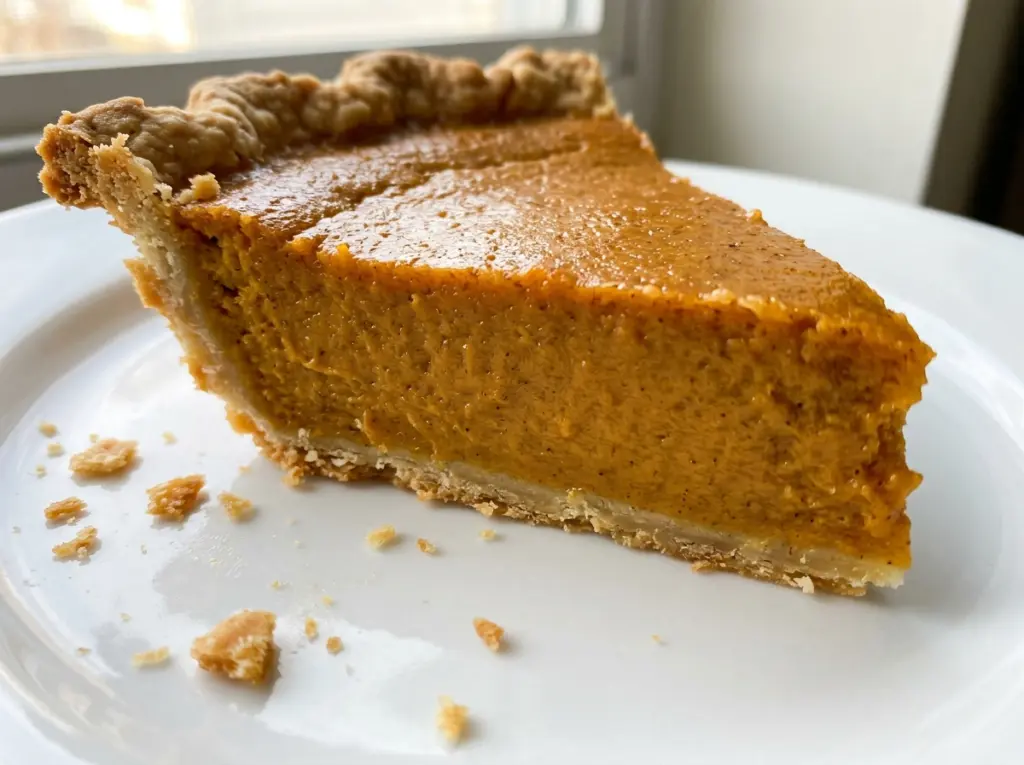
The filling starts out thick enough to cling to a spoon, then the evaporated milk loosens it into a smooth, pourable custard. That’s the moment this 1950s Libbys Old Fashioned Pumpkin Pie comes together: the pumpkin stays rich, while the warm spices spread through every bite. I like how little fuss the filling needs; everything is stirred in one large bowl after the sugar and spices are mixed separately. Plain canned pumpkin matters here, because the sweetening and seasoning are measured into the filling rather than hidden in a pre-mixed pie product.
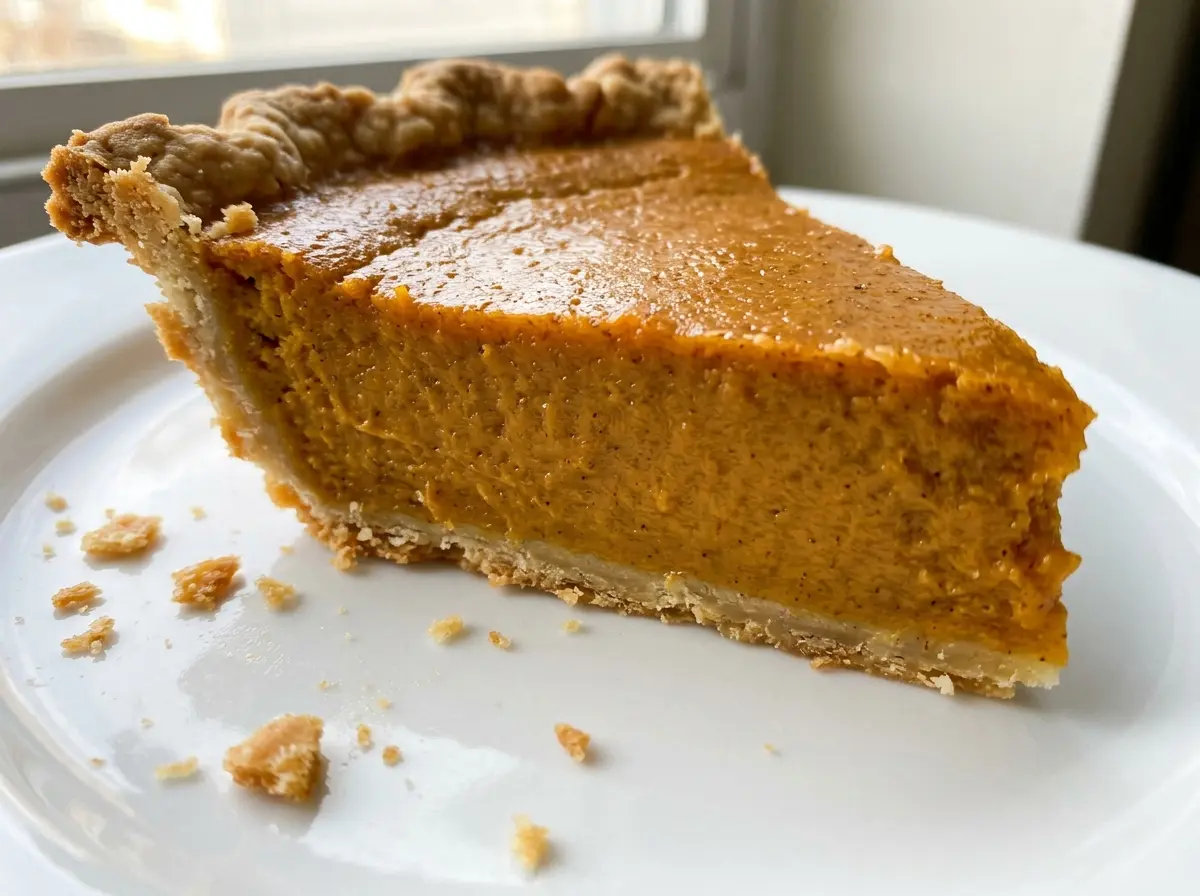
The bake begins hot, then moves to a gentler oven, which suits a filling built around eggs and canned pumpkin. Use a deep-dish shell, not a shallow one, and let the finished pie cool before slicing. I watch the filling change from glossy and loose to softly set, then give it time on the rack instead of rushing the first slice. The result is a smooth pumpkin center with a warm cinnamon-and-ginger aroma and a crust that holds each wedge.
Kitchen Note
Stir the spices through the sugar before they meet the pumpkin. Cinnamon and cloves can bunch into little dark flecks when they hit wet puree, and the dry mixture spreads through the filling more evenly.
Save this 1950s Libbys pumpkin pie for its smooth spiced custard and classic deep-dish crust.
Why This Pumpkin Pie Gets a Hot Start Instead of One Steady Oven
Pumpkin pie is a custard pie, so the eggs need enough heat to set the filling without leaving the outer portion to take the full force of a long, high-temperature bake. The two-stage oven handles that balance: the pie starts in a hot oven, then finishes at a lower temperature. That change is part of the method, not a detail to skip when you’re trying to save time.
The filling also behaves differently from a fruit pie. It goes into the shell as a liquid custard, and the center firms as the eggs cook; it won’t look dry or rigid while it’s still hot. A pie that seems a little soft in the middle right out of the oven needs the cooling time to settle, not another stretch of high heat that can push the edges too far. Follow the temperature change and judge the finish with the knife test rather than waiting for the whole surface to look firm.
That’s why this pie rewards a steady hand more than extra fuss. There’s no need to precook the filling or add a thickener. The eggs, pumpkin, and measured milk do the work, while the staged bake gives the custard time to set through the center.
What Each Ingredient Contributes to This Old-Fashioned Filling
- Pumpkin puree — Choose plain canned pumpkin puree, not pumpkin pie filling, which is already sweetened and spiced. A standard canned version works well; the important distinction is that it’s unseasoned so the sugar and spices stay balanced.
- Evaporated milk — This canned milk brings a concentrated dairy richness without making the filling watery. Regular grocery-store evaporated milk is fine. It isn’t the same as sweetened condensed milk, which is much sweeter and thicker.
- Eggs — They give the custard its structure as it bakes. Use large eggs as listed; there isn’t a reliable direct egg replacement for this classic custard that keeps the same smooth set.
- Cinnamon, ginger, and cloves — These ground spices give the pie its familiar warm, gently sharp character. Fresh, fragrant spices make the aroma clearer, but everyday pantry spices work. If your cloves have lost their scent, leaving them out makes a milder pie rather than a direct flavor match.
- Granulated sugar — It sweetens the pumpkin and blends easily with the ground spices. Keep the listed type for the intended flavor and texture; swapping in a different sweetener changes both.
- Unbaked deep-dish pie shell — This shell gives the filling room and bakes around the custard. A store-bought shell is a practical choice here; use the specified deep-dish size rather than a shallow shell.
How to Bake the Custard Without Overcooking the Edges
Blend the Spices Into the Sugar
Stir the sugar, cinnamon, salt, ginger, and cloves together in a small bowl until the color looks even. In a large bowl, beat the eggs, then stir in the pumpkin and spice mixture. Add the evaporated milk gradually, stirring as you pour so the filling comes together smoothly instead of leaving streaks of spice or pumpkin.
Give the Pie Its Brief Hot Start
Heat the oven to 425°F before you begin baking. Pour the filling into the unbaked deep-dish shell, then bake for 15 minutes at 425°F. The filling will still be loose at this point; don’t wait for the center to look set before lowering the temperature. The hot start is only the opening stage.
Lower the Oven and Test Near the Center
Reduce the oven temperature to 350°F and continue baking for 40 to 50 minutes. Check the pie by inserting a knife near the center; it’s ready when the knife comes out clean. If the knife still carries wet filling, give the pie more time within that baking stage rather than raising the heat. Transfer it to a wire rack and cool for 2 hours before slicing.
Two Easy Ways to Adapt This Classic Pumpkin Pie
Make It With a Gluten-Free Crust
Replace the regular shell with an unbaked 9-inch deep-dish gluten-free pie shell and keep the filling and bake the same. The filling stays the same classic custard; the crust may be more delicate to slice, so let the pie cool fully before cutting.
Leave Out the Cloves for a Milder Spice
Omit the ground cloves and leave the rest of the filling unchanged. Cinnamon and ginger still give the pie its familiar warmth, while the flavor loses the cloves’ sharper, deeper note.
Storage and Reheating
- Refrigerator: Cover the cooled pie and refrigerate leftovers for 3 to 4 days. The filling stays creamy, though the crust softens as it sits.
- Freezer: Freeze fully cooled slices, wrapped tightly and sealed in an airtight container, for up to 1 month. Thaw them in the refrigerator; the crust may be softer afterward.
- Reheating: This pie is best chilled or brought briefly toward room temperature before serving, so reheating isn’t needed. Microwaving can make the custard soft and the crust damp.
Questions That Come Up When Baking This Pumpkin Pie
1950s Libbys Old Fashioned Pumpkin Pie
Ingredients
Method
- Preheat the oven to 425°F.
- In a small bowl, stir together the granulated sugar, ground cinnamon, salt, ground ginger, and ground cloves.
- In a large bowl, beat the eggs.
- Stir the pumpkin puree and spice mixture into the eggs.
- Gradually stir in the evaporated milk.
- Pour the filling into the pie shell and bake for 15 minutes at 425°F.
- Reduce the oven temperature to 350°F and bake for 40 to 50 minutes, until a knife inserted near the center comes out clean.
- Cool on a wire rack for 2 hours before slicing.
- Refrigerate leftovers.


