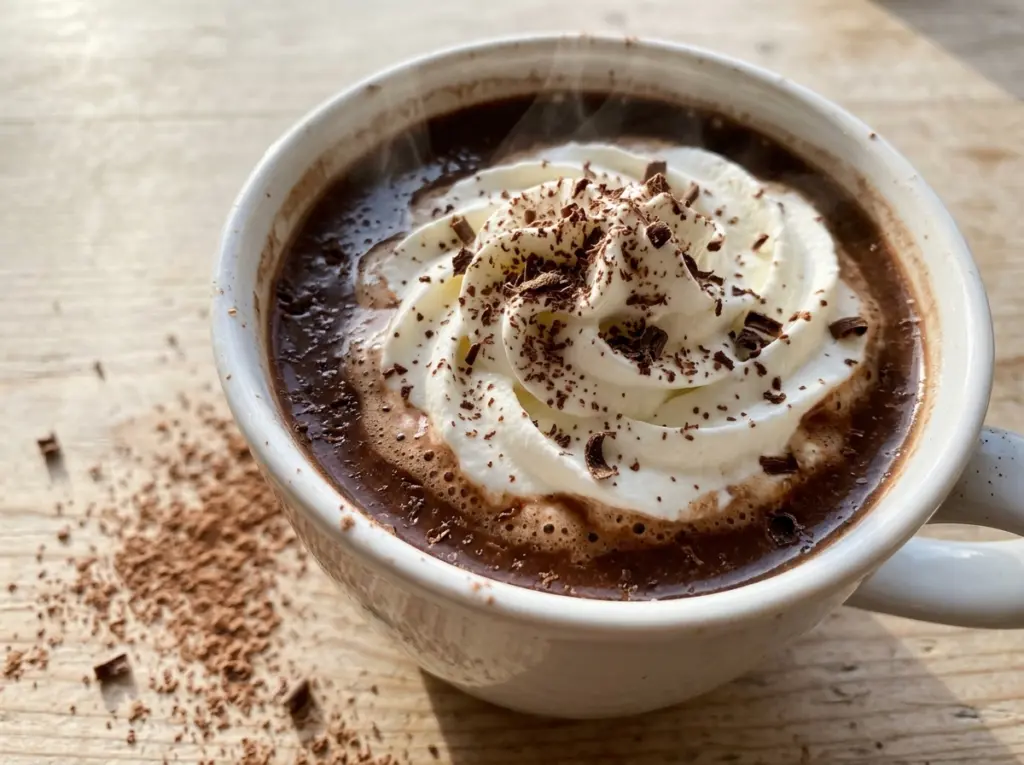
As cocoa, sugar, and water warm together in the saucepan, the mixture turns from dusty and streaky to dark and glossy. That small change is what makes Starbucks Copycat Hot Chocolate taste smooth instead of leaving dry cocoa flecks in the mug. It’s a simple stovetop drink, but the order of the ingredients matters.
I whisk the cocoa with water first, before any milk goes in. It gives the powder a chance to hydrate and the sugar time to dissolve, so the milk blends into a smooth chocolate base instead of chasing little clumps around the pan. Whole milk makes the finished drink pleasantly full-bodied, while vanilla stirred in at the end keeps the chocolate flavor warm and rounded. Pour it into two mugs, add the whipped cream, and you’ve got a cozy cup with a proper cocoa taste.
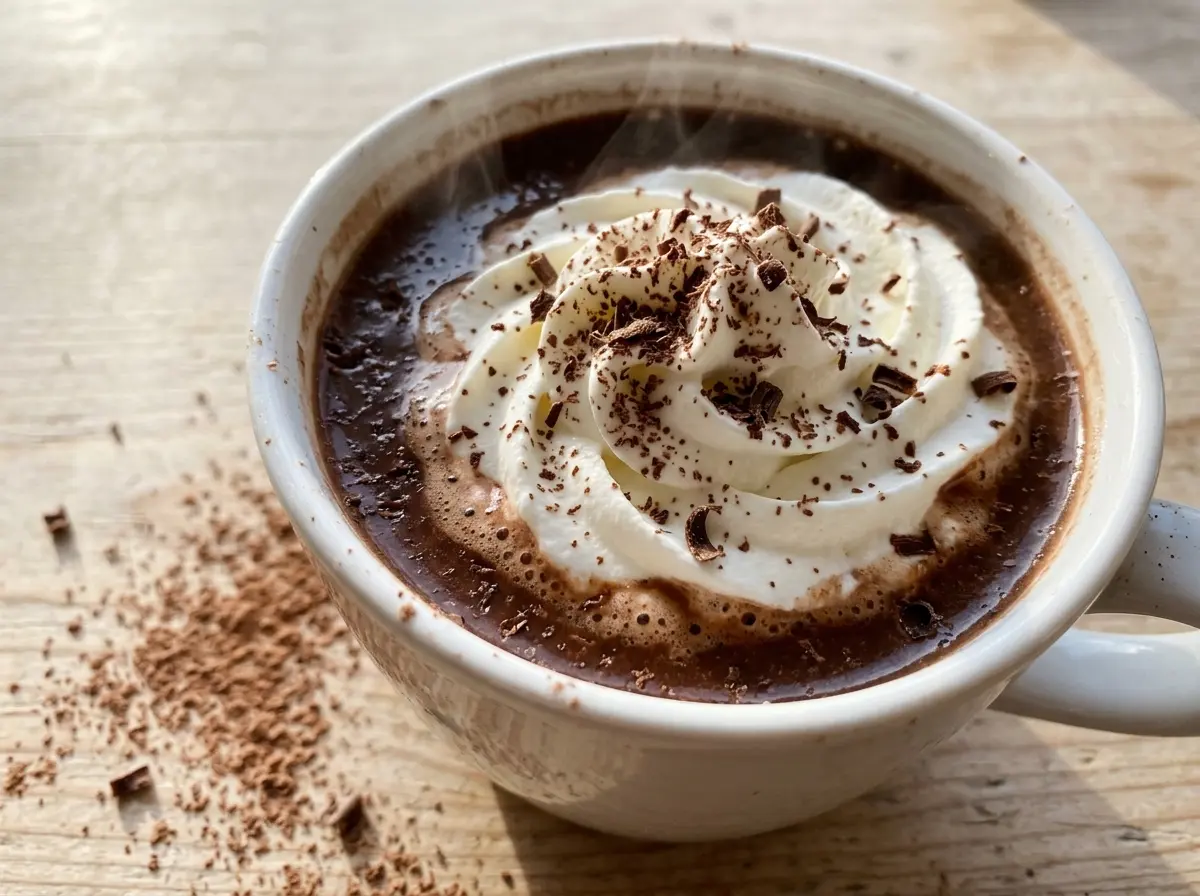
Kitchen Note
Take the pan off the heat before you stir in the vanilla. It’s a small timing detail, but the vanilla stays fragrant instead of getting cooked into the background.
Save this Starbucks Copycat Hot Chocolate for a smooth cocoa base, warm vanilla, and a cloud of whipped cream.
Why This Cup Should Steam, Not Simmer
Milk doesn’t need to boil to make a rich hot chocolate. A rolling boil pushes the temperature past what this drink needs and makes it easier for milk to scorch on the bottom of the pan. If you catch a cooked-milk smell or a brown film forming underneath, the heat has gone too high; a harder boil won’t make the chocolate taste deeper.
Look for steam rising from the surface and small bubbles gathering around the edge. That’s the useful window: the milk is hot enough to serve, but the pan hasn’t tipped into a boil. Whisking often helps distribute the heat and keeps the cocoa base from settling while the milk warms. The drink should taste smooth and milky, with cocoa at the center—not boiled or scorched.
What Each Ingredient Does in This Cocoa

- Unsweetened cocoa powder — This brings the chocolate flavor without adding sweetness. A fresh, fragrant cocoa makes a difference; an everyday grocery-store tin works well, as long as it hasn’t been sitting open and stale.
- Granulated sugar — It sweetens the cocoa and dissolves into the warm water before the milk goes in. Regular granulated sugar is the reliable choice here; coarse crystals take longer to dissolve.
- Water — The small amount helps turn the dry cocoa into a smooth base before it meets the milk. It isn’t a replacement for the milk; using only water would make a thinner, less creamy drink.
- Kosher salt — A little salt brings the chocolate into focus and balances the sweetness. There’s no need for a specialty brand, but kosher salt is easier to measure consistently than large flakes.
- Whole milk — Its fat gives the hot chocolate a rounded, creamy texture. Fresh milk matters more than a premium brand; the dairy-free and lighter-milk options below will make a less rich cup.
- Vanilla extract and canned whipped cream — The extract softens the cocoa’s sharper edges, while canned whipped cream adds an airy finish. Keep the vanilla for the end of cooking, and add the whipped cream only after pouring the drink into mugs.
Building the Cocoa Base Before the Milk Goes In
Whisk the cocoa into a smooth base
In a 2-quart saucepan over medium-low heat, whisk together the cocoa powder, sugar, water, and kosher salt for 1 to 2 minutes. Keep whisking until the mixture looks smooth and the sugar has dissolved. If you spot dry cocoa streaks, keep working them into the warm liquid before moving on. The base should look dark and glossy, with no dusty patches clinging to the pan.
Bring the milk up to steaming
Gradually whisk in the whole milk so it blends into the cocoa base evenly. Raise the heat to medium and heat for 4 to 6 minutes, whisking often. Watch the edge of the pan for small bubbles and the surface for rising steam. Don’t let the milk boil; pull the pan off the heat if it starts bubbling across the surface.
Stir in vanilla and finish each mug
Remove the saucepan from the heat, then stir in the vanilla extract. Divide the hot chocolate between two 12-ounce mugs. Top each mug with whipped cream from the can, keeping the topping on the surface rather than stirring it through the drink. Serve while the cocoa is hot and the whipped cream is still fluffy.
Three Simple Ways to Adapt This Hot Chocolate
Make it dairy-free with oat milk
Replace the 3 cups of whole milk with 3 cups of unsweetened oat milk, and use a dairy-free canned whipped topping. The cocoa base still blends the same way, though the drink will be less rich and may have a faint oat flavor.
Use 2% milk for a lighter cup
Swap the whole milk for the same amount of 2% milk. It heats and mixes in the same way, but the hot chocolate won’t feel quite as full-bodied; keep the whipped cream if you still want a creamy finish.
Try Dutch-process cocoa
Use Dutch-process cocoa in place of the unsweetened cocoa powder, keeping the same amount. It gives the drink a smoother, less sharp cocoa taste, though the final color may look darker.
Storage and Reheating
- Refrigerator: Store the hot chocolate without whipped cream in a covered container and refrigerate within 2 hours. Use it within 3 to 4 days; it may thicken slightly as it chills.
- Freezer: Freezing isn’t recommended. The milk can separate after thawing and leave the drink grainy.
- Reheating: Reheat gently on the stovetop, whisking until it reaches 165°F. Don’t let it boil, since milk can scorch as it reheats.
Questions That Come Up With This Hot Chocolate
Starbucks Copycat Hot Chocolate
Ingredients
Equipment
Method
- In a 2-quart saucepan over medium-low heat, whisk the cocoa powder, sugar, water, and salt for 1 to 2 minutes, until smooth and the sugar dissolves.
- Gradually whisk in the milk.
- Heat over medium heat for 4 to 6 minutes, whisking often, until steaming with small bubbles around the edge; do not let it boil.
- Remove the saucepan from the heat.
- Stir in the vanilla extract.
- Divide the hot chocolate between two 12-ounce mugs.
- Top each with whipped cream.


