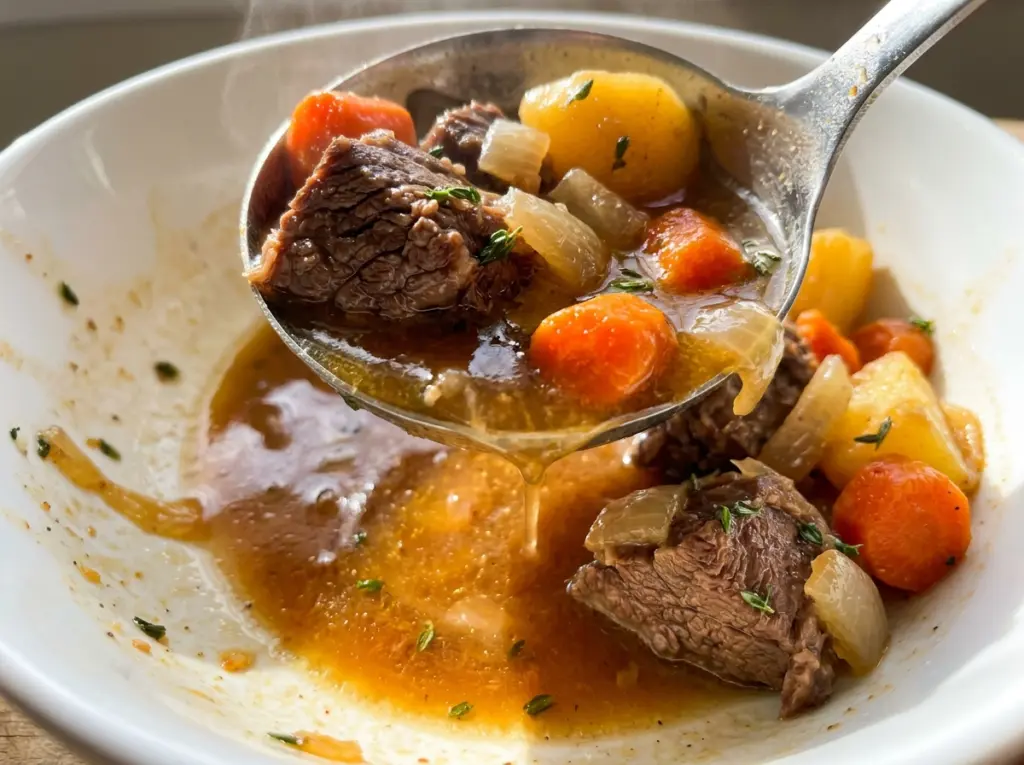
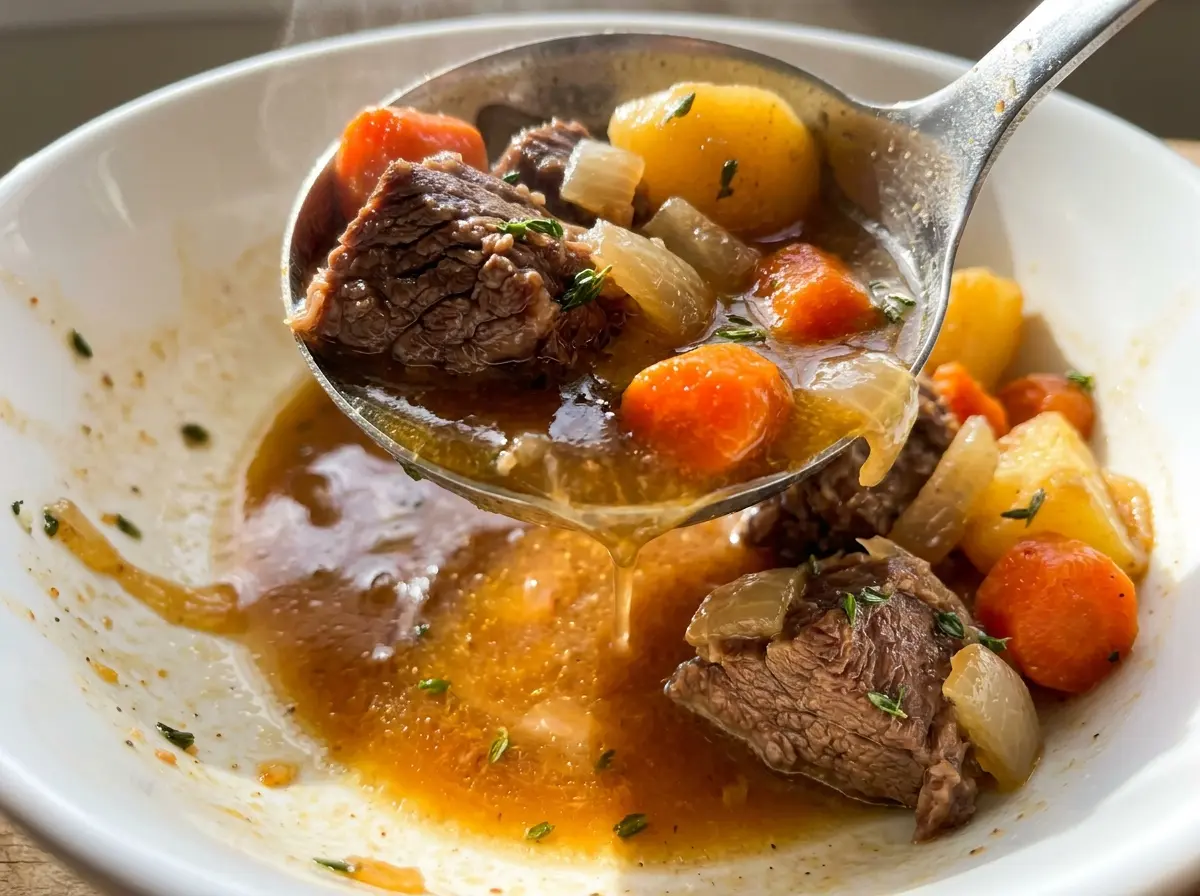
When the lid lifts, the broth should smell like browned beef first, with a quiet apple note underneath. I wanted an oven stew that tastes rounded and savory, not like a pot of cider with a few carrots floating in it. Apple Cider Beef Stew gets there with boneless chuck and a slow, covered braise. By the time it’s ready, the beef gives easily to a fork, and the potatoes have softened at the edges without disappearing into the gravy.
The nonalcoholic apple cider brings gentle sweetness, while beef broth and Worcestershire keep the pot firmly in savory stew territory. I like how the cider softens into the background as it cooks, leaving a little warmth rather than an obvious apple flavor. It’s the kind of stew where each spoonful has tender beef, a piece of potato, and enough gravy to bring them together.
Kitchen Note
Don’t leave the juices behind on the plate after browning the beef. Pour them into the pot with the meat; they carry concentrated beef flavor into the braising liquid.
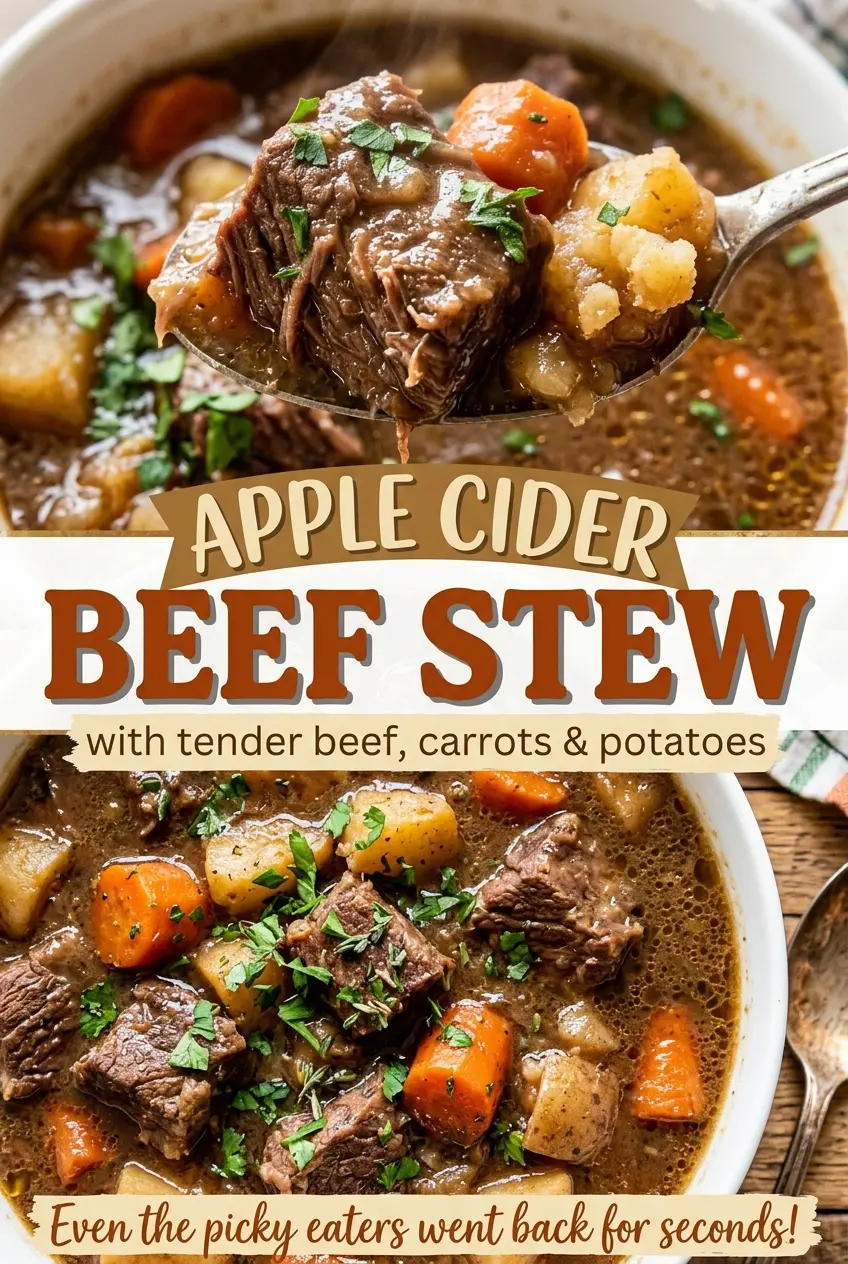
Save this Apple Cider Beef Stew for a cozy dinner with fork-tender beef and a savory gravy touched with apple.
Why the Potatoes Wait Until the Beef Has Started to Soften
Beef chuck and root vegetables don’t need the same amount of time in the oven. Chuck has connective tissue that gradually softens during a covered braise; potatoes and carrots, on the other hand, can go from tender to falling apart if they stay in the pot for that entire stretch. Adding them later gives the beef a head start without asking the vegetables to hold up through the longest part of cooking.
That order also makes the finished stew easier to serve. The beef has time to become fork-tender, while the carrots and Yukon Golds keep their shape and still feel like distinct pieces instead of dissolving into the sauce. If you’ve had stew where the meat was ready but the potatoes had collapsed, this staggered timing is the adjustment that solves it. The covered pot keeps the beef gently braising, then the vegetables finish in the same flavorful liquid.
What the Cider, Chuck, and Yukon Golds Bring to This Stew
- Boneless beef chuck — Chuck has the marbling and connective tissue that suit a long, moist braise. Look for pieces with some visible marbling; an expensive label matters less than choosing the right cut. Lean beef won’t give the same soft, yielding texture after extended cooking.
- Nonalcoholic apple cider — It contributes a mellow apple note and a little sweetness without taking the stew away from its savory side. Apple juice works as a direct substitute, though the result will taste sweeter and less rounded. Plain cider is the best choice here; spiced cider would add flavors that aren’t part of this stew.
- Tomato paste and all-purpose flour — Tomato paste deepens the base, and the flour gives the braising liquid body. Standard all-purpose flour is fine; there’s no need for a specialty brand. For a gluten-free version, a one-to-one gluten-free all-purpose flour blend is the most practical replacement, though the gravy may be a little less silky.
- Low-sodium beef broth and Worcestershire — Low-sodium broth lets the salt in the seasoning stay balanced as the liquid reduces. A basic grocery-store broth works well, and beef stock can stand in for broth at the same measure. Worcestershire adds a savory, tangy edge that keeps the cider from reading as sugary.
- Yukon Gold potatoes — Their creamy centers and ability to hold their shape make them a good match for stew. Red potatoes are the closest swap and stay intact, but they’re a little less buttery. Carrots need only peeling and a uniform cut so they soften alongside the potatoes.
Building a Browned Base Before the Long Braise
Brown the Beef in Two Batches
Heat the oven to 325°F, then pat the beef dry and season it all over with kosher salt and black pepper. Heat the oil in a 6-quart Dutch oven over medium-high until it shimmers. Brown the beef in two batches for 3 to 4 minutes per side, adding the remaining oil before the second batch; transfer each batch to a plate. If the beef is crowded, it steams instead of browning, so leave room between pieces.
Soften the Aromatics and Cook the Flour
Reduce the heat to medium and add the chopped onion and celery. Cook, stirring occasionally, until softened, about 5 minutes. Stir in the minced garlic and tomato paste and cook for 1 minute, then sprinkle in the flour and stir for another minute. Keep the garlic moving once it’s in the pot so it doesn’t catch while the tomato paste cooks.
Stir Together the Cider Braising Liquid
Gradually stir in the apple cider, scraping the browned bits from the bottom of the Dutch oven as the liquid loosens them. Add the beef broth, Worcestershire sauce, dried thyme, and bay leaf, then return the beef to the pot. Bring everything to a simmer before covering; starting with simmering liquid gets the covered braise underway evenly. The pot should be gently bubbling, not boiling hard.
Braise the Beef, Then Finish with Vegetables
Cover the pot and bake for 1 hour 45 minutes. Stir in the carrots and potatoes, cover again, and bake for 45 to 60 minutes, until the beef is fork-tender and the vegetables are tender. If a fork still meets resistance in the beef, it needs more time in the oven; the texture matters more than the clock. Remove the bay leaf and let the stew rest for 10 minutes before serving.
Two Useful Ways to Adapt the Cider and Flour
Make It Gluten-Free
Replace the all-purpose flour with a one-to-one gluten-free all-purpose flour blend, and use gluten-free beef broth and Worcestershire sauce. The gravy may be a touch less silky, but the stew still gets its body from the flour cooked into the base.
Turn Down the Apple Note
For a more savory, less cider-forward stew, use 1 cup of apple cider and 4 cups of low-sodium beef broth instead of the original liquid proportions. Keeping the total liquid the same preserves the braising consistency, while the apple flavor becomes more subtle.
Storage and Reheating
- Refrigerator: Store in an airtight container for 3 to 4 days. The potatoes soften a little more as they sit.
- Freezer: Freeze in airtight freezer-safe containers for up to 3 months for best quality. The beef freezes well, though the potatoes may be softer after thawing; thaw overnight in the refrigerator.
- Reheating: Warm gently in a covered saucepan over low heat, stirring carefully, until the stew reaches 165°F throughout. Avoid a vigorous boil, which can break up the potatoes.
Questions That Come Up When the Stew Doesn’t Look Quite Right
Apple Cider Beef Stew
Ingredients
Equipment
Method
- Heat the oven to 325°F.
- Pat the beef dry with paper towels.
- Season the beef all over with the salt and pepper.
- Heat 1 tablespoon of the oil in a 6-quart Dutch oven over medium-high heat until shimmering.
- Brown the beef in two batches for 3 to 4 minutes per side, adding the remaining 1 tablespoon oil before the second batch.
- Transfer the beef to a plate.
- Reduce the heat to medium and add the onion and celery.
- Cook, stirring occasionally, until softened, about 5 minutes.
- Stir in the garlic and tomato paste and cook for 1 minute.
- Sprinkle in the flour and cook, stirring, for 1 minute.
- Gradually stir in the apple cider, scraping up the browned bits from the bottom of the pot.
- Stir in the beef broth, Worcestershire sauce, thyme, and bay leaf.
- Return the beef and any accumulated juices to the pot and bring to a simmer.
- Cover the pot and bake for 1 hour 45 minutes.
- Stir in the carrots and potatoes.
- Cover and bake for 45 to 60 minutes, until the beef is fork-tender and the vegetables are tender.
- Remove the bay leaf.
- Let the stew rest for 10 minutes before serving.