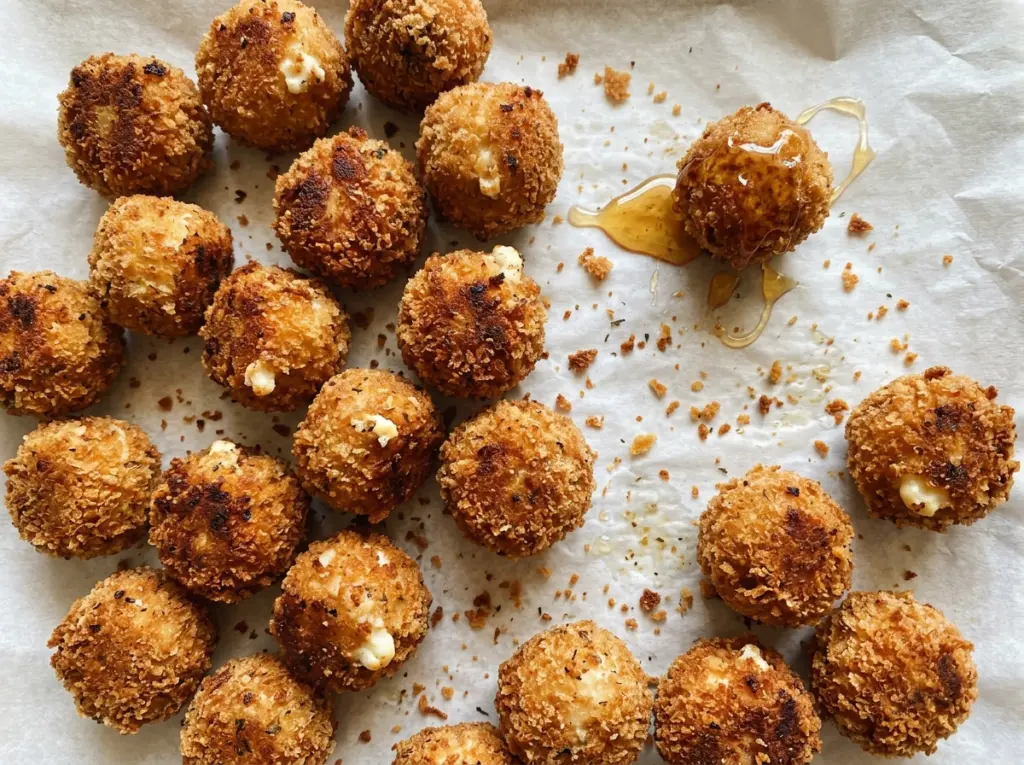
The goat cheese feels almost too soft to roll when it’s freshly softened, and the first few balls can stick to your fingers. That changes after a good chill: they hold their shape, take on a neat panko coating, and fry into crisp little shells with warm, tangy centers. These crispy goat cheese poppers with honey are a lovely contrast of savory cheese and a sweet dip.
I divide the mixture into 24 portions so each popper has enough room to turn golden quickly without spending too long in the oil. The panko gives the outside its rough, airy crunch, while a gentle press helps the crumbs cling. Serve them right after their short rest, when the centers are still soft and the coating is at its crispest.
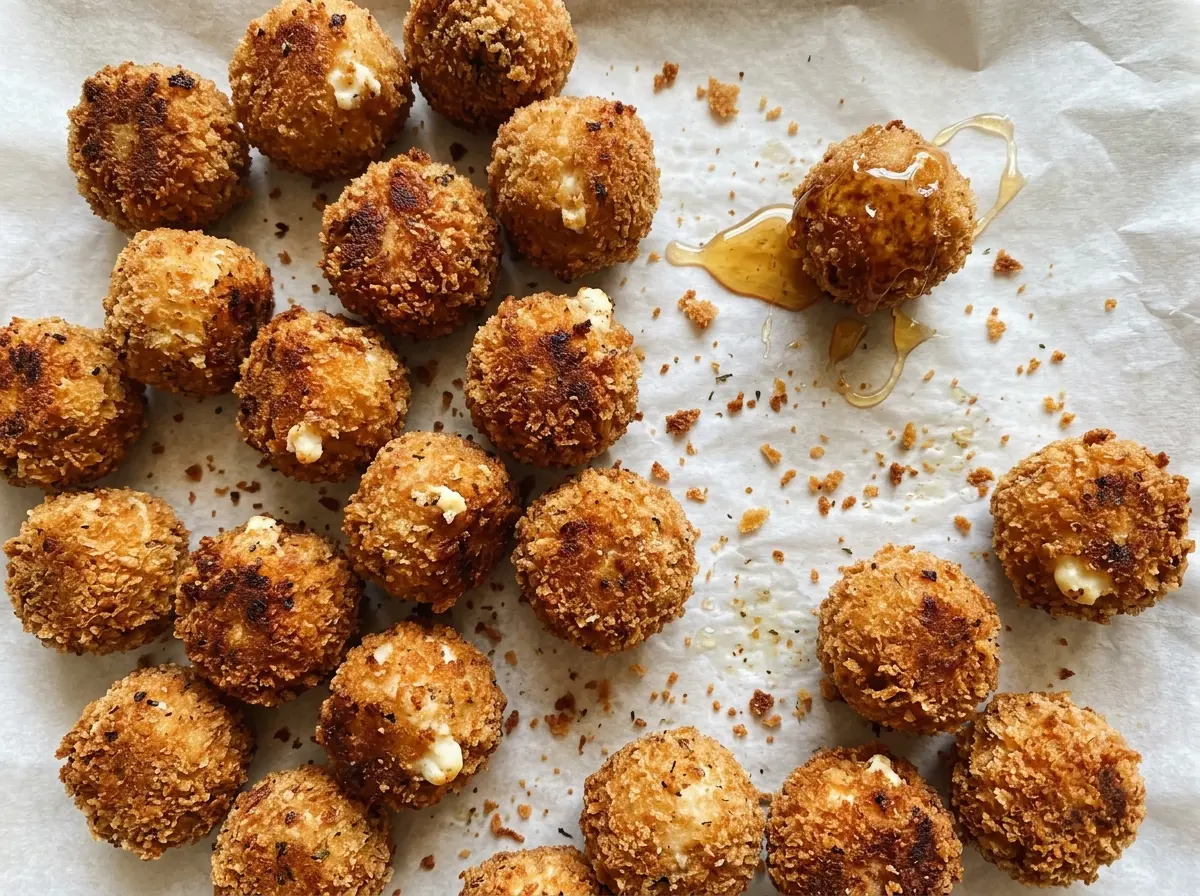
Kitchen Note
I get the most even color when I fry just four or five poppers at a time and keep the oil near 350°F. A deep-fry thermometer makes it much easier to catch a temperature drop before the coating has time to turn greasy.
Save these crispy goat cheese poppers with honey for their golden panko crunch and warm, tangy centers.
Why the Goat Cheese Needs a Chill Before You Bread It
Soft goat cheese is easy to mix, but it’s also the reason these poppers need a pause before the flour, egg, and crumbs. If you try to coat the balls while they’re still loose and tacky, they’re harder to handle and more likely to lose their round shape as you roll them through the bowls. Thirty minutes in the refrigerator firms the portions enough to make breading much tidier.
Arrange the balls on parchment and leave them uncovered for that chill. The surface firms along with the center, so the flour has a better chance to cling rather than turning into a sticky paste under the egg. That first layer matters: it gives the egg something to grab, and the egg gives the panko a place to stay. The result is a more complete crust around each ball, not a patchy coating with bare spots.
What Each Ingredient Contributes to the Crisp Shell and Tangy Center

- Goat cheese — Plain logs give these poppers their soft, tangy middle. Let the cheese soften enough to mix smoothly with the pepper, but keep the shaped balls cold before breading so they’re manageable.
- Black pepper — It cuts through the cheese’s richness with a little gentle heat. Freshly ground pepper gives a more pronounced bite, while standard ground pepper works just fine.
- All-purpose flour and eggs — These are the first two layers of the coating, not filler. The flour dries the outside of each chilled ball, and beaten egg helps the panko adhere; keep each in its own shallow bowl so the sequence stays easy to manage.
- Panko breadcrumbs — Their coarse, flaky texture creates a lighter, craggier crunch than fine breadcrumbs. Press them on gently so the surface is covered without flattening the poppers.
- Vegetable oil — Use a neutral frying oil and a heavy saucepan that can hold the oil safely. A deep-fry thermometer is useful here because a steady temperature matters more than guessing from the surface.
- Honey — Its sweetness balances the goat cheese without hiding its tang. Serve it in a small dish for dipping, so each bite gets just as much as you like.
Build the Coating in Order, Then Fry Until the Panko Turns Golden
Mix and Portion the Cheese
Stir the softened goat cheese and black pepper in a medium bowl until evenly combined. Divide the mixture into 24 portions and roll each portion into a ball. Set them on a parchment-lined rimmed baking sheet with a little room between them. Keeping the portions similar in size helps them fry at the same pace.
Chill the Balls Until Firm
Refrigerate the baking sheet, uncovered, for 30 minutes. The outside should feel firmer and the balls should be easier to pick up without smearing. Don’t skip this pause just because the cheese is already shaped; soft centers are much more awkward to coat cleanly. Set out the three shallow bowls while the poppers chill.
Make a Complete Three-Layer Crust
Put the flour, beaten eggs, and panko in separate shallow bowls. Roll each chilled ball in flour first, dip it in egg, then turn it in the panko. Press the crumbs gently so they adhere all the way around, including the top and bottom. Return each coated ball to the baking sheet as you work.
Fry in Small Batches
Heat the vegetable oil in a 3-quart heavy saucepan to 350°F, checking with a deep-fry thermometer. Fry four to five poppers at a time, turning each once, for 1 to 2 minutes until golden brown. Keep the oil near 350°F and avoid crowding the pan, which makes it harder to maintain an even fry. Transfer each batch to a wire rack set over a baking sheet.
Cool Briefly and Serve with Honey
Let the poppers cool on the rack for 2 minutes before serving. The short rest gives the very hot cheese a moment to settle while the outside stays crisp. Bring them to the table immediately with honey for dipping.
Three Small Changes That Suit Different Tables
Make the Coating Gluten-Free
Use gluten-free all-purpose flour and gluten-free panko in place of the regular flour and crumbs. Keep the same flour-egg-crumb order and press the crumbs on gently; the poppers will still have a crisp shell, though the crumb size and crunch vary by brand.
Use Fine Breadcrumbs for a Tighter Crust
Swap the panko for the same volume of plain fine breadcrumbs if that’s what you have. The coating will be more even and compact, with less of panko’s airy, craggy crunch, but the flour and egg layers still help it stick.
Trade the Honey for Maple Syrup
Pure maple syrup makes a good dip if you’re out of honey. It’s thinner and has a woodsy sweetness instead of honey’s floral notes, so serve it in a shallow dish and expect it to cling less to each bite.
Storage and Reheating
- Refrigerator: Store leftover cooked poppers in an airtight container for 3 to 4 days. The coating softens as it sits.
- Freezer: Freeze cooked poppers in a single layer, then transfer them to an airtight container and use within 2 months for best quality. The crumb coating won’t be quite as crisp after freezing.
- Reheating: Reheat in a 350°F oven until the centers reach 165°F. Skip the microwave if you want to avoid a soft, steamy coating.
The Questions That Come Up Before the First Batch
Crispy Goat Cheese Poppers with Honey
Ingredients
Equipment
Method
- In a medium bowl, mix the softened goat cheese and black pepper until combined.
- Divide the mixture into 24 portions and roll them into balls.
- Arrange the balls on a parchment-lined rimmed baking sheet and refrigerate, uncovered, for 30 minutes to firm.
- Put the flour in a shallow bowl, beat the eggs in a second shallow bowl, and put the panko in a third.
- Roll each chilled cheese ball in flour, dip in egg, then coat in panko, pressing gently so the crumbs adhere.
- Return the breaded balls to the baking sheet.
- Heat the vegetable oil in a 3-quart heavy saucepan to 350°F, checking the temperature with a deep-fry thermometer.
- Fry the poppers in batches of 4 to 5, turning once, for 1 to 2 minutes until golden brown; keep the oil near 350°F.
- Transfer the finished poppers to a wire rack set over a baking sheet.
- Let the poppers cool for 2 minutes, then serve immediately with the honey for dipping.


