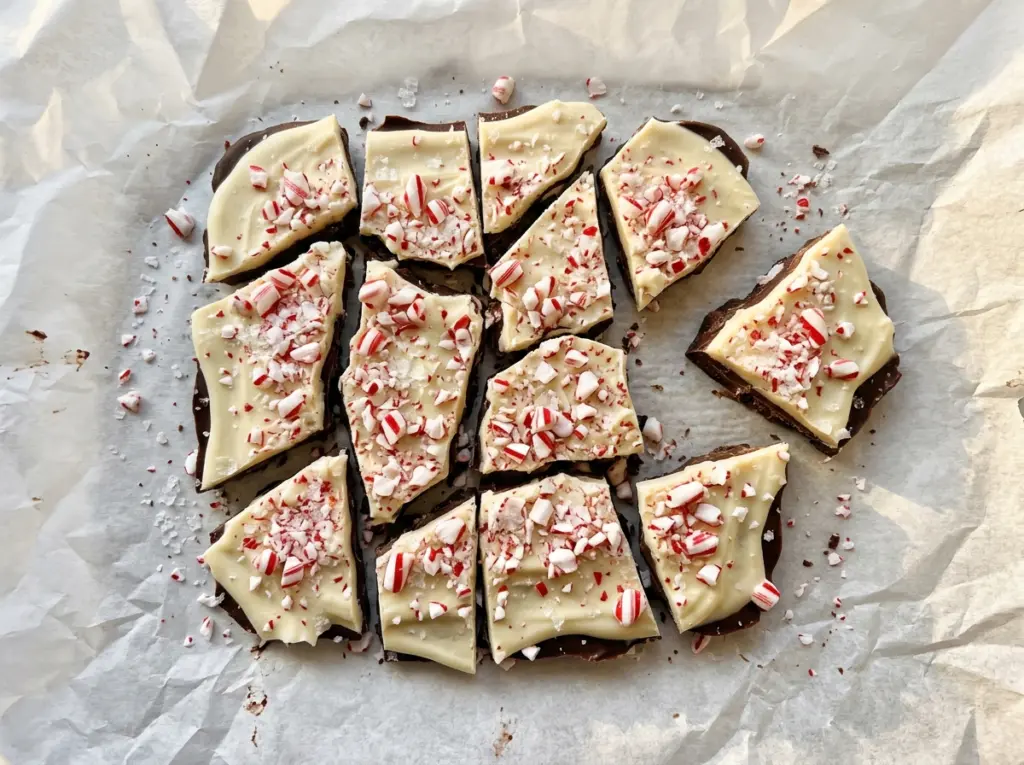
The first layer of chocolate should be firm enough to hold the white chocolate, but not so cold that the two layers have nothing to grip. I learned to pay attention to that little window while making this Salted Peppermint Bark. The finish is simple: a crisp snap of chocolate, peppermint candy that crunches, and tiny salty flakes that keep each bite from tasting too sweet.
I melt the semisweet chocolate gently, then give it time to firm up in the pan before adding the white layer. That short pause makes the layers easier to handle, and a quick fork scratch gives them a better chance of staying together when you break the bark. The crushed candy canes go on while the white chocolate is still soft, so they settle into the surface instead of rolling off. The result is a clean, two-tone slab that breaks into generous pieces.
Kitchen Note
Let the melted white chocolate cool for 3 to 5 minutes, until it feels warm rather than hot. If you spread it while it’s piping hot, it can soften the semisweet layer underneath.
Save this Salted Peppermint Bark for its crisp chocolate layers, candy cane crunch, and little hit of flaky salt.
Why a Fork Scratch Helps the Chocolate Layers Stay Together
A smooth, firm chocolate surface doesn’t give the next layer much to hold on to. When the bark is broken, that can leave you with clean pieces of white chocolate on one side and semisweet chocolate on the other. I lightly scratch the chilled base with a fork before adding the white chocolate. Those shallow marks create a little texture for the top layer to settle into without disturbing the slab underneath.
Let the semisweet chocolate refrigerate for 10 to 15 minutes, until it’s firm, before making those marks. You’re not trying to dig through the base or turn it into crumbs; a few light passes are enough. Keep the scratches shallow and spread across the surface, especially near the edges, where the layers can be more prone to separating as you break the bark. It’s a small, easy-to-miss detail, but it helps each piece keep its two distinct layers.
What the Chocolate, Candy Canes, and Flaky Salt Each Bring

- Semisweet chocolate — This is the sturdy, bittersweet-leaning base that balances the sweeter layer on top. Finely chopping it helps the pieces melt at a similar rate, so you’re less likely to have a few stubborn chunks left while the rest is already smooth. Pick a chocolate whose taste you enjoy on its own; there’s nowhere for a bland base to hide in a short ingredient list.
- White chocolate — It brings the creamy sweetness and pale contrast that make the bark look like peppermint bark. Use actual white chocolate, finely chopped, rather than assuming every white baking chip melts the same way. White chocolate is sensitive to heat, so the quality and even size of the chopped pieces matter more here than fancy packaging.
- Crushed candy canes — These provide the peppermint flavor and the crisp, sugary crunch. Crush them to a fairly even size so the topping spreads across the chocolate instead of leaving a few oversized chunks in one spot. Very fine crumbs give a more even coating; larger pieces make the crunch more noticeable.
- Flaky sea salt — The light flakes give you occasional salty bites and a little texture against the sweet chocolate. Flaky salt is useful here because it stays visible on the surface; fine table salt won’t give the same finish. Keep the flakes intact rather than rubbing them into a powder.
Build the Two Chocolate Layers Without Scorching Them
Melt and Set the Semisweet Base
Line a 9×13-inch baking pan with parchment paper, leaving overhang on two sides so you can lift the bark out later. Put the finely chopped semisweet chocolate in a dry, microwave-safe bowl and microwave at 50% power in 30-second bursts, stirring after each one, for 1 1/2 to 3 minutes. Then switch to 15-second bursts until the chocolate looks smooth, stirring each time so residual warmth finishes melting small pieces. Spread it evenly in the pan; if it’s thick in the middle and thin at the edges, the finished pieces will break unevenly.
Cool the White Chocolate Before Spreading
Use a clean, dry microwave-safe bowl for the white chocolate. Microwave it at 50% power in 20-second bursts, stirring after each, for 1 to 2 minutes, then use 10-second bursts until smooth. White chocolate can go from melted to overheated quickly, so don’t skip the shorter bursts at the end. Let it cool for 3 to 5 minutes, until warm but not hot, then spread it evenly over the firm semisweet base.
Add the Topping While the Surface Is Soft
Sprinkle the crushed candy canes and flaky sea salt over the white chocolate right away, distributing them across the surface. Press gently so the topping adheres; too much pressure can push pieces down unevenly or disturb the layer. Refrigerate the pan for 30 to 45 minutes, until the bark is completely firm. Lift it out using the parchment overhang, then break it into pieces by hand.
Two Small Changes for a Different Peppermint Bark Bite
A finer candy cane finish
Crush the same candy cane topping into smaller pieces for a more even peppermint crunch in each bite. The finer pieces make the top look more evenly dotted, though you’ll lose some of the big, distinct candy cane crunch.
Large shards or little snack-size pieces
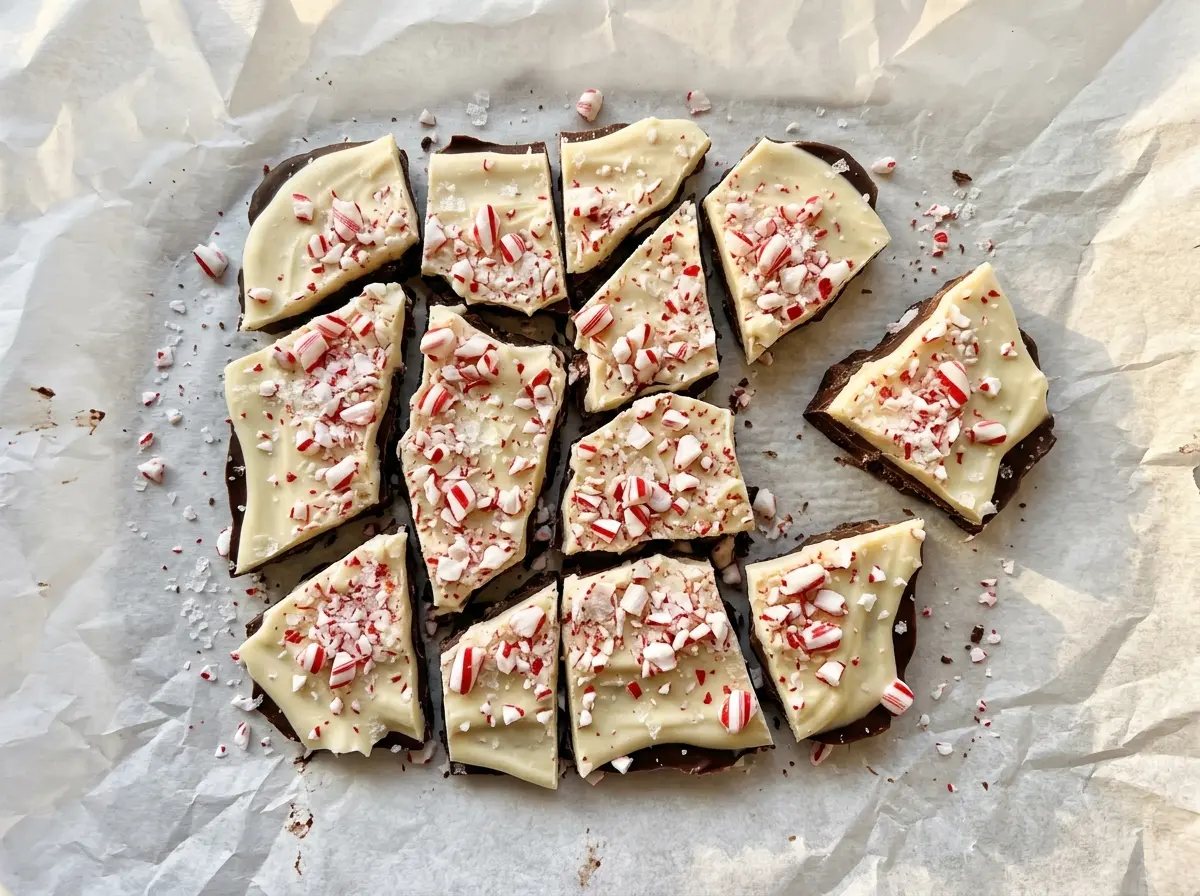
After the bark is firm, break it into a few large pieces for a dramatic, uneven look, or make smaller pieces that are easier to portion. Smaller shards give you more edges and more candy-cane-topped bites; large pieces show off the two chocolate layers clearly.
Storage and Reheating
- Refrigerator: Store the pieces in an airtight container for up to 2 weeks. The candy cane topping may soften a little if moisture gets into the container.
- Freezer: Freeze in an airtight container with parchment between layers for up to 2 months. Thaw while still covered so condensation forms on the container rather than directly on the bark.
- Reheating: No reheating is needed. Don’t microwave the pieces; the chocolate will soften and the candy cane topping can turn sticky.
Questions That Come Up When Making Peppermint Bark
Salted Peppermint Bark
Ingredients
Equipment
Method
- Line a 9x13-inch baking pan with parchment paper, leaving overhang on two sides.
- Microwave the semisweet chocolate in a dry microwave-safe bowl at 50% power in 30-second bursts, stirring after each, for 1 1/2-3 minutes, then use 15-second bursts until smooth.
- Spread the melted chocolate evenly in the prepared pan.
- Refrigerate for 10-15 minutes, until firm.
- Lightly scratch the surface with a fork to help the layers adhere.
- Microwave the white chocolate in a clean, dry microwave-safe bowl at 50% power in 20-second bursts, stirring after each, for 1-2 minutes, then use 10-second bursts until smooth.
- Let it cool for 3-5 minutes, until warm but not hot.
- Spread the white chocolate evenly over the base.
- Immediately sprinkle the crushed candy canes and flaky sea salt evenly over the white chocolate, pressing gently so they adhere.
- Refrigerate for 30-45 minutes, until completely firm.
- Lift the bark out using the parchment.
- Break it into pieces.


