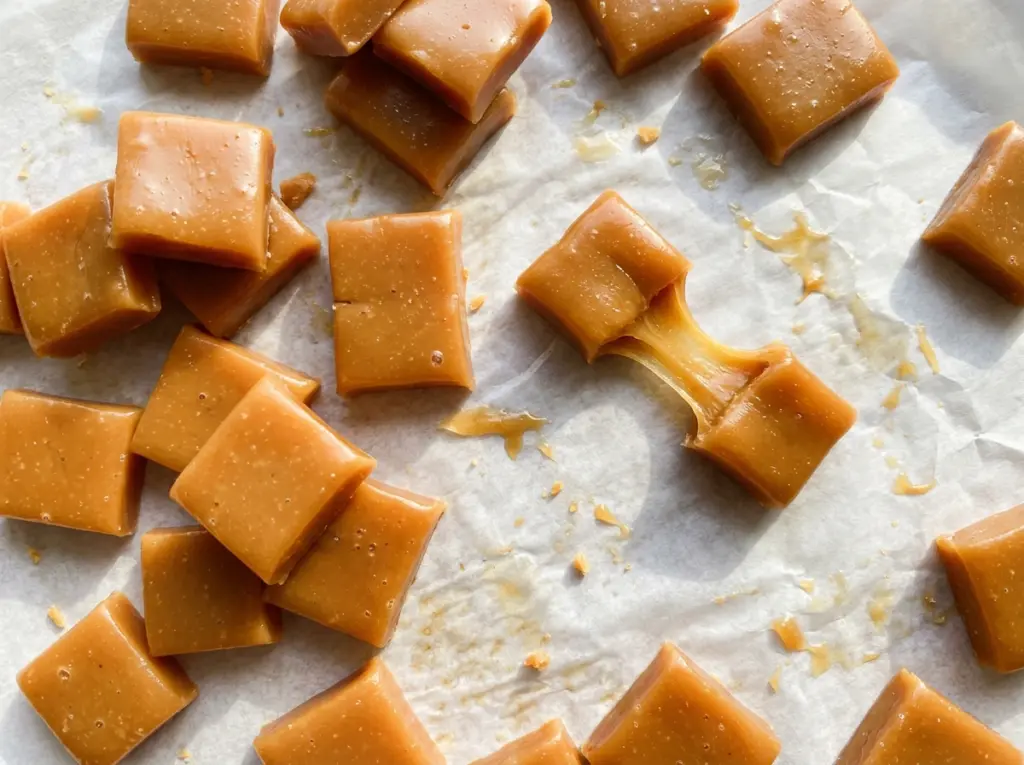
The sugar starts out grainy in the saucepan, then slowly turns into a smooth, bubbling mixture as it heats. That change is worth watching: these 1950s homemade caramels depend on getting the sugar dissolved before the mixture reaches a full boil. Once the butter and cream are cooking with it, steady stirring keeps everything moving while the thermometer does the more precise work.
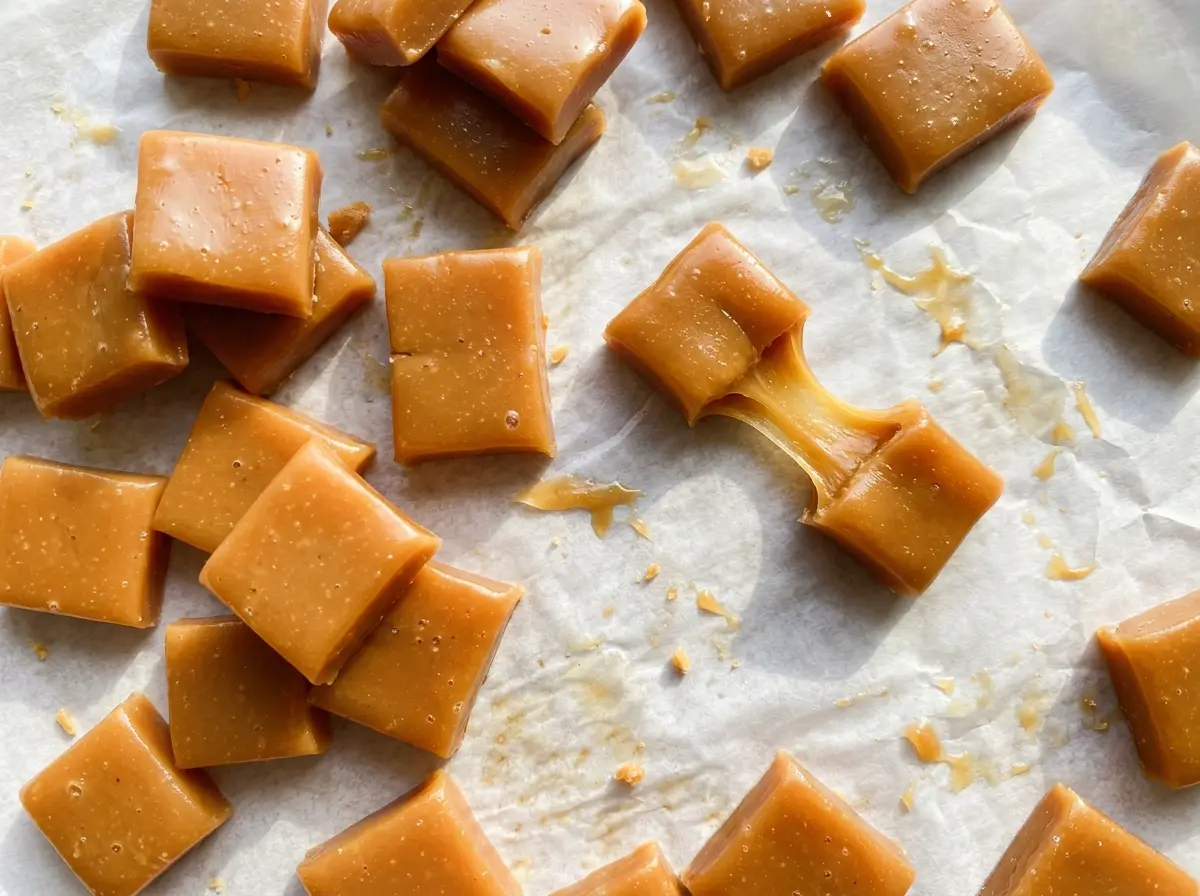
I like this old-fashioned method because it uses a short list of familiar ingredients and lets the temperature—not a guess about color or thickness—tell me when the caramel is ready. The mixture needs 20 to 30 minutes on the stove, then at least 3 hours to firm up in the pan. When you lift the parchment and slice through the set caramel, the pieces have that smooth, satisfying pull of a proper homemade candy.
Kitchen Note
Cutting the butter into pieces before it goes into the saucepan helps it melt into the cream and sugar without leaving a large cold lump. I get all the pieces ready before I start cooking, so I’m not stopping to cut butter while the mixture heats.
Save these 1950s homemade caramels for a batch of smooth, buttery candy you can cut into 64 pieces and share.
Why the Sugar Needs to Dissolve Before the Boil
Caramel can turn grainy when undissolved sugar crystals find their way into the finished candy. That’s why the early part of this cook matters: stir steadily while the sugar, corn syrup, cream, butter, and salt warm together, and give the sugar time to dissolve before the mixture reaches a boil. A smooth mixture at this point gives you a better start than one with visible grains clinging to the spoon or floating around the pan.
Once it boils, keep stirring as the mixture cooks. The corn syrup also helps discourage sugar from crystallizing, which is one reason I keep it in this old-fashioned formula rather than treating it as an optional sweetener. The goal isn’t to rush the first minutes; it’s to get the sugar dissolved and then cook the caramel to the thermometer reading. That patient start is what helps the finished pieces stay smooth rather than sandy.
What Each Ingredient Brings to These Old-Fashioned Caramels
- Granulated sugar — This is the candy’s structure as well as its sweetness. Regular granulated sugar is the right choice here; specialty sugars bring different moisture and flavor, and they don’t give you a useful shortcut.
- Light corn syrup — It helps keep the cooked sugar from forming crystals, contributing to a smoother caramel. I wouldn’t swap in honey or another syrup for this batch; their water content and flavor can change how the candy cooks and tastes.
- Heavy cream and unsalted butter — Together they soften the cooked sugar and give the pieces their rich, creamy bite. Heavy cream has more fat than milk, so replacing it with milk or half-and-half can leave the caramel softer than intended. Unsalted butter lets the salt level stay controlled.
- Salt — It offsets the sweetness without making these taste overtly salty. If salted butter is all you have, use it and leave out the separately listed salt; the finished caramels will taste a little saltier.
- Vanilla extract — Vanilla rounds out the cooked sugar and cream. A good everyday pure extract works well; add it after taking the saucepan off the heat so its aroma isn’t cooked away during the long simmer.
From Parchment-Lined Pan to Smooth, Cuttable Caramels
Line the Pan Before the Candy Cooks
Line an 8×8-inch baking pan with parchment, leaving an overhang on two sides. Those extra edges give you something to grip when the caramel has cooled and is ready to lift out. Set the prepared pan near the stove before you begin cooking, because the hot mixture is easier to pour while it’s freshly taken off the heat.
Stir the Mixture to a Steady Boil
Combine the sugar, corn syrup, heavy cream, butter, and salt in a heavy 3-quart saucepan. Cook over medium heat, stirring steadily until the sugar dissolves and the mixture comes to a boil. Keep stirring as it cooks; the mixture will bubble and thicken as moisture cooks off. The likely trouble here is letting the bottom sit unstirred, so keep the spoon moving throughout this stage.
Use the Thermometer for the Finish
Continue cooking and stirring until a candy thermometer reads 245°F; this takes about 20 to 30 minutes. The elapsed time is a guide, not a replacement for the thermometer reading, since the time can vary with the pan and stove. Stay with the saucepan as it approaches the target rather than stepping away for a long stretch. When it reaches 245°F, take the pan off the heat.
Add Vanilla, Pour, and Let the Caramel Set
Carefully stir in the vanilla extract after removing the pan from the heat. Pour the hot caramel into the parchment-lined pan, taking care not to splash it; hot sugar can cause a serious burn. Leave the pan at room temperature until the caramel is firm, at least 3 hours. Lift it out using the parchment overhang and cut it into 64 pieces with a sharp knife.
Small Changes That Still Work for This Caramel
Use Salted Butter Instead
Replace the unsalted butter with salted butter and omit the recipe’s added salt. The candy will have a slightly saltier finish, but the caramel method stays the same. This is the simplest pantry adjustment; don’t use salted butter and keep the added salt too.
Cut Larger Pieces for a Richer Bite
Once the caramel is firm, cut it into fewer, larger pieces instead of 64. You’ll get the same buttery candy in a more substantial piece, though the yield will be lower. Use a sharp knife and work on a stable cutting surface.
Storage and Reheating
- Refrigerator: Keep the cut caramels in an airtight container for up to 2 weeks. They’ll be firmer straight from the refrigerator; let them sit at room temperature before eating.
- Freezer: They freeze well for up to 2 months when wrapped individually and sealed in an airtight freezer container. Thaw the wrapped pieces at room temperature before unwrapping.
- Reheating: Reheating isn’t needed; these are meant to be eaten as firm, cut candies. Don’t microwave them in their wrappers, since the caramel can get too hot and sticky.
Questions That Come Up While Making Homemade Caramels
1950s Homemade Caramels
Ingredients
Equipment
Method
- Line an 8x8-inch baking pan with parchment paper, leaving an overhang on two sides.
- Combine the granulated sugar, light corn syrup, heavy cream, unsalted butter, and salt in a heavy 3-quart saucepan.
- Cook over medium heat, stirring steadily until the sugar dissolves and the mixture comes to a boil.
- Continue cooking and stirring until a candy thermometer reads 245°F, about 20 to 30 minutes.
- Remove the pan from the heat.
- Carefully stir in the vanilla extract.
- Pour the caramel into the prepared pan.
- Cool at room temperature until firm, at least 3 hours.
- Lift the caramel out by the parchment.
- Cut into 64 pieces with a sharp knife.


