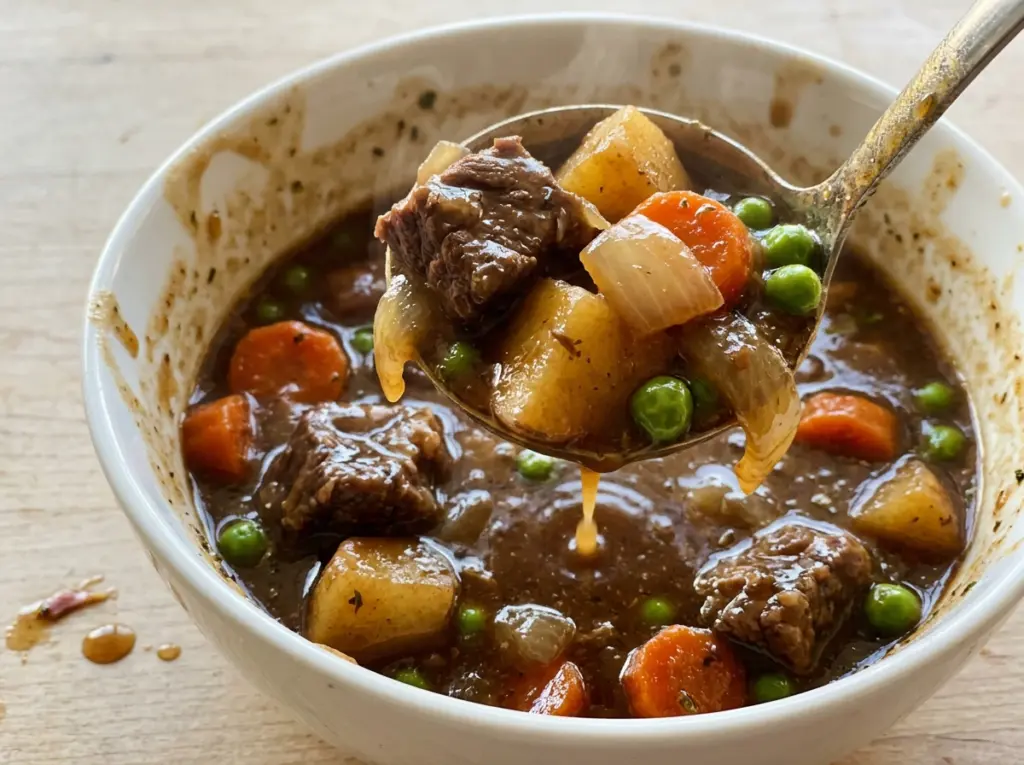
The beef hits the hot Dutch oven with a sharp sizzle, and the smell of browning meat starts before the onions even make it in. For Mulligan Stew, that first round of browning gives the broth a deep, savory start; rushing it or packing the pot too full means the beef steams instead of developing those browned edges.
I let the beef simmer until it’s tender before adding the carrots and potatoes. They need far less time than chuck, and putting them in later keeps them from falling apart while the meat softens. Green beans go in last, so they stay tender without disappearing into the broth. The finished stew is rich, full of vegetables, and just right for a bowl with plenty of broth around every bite.
Kitchen Note
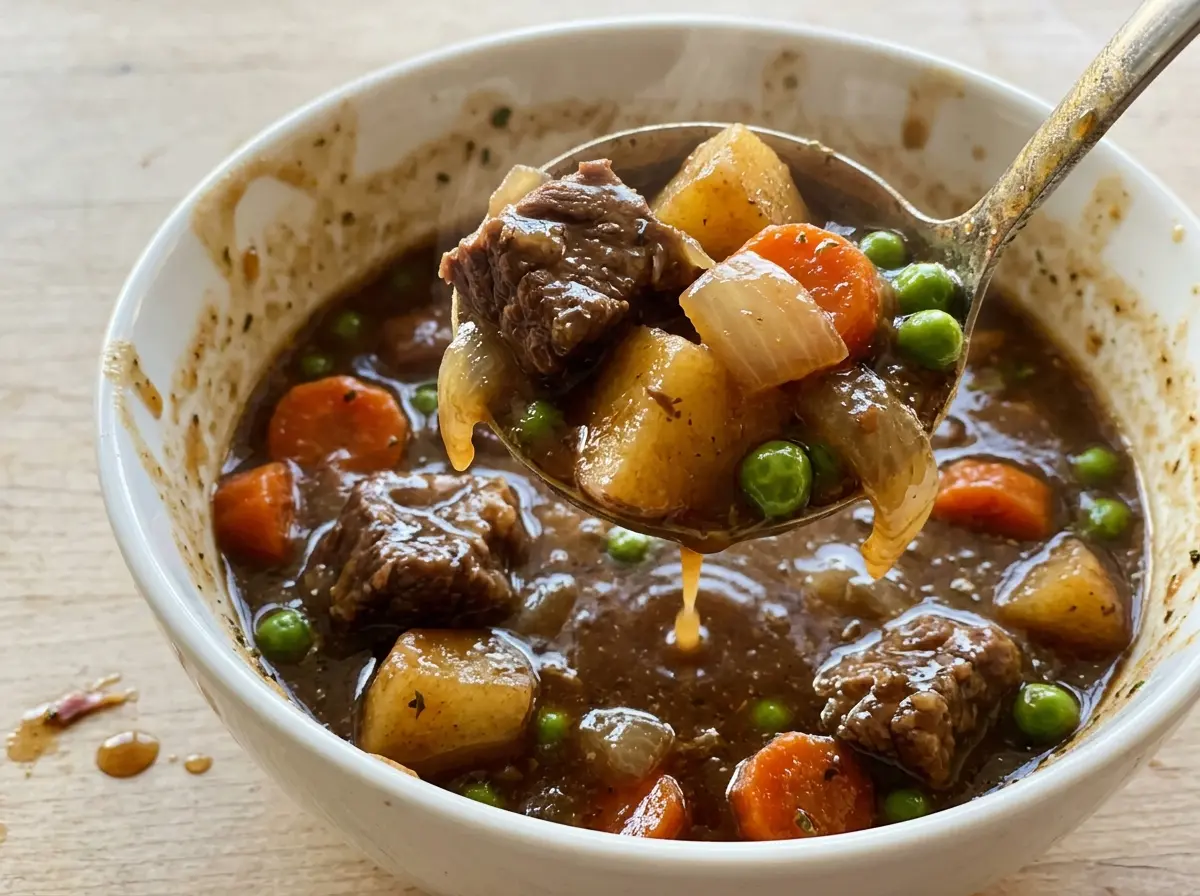
When the beef is ready, a fork should slide into a piece with little resistance. If the center still feels firm, give it more time at a gentle simmer before you add the vegetables.
Save Mulligan Stew for a cozy dinner—the chuck turns fork-tender in a savory tomato broth with carrots, potatoes, and green beans.
Why the Carrots and Potatoes Wait for the Beef
Beef chuck needs a long, gentle simmer to become tender. Carrots and potatoes don’t. If they go into the pot at the same time as the beef, they spend the whole cooking time softening and can lose their shape before the meat is ready. Giving the beef its own head start lets it become tender first, then gives the vegetables just enough time to cook through.
That order also helps each ingredient keep its own texture. The potatoes turn soft enough to pierce with a fork, while the carrots still hold their shape and the green beans finish with a little more definition. Keep the covered pot at a low simmer rather than letting it boil hard; a steady, gentle bubble is plenty for the beef to soften. Once the vegetables go in, use their tenderness—not a rush to get dinner on the table—as your cue to move to the next stage.
What Gives This Stew Its Savory Broth and Staying Power
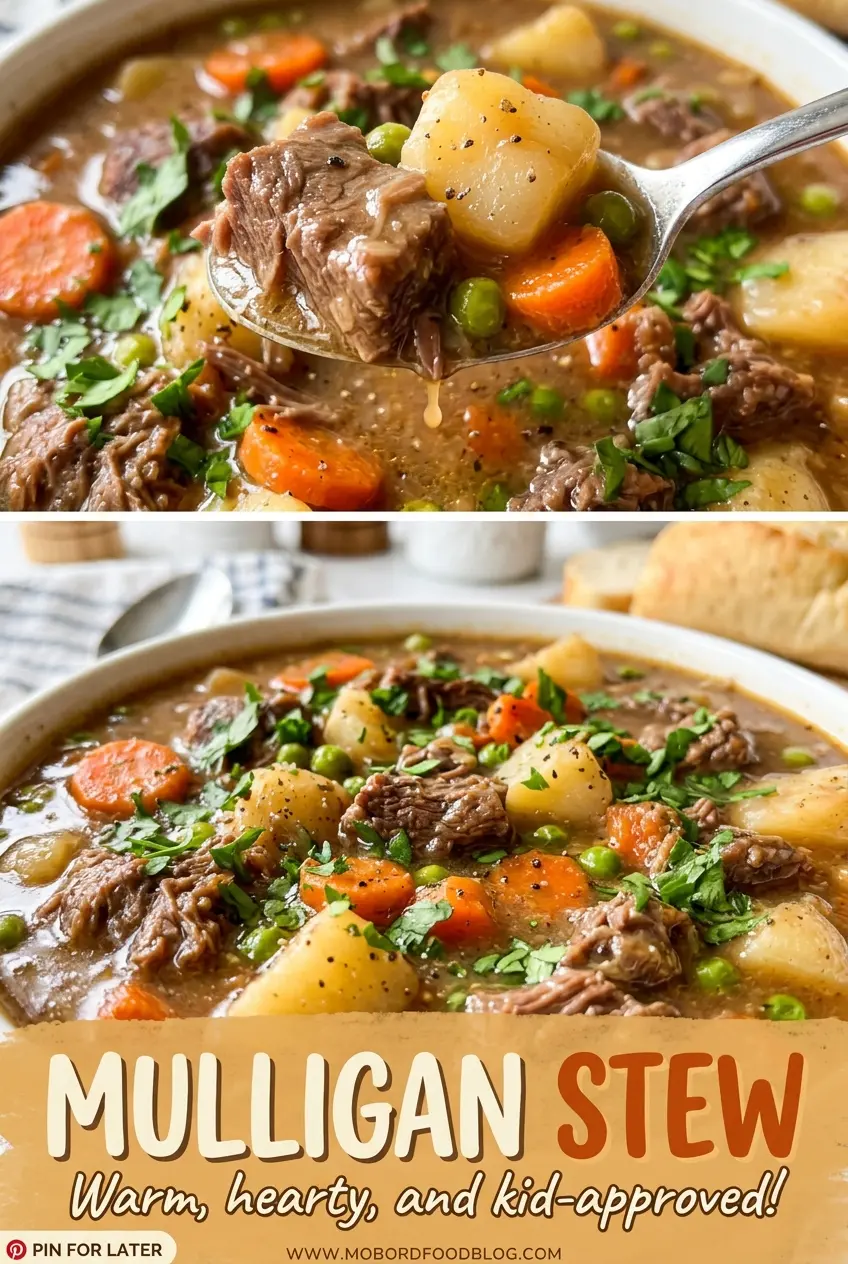
- Beef chuck — Its marbling and connective tissue suit a long simmer and give the stew its substantial, tender chunks. Cut the pieces evenly so they cook at a similar pace. Well-trimmed chuck is a better choice here than an especially lean cut, which can turn dry before it softens.
- All-purpose flour — Tossing the beef in flour helps build a little body in the broth as the stew simmers. For a gluten-free version, rice flour can coat the beef in its place; the broth will be a touch lighter. A 1-to-1 gluten-free flour blend also works as a direct coating swap.
- Tomato paste and diced tomatoes — The paste cooks briefly with the aromatics, which takes away its raw edge and lays down a concentrated savory note. Diced tomatoes bring their liquid and small pieces of tomato to the broth. Canned tomatoes are a practical choice here; there’s no need to seek out specialty tomatoes.
- Beef broth and Worcestershire sauce — Broth forms the stew’s base, while Worcestershire adds a tangy, savory depth that plain broth won’t quite match. Use a broth you enjoy sipping, since its flavor carries through the pot. For a gluten-free stew, use gluten-free broth and Worcestershire along with the rice flour.
- Yukon Gold potatoes and frozen green beans — Yukon Golds hold their shape while becoming creamy inside, so cut them into even pieces. Frozen cut green beans go straight into the pot near the end; they’re convenient and cook quickly without requiring a separate prep step.
Build the Broth First, Then Finish the Vegetables
Brown the Floured Beef in Batches
Toss the beef with the salt and pepper, then coat it evenly with flour. Heat the vegetable oil in a 5-quart Dutch oven over medium-high heat and brown the beef in batches for 2 to 3 minutes per side, transferring each batch to a plate. Give the pieces room in the pot; a crowded layer traps moisture and leaves the beef pale. A browned surface is what you’re after, not a fully cooked center.
Soften the Aromatics and Wake Up the Tomato Paste
Add the onion and celery to the pot and cook over medium heat for 5 minutes, stirring occasionally, until softened. Stir in the garlic and tomato paste and cook for 1 minute, just long enough for the paste to darken slightly and smell savory. Pour in the beef broth and scrape the bottom of the pot to loosen the browned bits. Those bits dissolve into the liquid and become part of the stew’s base.
Simmer the Chuck Until Tender
Stir in the diced tomatoes, Worcestershire sauce, thyme, and bay leaf, then return the beef and any juices to the pot. Bring everything to a boil, cover, and reduce the heat to low. Simmer for 1 1/2 to 2 hours; the surface should show occasional gentle bubbles rather than a hard, rolling boil. A vigorous boil can make the beef tighten before it has time to soften.
Add the Root Vegetables, Then the Green Beans
Stir in the carrots and potatoes, cover, and simmer for 20 to 25 minutes, until the vegetables are nearly tender. Check a potato with a fork; it should be close to yielding but not falling apart. Stir in the frozen green beans and simmer uncovered for 10 to 12 minutes, until the beans are tender and the potatoes are easily pierced. Leaving the pot uncovered for this final stretch lets the green beans cook through without overcooking the earlier vegetables.
Easy Changes for a Different Pot of Mulligan Stew
Make It Gluten-Free
Use rice flour or a 1-to-1 gluten-free flour blend to coat the beef, and choose gluten-free beef broth and Worcestershire sauce. The flour coating still adds some body, though the broth may be a little less thick than with all-purpose flour.
Trade the Green Beans for Peas
Stir frozen peas into the stew during the last few minutes of cooking instead of adding green beans. They bring a sweeter, softer finish, so add them near the end and stop cooking once they’re heated through.
Add a Little Heat
Stir a pinch of red pepper flakes in with the garlic and tomato paste. It gives the broth a gentle warmth without covering up the beef, thyme, or tomato.
Storage and Reheating
- Refrigerator: Cool and refrigerate the stew within 2 hours, then keep it covered for 3 to 4 days. The potatoes soften a little more as they sit.
- Freezer: Freeze in airtight containers for up to 2 to 3 months. The potatoes may become softer or slightly grainy after thawing, but the stew is still good to eat.
- Reheating: Warm it gently on the stovetop, stirring now and then, until it reaches 165°F; add a splash of broth if it has thickened. Avoid a hard boil, which can break up the potatoes and toughen the beef.
Questions That Come Up When Making Mulligan Stew
Mulligan Stew
Ingredients
Equipment
Method
- Toss the beef with the salt and pepper in a large bowl.
- Add the flour and toss until the beef is evenly coated.
- Heat the oil in a 5-quart Dutch oven over medium-high heat.
- Brown the beef in batches for 2 to 3 minutes per side, then transfer it to a plate.
- Add the onion and celery to the pot and cook over medium heat for 5 minutes, stirring occasionally, until softened.
- Stir in the garlic and tomato paste and cook for 1 minute.
- Pour in the beef broth and scrape up the browned bits from the bottom of the pot.
- Stir in the tomatoes, Worcestershire sauce, thyme, and bay leaf.
- Return the beef and any juices to the pot.
- Bring the stew to a boil, cover, and reduce the heat to low.
- Simmer for 1 1/2 to 2 hours, until the beef is fork-tender.
- Stir in the carrots and potatoes, cover, and simmer for 20 to 25 minutes, until the vegetables are nearly tender.
- Stir in the green beans and simmer uncovered for 10 to 12 minutes, until the green beans are tender and the potatoes are easily pierced with a fork.