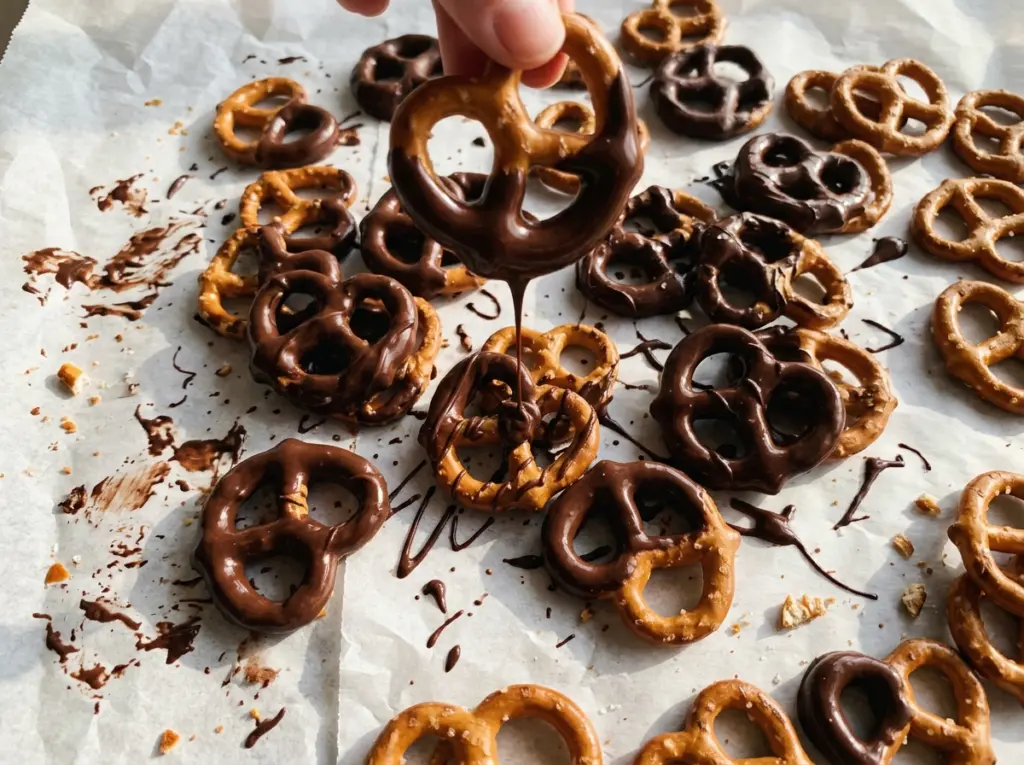
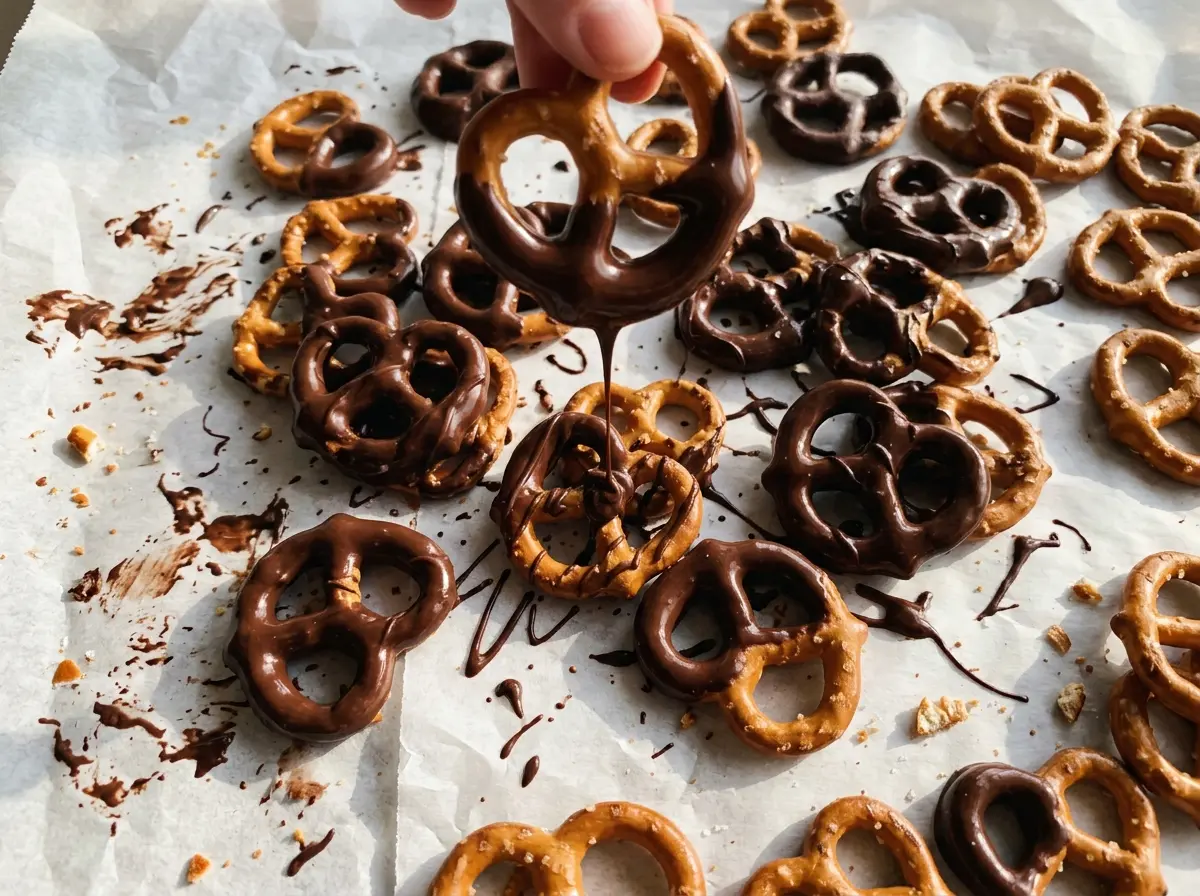
The first rod lifts out with a smooth chocolate shell, and the excess runs back into the cup instead of making a puddle on the parchment. That’s the small detail that makes Chocolate Covered Pretzels feel neat and easy rather than messy. Each pretzel keeps a crisp, salty handle, and the chocolate sets into a firm coating you can pick up without getting it all over your fingers.
I use melting wafers here because they’re made to melt smoothly and set up without the extra work of tempering chocolate. A tall microwave-safe cup gives the rods room to dip, while gentle heating keeps the coating fluid enough to cling. With just pretzel rods and chocolate wafers, this batch makes 24 simple treats that are easy to prepare ahead and share.
Kitchen Note
A tall cup is more useful than a wide bowl here because it gives each long rod enough depth for an even dip. Choose one that fits the rods comfortably without forcing them against the sides.
Save these Chocolate Covered Pretzels for a make-ahead treat with a crisp, salty bite and a smooth chocolate coating.
Why the Bare Pretzel Handle Is Part of the Design
Dipping about two-thirds of each rod isn’t just a way to stretch the chocolate. The uncovered end gives you a clean place to hold the pretzel, so the coating stays untouched while you eat it. It also keeps the salty crunch present in every bite instead of turning the whole rod into one solid layer of chocolate.
A deeper dip changes the balance: there’s more coating and less bare pretzel to grip, and the cup may not have enough chocolate to coat all 24 rods that way. A shorter dip leaves more crunch exposed and uses less coating per rod. I stick with the two-thirds mark for a tidy handle and a good chocolate-to-pretzel balance. You don’t need a perfectly sharp edge where the chocolate stops; a natural line is part of the homemade look.
Why Melting Wafers and Pretzel Rods Work So Well Together

- Chocolate melting wafers — Wafers are made for dipping, so once melted they flow around a rod and firm into a coating without a separate tempering step. You don’t need an expensive brand; choose wafers you like the taste of, since chocolate is the main flavor. Chocolate chips aren’t a direct swap for this method: they’re formulated to hold their shape, so the melted mixture is often thicker and may not set with the same smooth finish.
- Pretzel rods — Their length makes them easy to dip and leaves a built-in handle after coating. Check that the rods fit into your cup and aren’t broken before you start. Gluten-free pretzel rods can replace standard rods for a gluten-free version; the crunch and salt level may vary by brand, but the dipping method stays the same.
From Smooth Melt to Firm, Clean-Coated Rods
Line the Pan Before You Melt
Line a rimmed baking sheet with parchment paper before starting the chocolate. Set it close to the cup so you can move each dipped rod straight onto the paper. The parchment keeps the coating from sticking as it firms. Check that the sheet has room for all 24 rods without crowding them.
Melt the Wafers Gently
Put the wafers in a tall, microwave-safe cup and heat them at 50% power in 30-second intervals, stirring after every interval. It takes about 1 1/2 to 2 minutes in total, but the visual cue matters more than forcing the full time: stop when the mixture looks smooth. If a few small pieces remain, stir and let the warmth of the melted wafers work on them before adding another interval. Long, uninterrupted heating can overheat the coating and make it thicker instead of easier to dip.
Dip, Drain, and Set
Lower each rod about two-thirds of the way into the chocolate, then lift it and let the extra coating drip back into the cup. That brief pause keeps a heavy blob from collecting at the bottom of the rod. Set each one on the parchment-lined sheet, leaving a little room so the coated portions don’t touch. Refrigerate for 15 to 20 minutes, until the chocolate is firm to the touch.
Three Simple Ways to Change the Coating or Crunch
Use White Melting Wafers
Replace the chocolate wafers with white melting wafers and use the same microwave method and dipping depth. The coating will taste sweeter and look lighter against the pretzel; keep an eye on it as it melts because white coatings can show scorching more readily.
Make a Dairy-Free Batch
Use dairy-free chocolate melting wafers in place of the standard wafers. They give you the same dipped-pretzel format, though the chocolate taste and sweetness will depend on the brand. The coating still needs to become smooth before you dip.
Leave More Pretzel Exposed
Dip each rod only halfway for a crunchier, less chocolate-heavy bite. The shorter coating leaves a longer handle and uses less chocolate on each pretzel, so the finish looks more casual than the classic two-thirds dip.
Storage and Serving
- Counter: Store the firm pretzels in an airtight container in a cool, dry spot for up to 2 weeks. Humidity can soften the pretzels, and warmth can soften the coating.
- Refrigerator: Refrigeration isn’t needed after the chocolate sets. If you do chill them, keep them sealed and let the container come to room temperature before opening to limit condensation on the coating.
- Freezer: Freeze in an airtight container for up to 2 months. Thaw the closed container at room temperature so moisture collects on the outside of the container rather than on the pretzels.
Questions That Come Up While Dipping Pretzel Rods
Chocolate Covered Pretzels
Ingredients
Equipment
Method
- Line a rimmed baking sheet with parchment paper.
- Put the chocolate wafers in a tall, microwave-safe cup.
- Microwave at 50% power in 30-second intervals, stirring each time, until smooth, about 1 1/2 to 2 minutes.
- Dip each pretzel rod about two-thirds of the way into the chocolate.
- Let the excess chocolate drip back into the cup.
- Place each dipped pretzel rod on the lined baking sheet.
- Refrigerate the pretzels for 15 to 20 minutes, until the chocolate is firm.


