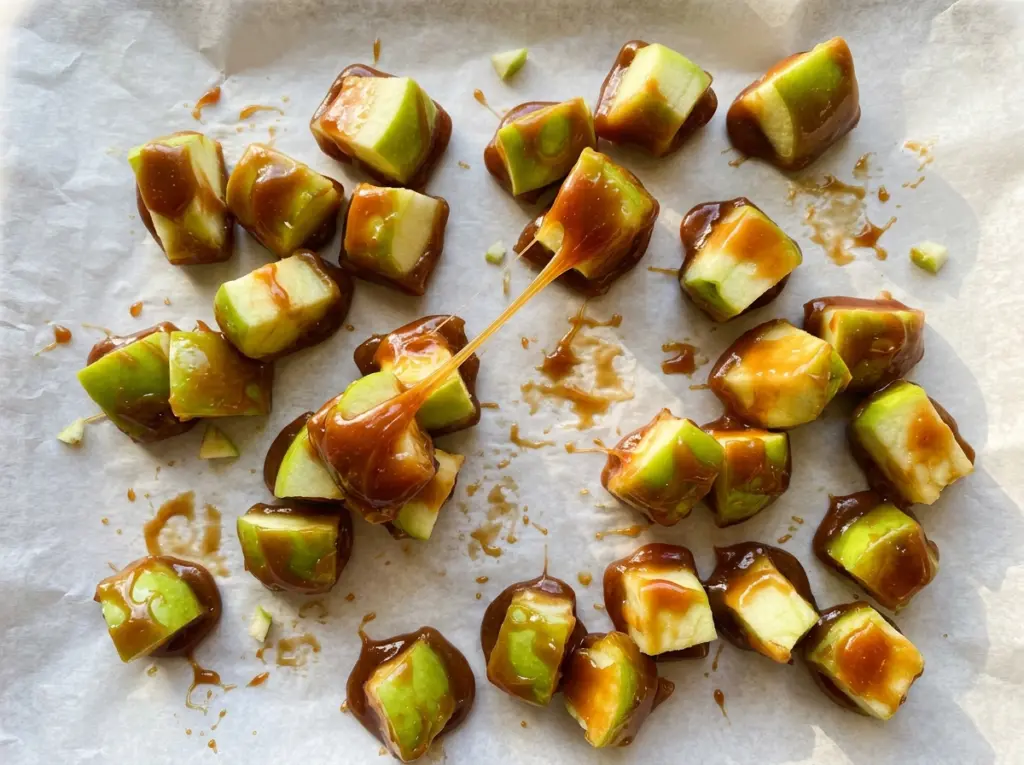
A whole caramel apple gives you a lot of coating in one bite, then a stretch of plain apple before the next one. Cutting the fruit into small pieces solves that unevenness. I make these Caramel Apple Bites when I want crisp apple and chewy caramel together without needing a stick or a knife at serving time.
The soft caramel melts into a smooth coating, and the little pieces are easy to pick up and share. Once the caramel firms in the refrigerator, each bite has a satisfying chew around a cool, juicy center. They’re a simple treat, but the balance of fruit and caramel makes them feel more considered than a bowl of sliced apples with a dip.
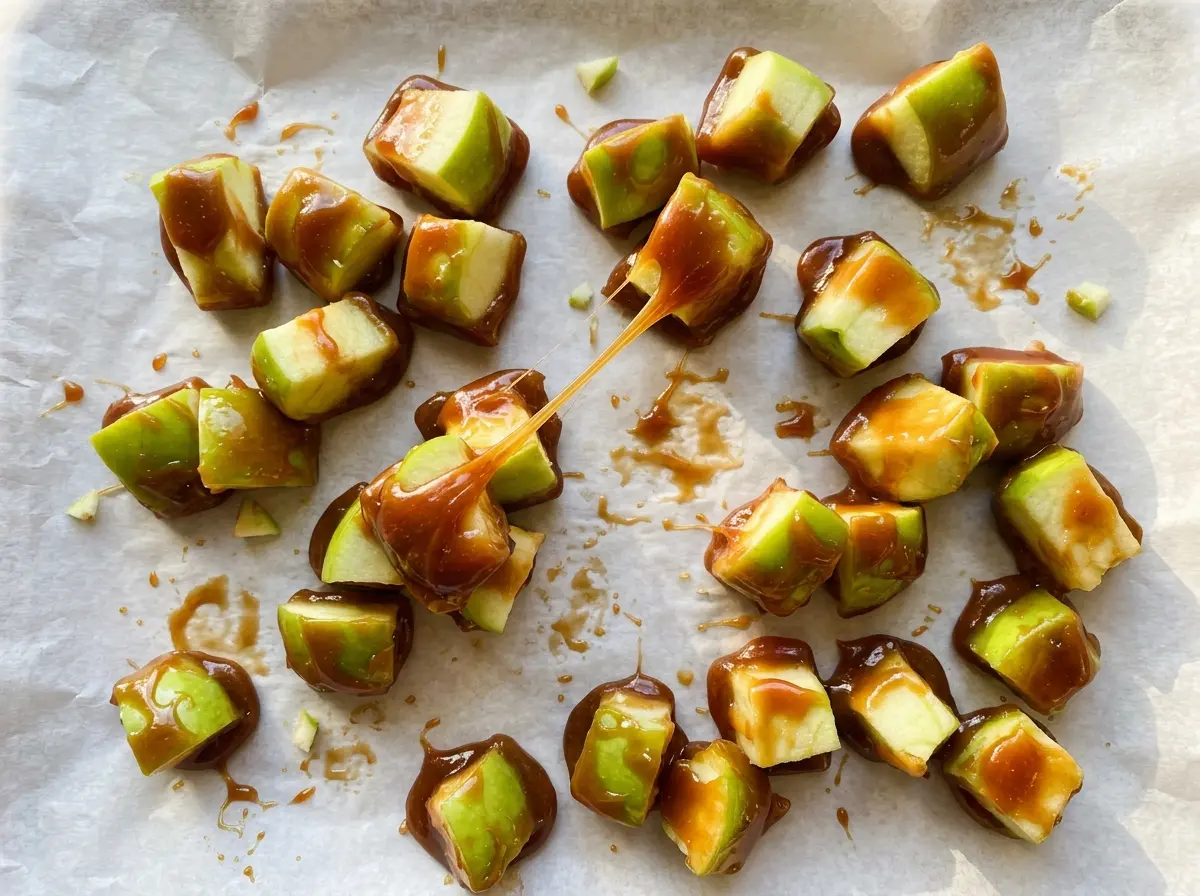
Kitchen Note
Drying the apple pieces thoroughly makes a noticeable difference. If water is left on the surface, the caramel has a harder time clinging evenly, so take a moment with the paper towels before you start dipping.
Save these Caramel Apple Bites for a snack tray or a sweet little treat with crisp apple and a chewy caramel coating.
Why the Crosswise Cut Gives You Better Caramel-to-Apple Bites
The cut is what makes these easy to eat. Each medium apple becomes eight wedges, and cutting each wedge in half crosswise turns those into small, manageable pieces rather than long slices that can be awkward to dip. With three apples, you’ll have 48 bites—enough to give eight servings about six pieces each.
That smaller format also makes it easier to keep the coating in proportion. Dipping each piece halfway leaves plenty of crisp fruit to balance the caramel, instead of building a thick layer around a large wedge. The uncovered end gives you a natural place to pick up each bite, too. It’s a small detail, but it keeps the caramel from becoming the whole experience. You get a little pull from the coating, a fresh crunch from the apple, and a piece that’s easy to finish before the caramel gets sticky on your fingers.
Keep the pieces close in size as you cut. A few slightly different shapes are fine, but evenly sized pieces are easier to dip and chill at the same pace. That means the tray is ready to serve together rather than having a few pieces still soft while the others are firm.
Soft Caramels Matter More Than the Apple Variety

- Apples — Choose firm, medium apples with no soft spots; they need to hold their shape as you cut and dip them. You don’t need specialty fruit for this recipe, and ordinary grocery-store apples work well. Softer apples won’t give you the same crisp contrast beneath the caramel.
- Soft caramels — Soft, unwrapped caramels melt into a coating that clings to the apple pieces. The store brand is fine as long as the caramels are soft and melt smoothly; hard candies or bottled caramel sauce won’t give you the same set coating. For a dairy-free version, use soft dairy-free caramels made for melting.
- Water — A little water loosens the melting caramels into a dip-able consistency. Keep it to the amount in the recipe; adding more can leave the coating too thin to cling well once you lift an apple piece from the pan.
From Crisp Apple Pieces to a Set Caramel Shell
Cut and dry the apples
Line a large baking sheet with parchment paper before preparing the fruit. Cut each apple into eight wedges, remove the cores, then cut each wedge in half crosswise. Pat every piece thoroughly dry with paper towels; visible moisture can interfere with an even coating, so don’t rush this part.
Keep the prepared pieces together and close to the lined sheet so the dipping stage is easy to manage. The pieces should feel dry rather than slick when you pick them up. Parchment gives the coated apples a surface they can release from after chilling.
Melt the caramels gently
Put the unwrapped caramels and water in a 2-quart saucepan. Warm them over low heat, stirring constantly, for about five minutes, until the mixture is smooth. The low heat gives the caramels time to melt without scorching at the bottom of the pan.
If you still see separate soft pieces, keep stirring over low heat until the mixture becomes even and glossy. Don’t walk away while it warms; the pan is small, and regular stirring helps the whole batch melt together. You’re looking for a smooth coating, not browned or hardened caramel.
Dip halfway and chill until firm
Dip each apple piece halfway into the smooth caramel, then pause over the saucepan so the excess can drip back into the pan. Set each piece on the parchment-lined baking sheet with a little space around it. If you rush past the drip, extra caramel can pool underneath and make the bites harder to lift.
Refrigerate the tray for 10 to 15 minutes, until the caramel is firm. The coating should feel set rather than tacky when you gently touch it. Serve the bites once they’ve firmed up; the contrast between the cool apple and chewy caramel is best when the coating holds its shape.
Choose a Different Apple or Make a Dairy-Free Batch
Use Granny Smith for a tarter bite
Swap in three medium Granny Smith apples for a sharper contrast with the sweet caramel. The pieces stay crisp, while the tart fruit makes each bite taste less sweet overall.
Choose Honeycrisp for a sweeter apple center
Honeycrisp apples bring a naturally sweet, crisp center that pairs closely with the caramel. The overall bite will be sweeter than one made with tart apples, but the firm texture still gives the coating a good contrast.
Use soft dairy-free caramels
Replace the regular soft caramels with an 11-ounce bag of soft dairy-free caramels intended for melting, and prepare them with the water in the same way. The coating may set with a slightly different texture depending on the brand, but this keeps the bites dairy-free without changing the apple preparation.
Make-Ahead and Keeping the Bites Crisp
- Refrigerator: Store the bites in a covered airtight container for up to 2 days. The apple may release a little moisture, and the caramel can become tackier over time.
- Freezer: Freezing isn’t a good fit; the apple’s texture softens after thawing, so the bites lose their fresh crunch.
- Serving: Serve chilled after the caramel has set. Don’t reheat them; warmth softens the coating and makes the pieces harder to handle.
Questions That Come Up While Making Caramel Apple Bites
Caramel Apple Bites
Ingredients
Equipment
Method
- Line a large baking sheet with parchment paper.
- Cut each apple into 8 wedges.
- Remove the cores and cut each wedge in half crosswise.
- Pat the apple pieces thoroughly dry with paper towels.
- Combine the caramels and water in a 2-quart saucepan and warm over low heat, stirring constantly, until the caramel is smooth, about 5 minutes.
- Dip each apple piece halfway into the caramel.
- Let excess caramel drip back into the pan.
- Set each dipped apple piece on the prepared baking sheet.
- Refrigerate the bites for 10 to 15 minutes, until the caramel is firm, and serve.


