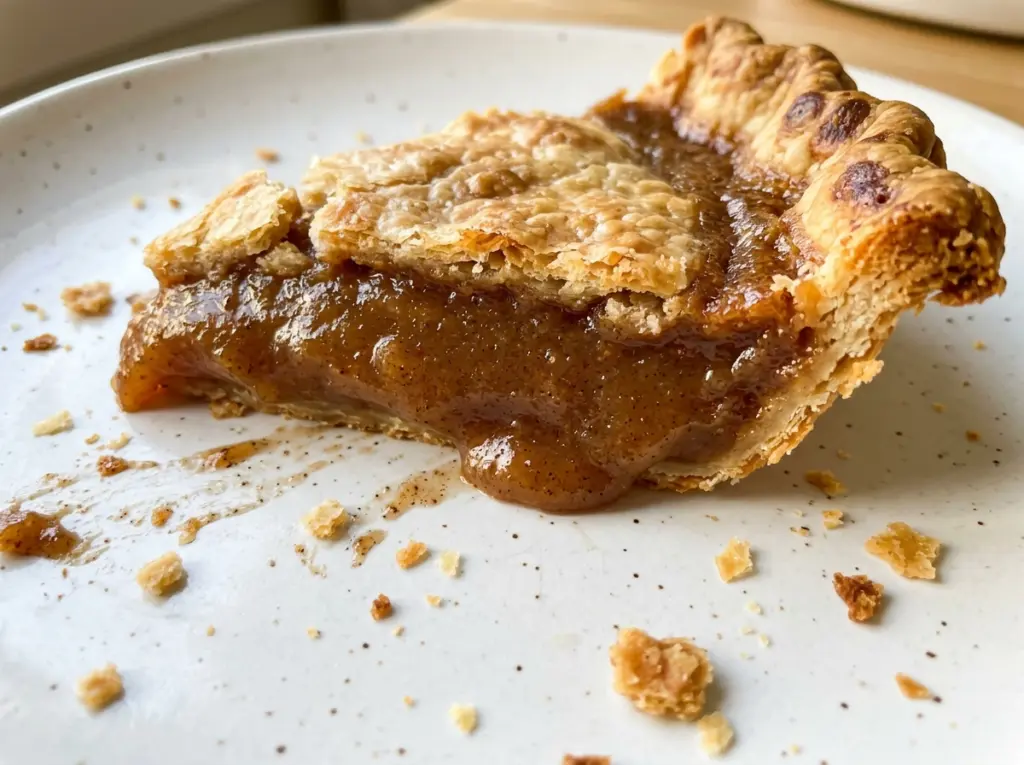
As the pie cools, its center settles from a gentle wobble into a smooth slice, and the kitchen smells warmly of cooked apples and spice. Apple Butter Pie has the familiar comfort of a custard pie, but the fruit gives each bite a deeper, more concentrated apple flavor than fresh slices would.
I like how little fuss the filling takes: apple butter and brown sugar whisk together into a thick base, then eggs and evaporated milk turn it into a silky custard. Cinnamon, ginger, and vanilla round it out without hiding the apple. The texture lands between a classic pumpkin pie and a soft apple spread—smooth, tender, and rich enough to make a small slice feel complete.
The pastry stays simple, too: a refrigerated crust fitted into a 9-inch pie plate, with no separate crust-baking step. Once the filling is baked and the pie has had time to cool, the slices hold their shape while the center stays soft and fragrant.
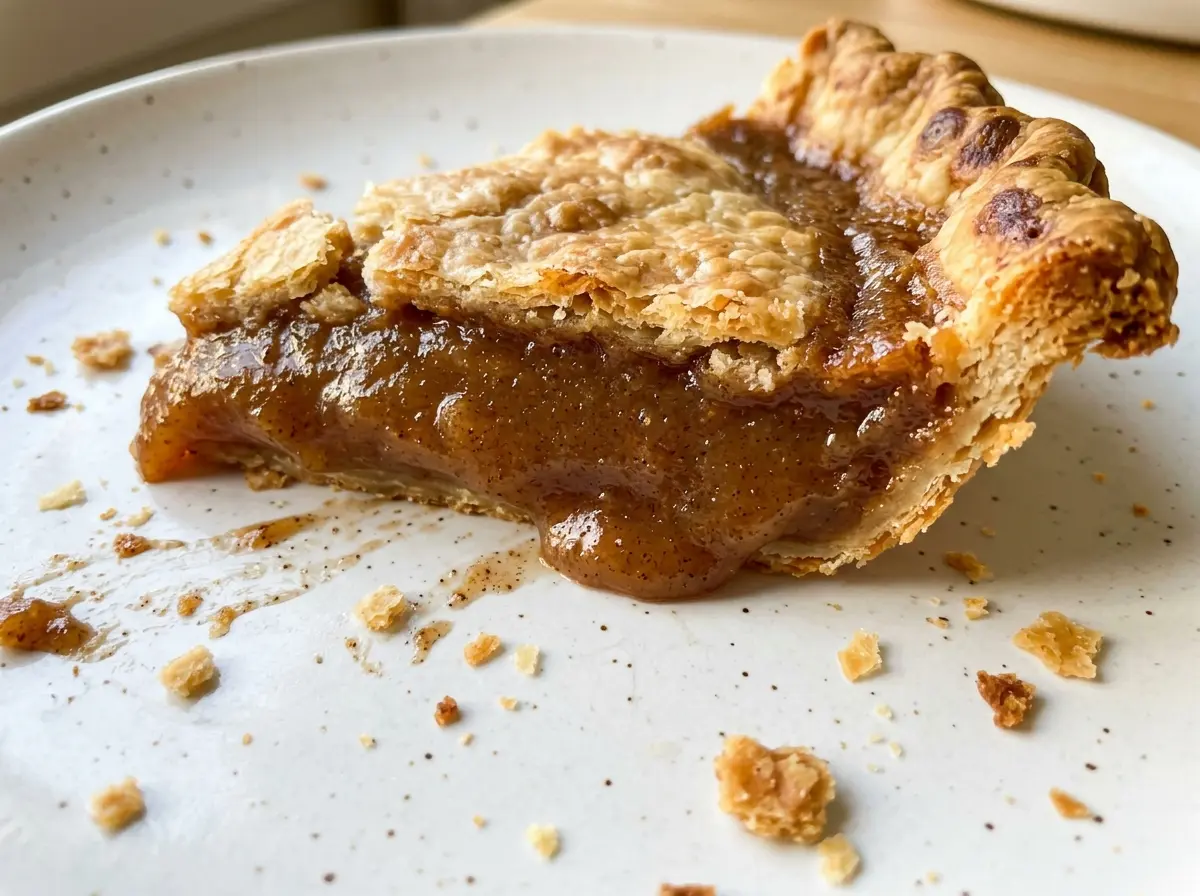
Kitchen Note
Crimp the crust, then tuck the pie plate into the refrigerator while you mix the filling. That short chill firms the pastry again, which helps the edge keep its shape when the pie goes into the hot oven.
Save this Apple Butter Pie for a smooth, warmly spiced custard slice with a flaky pastry edge.
Why Apple Butter Pie Has a Custard Center, Not Apple Slices
Fresh apples bring pieces of fruit and their own moisture to a pie. Apple butter has already been cooked down into a smooth spread, so it gives this filling a concentrated apple flavor without leaving chunks that need to soften in the oven. The eggs provide the structure, while evaporated milk keeps the baked filling tender rather than dense.
That balance is what makes this pie different from a fruit pie and also explains why a thickener isn’t needed. There’s no loose apple juice to turn into a sauce; instead, the filling sets as a custard. Keep the ingredients whisked together until the mixture looks even, with no streaks of egg or brown sugar. The finished pie should feel soft when cut, not rubbery or firm all the way through.
Think of the texture as the point, not a sign that the filling needs extra flour or a longer bake. A smooth, gently set center lets the apple butter stay at the front, with the warm spices following behind.
The Apple Butter and Evaporated Milk Shape the Filling
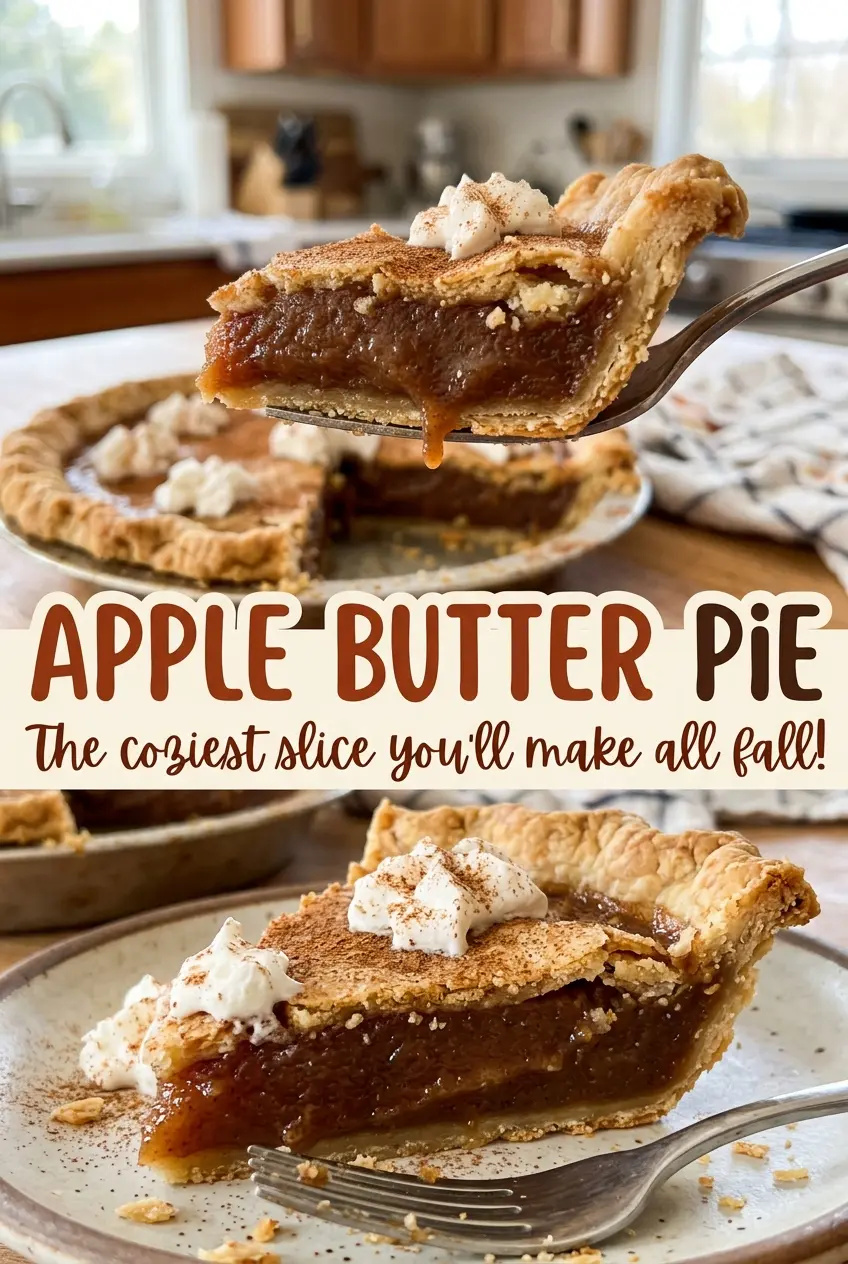
- Apple butter — Choose a smooth one with a flavor you enjoy on its own; it carries the main fruit taste, so quality matters more here than in a background ingredient. Homemade apple butter works too if it has a spreadable consistency. A chunky version leaves little fruit flecks and gives the custard a less uniform texture.
- Evaporated milk — Its concentrated milk solids help make the filling creamy without making it watery. Use plain evaporated milk, not sweetened condensed milk; condensed milk brings a much higher sweetness and a thicker consistency that changes the balance.
- Eggs — Large eggs set the filling as it bakes. Bring them out of the refrigerator while you prepare the crust and other ingredients so they whisk into the apple butter mixture more easily; there isn’t a direct egg-free swap that keeps this custard’s texture.
- Light brown sugar — Packed brown sugar adds sweetness and a light molasses note that fits the cooked apple flavor. Dark brown sugar works in the same amount if that’s what you have, with a deeper molasses taste.
- Cinnamon and ginger — Ground spices blend directly into the filling, so fresh, fragrant jars make a noticeable difference. If your spices have been open for years, the pie will taste flatter even though the custard still sets.
- Vanilla extract — A small amount rounds out the apple and spice. Use the extract you keep for baking; there’s no need to seek out a specialty bottle for this pie.
- Refrigerated pie crust — A standard 9-inch crust keeps the preparation straightforward and gives the custard a flaky pastry base. The crust doesn’t need to be an expensive brand, but choose one that fits a 9-inch pie plate.
From a Chilled Crust to a Gently Set Center
Fit the Crust Into the Pie Plate
Heat the oven to 425°F, then unroll the refrigerated crust and fit it into a 9-inch pie plate. Press it into the plate without stretching the dough, then crimp the edge. Put the prepared crust in the refrigerator while you make the filling; a stretched crust is more likely to pull back from the rim as it bakes.
Whisk the Filling Until It Looks Even
In a medium bowl, whisk the apple butter and packed light brown sugar together first. Add the eggs, evaporated milk, cinnamon, ginger, salt, and vanilla, then whisk until the mixture is smooth and evenly colored. Scrape the bottom and sides of the bowl if you see dark streaks of apple butter or sugar clinging there. A uniform filling gives every slice the same custardy texture.
Let the Two Oven Temperatures Do Their Work
Pour the filling into the chilled crust and bake at 425°F for 15 minutes. Reduce the oven to 350°F and continue baking for 35 to 45 minutes, until the edges look set and the center still wobbles slightly; the center should register 175°F. If the crust edge is browning too quickly, cover it loosely with foil so it doesn’t get too dark while the middle finishes.
Give the Pie Time to Set Before Slicing
Move the pie to a wire rack and let it cool for at least 3 hours before cutting. The center continues to settle as the pie cools, so slicing while it’s hot can leave you with a soft, messy piece. Once fully cooled, the custard cuts cleanly while keeping its tender texture.
Easy Ways to Adapt Apple Butter Pie
Make It Gluten-Free With a Refrigerated Pie Crust
Use a refrigerated gluten-free pie crust sized for a 9-inch pie plate and prepare it according to its package handling directions. The filling remains the same; the crust may bake up a little more tender or crumbly than wheat pastry, depending on the brand.
Use Homemade Apple Butter for a More Personal Apple Note
Homemade apple butter fits this pie as long as it’s smooth and thick enough to hold its shape on a spoon. Measure the same amount as you would with store-bought apple butter; the finished pie will reflect the particular apple variety and spice balance in your batch.
Choose Chunky Apple Butter for a Little Texture
A chunky apple butter makes a pie with small bits of fruit through the custard instead of a completely smooth slice. The flavor stays apple-forward, but the texture shifts away from the classic silky finish, so use this option when you want the fruit to be more noticeable.
Storage and Reheating
- Refrigerator: Cover and refrigerate leftovers for up to 4 days. The custard stays tender, though the crust gradually softens.
- Freezer: Freezing isn’t recommended for the best texture; custard can turn watery as it thaws, and the crust loses its flaky bite.
- Reheating: No reheating is needed. Serve cold or let an individual slice sit briefly to take off the refrigerator chill; microwaving can soften the pastry unevenly.
Questions That Come Up When Baking Apple Butter Pie
Apple Butter Pie
Ingredients
Equipment
Method
- Preheat the oven to 425°F.
- Unroll the pie crust and fit it into a 9-inch pie plate.
- Crimp the edge, then refrigerate the crust while you make the filling.
- Whisk the apple butter and brown sugar in a medium bowl.
- Whisk in the eggs, evaporated milk, cinnamon, ginger, salt, and vanilla until smooth.
- Pour the filling into the chilled crust.
- Bake for 15 minutes.
- Reduce the oven temperature to 350°F and bake for 35 to 45 minutes more, until the edges are set, the center wobbles slightly, and the center registers 175°F. Cover the crust edge loosely with foil if it browns too quickly.
- Cool the pie on a wire rack for at least 3 hours before slicing.


