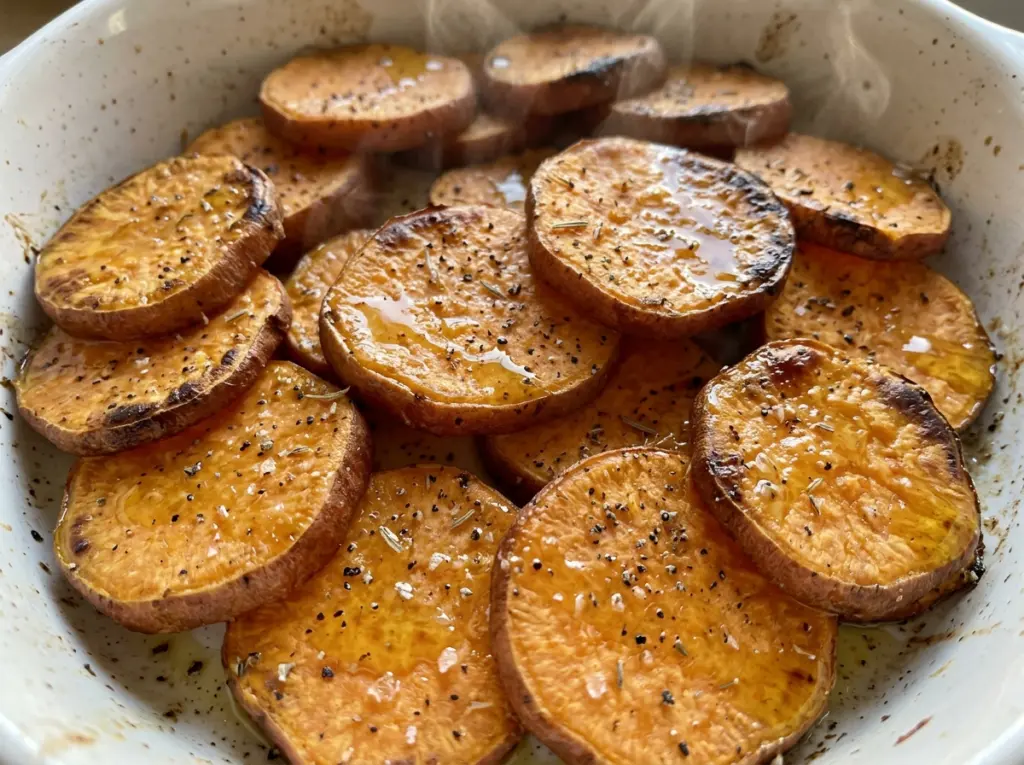
The edges are the first thing I watch on these sweet potato rounds. They start to turn golden while the centers are still firm, and that’s the moment when it’s worth trusting the fork more than the color. I used to pull the pan as soon as the edges browned; giving the slices time to soften all the way through makes these baked sweet potato slices tender inside without losing those toasty edges.
I keep the seasoning to olive oil, kosher salt, and black pepper so the sweet potatoes stay at the center of the dish. Tossing everything right on the parchment-lined pan saves a bowl, and the 1/2-inch rounds roast in the time it takes to set the table. They’re a simple side with a warm, earthy sweetness and just enough pepper to keep each bite balanced.
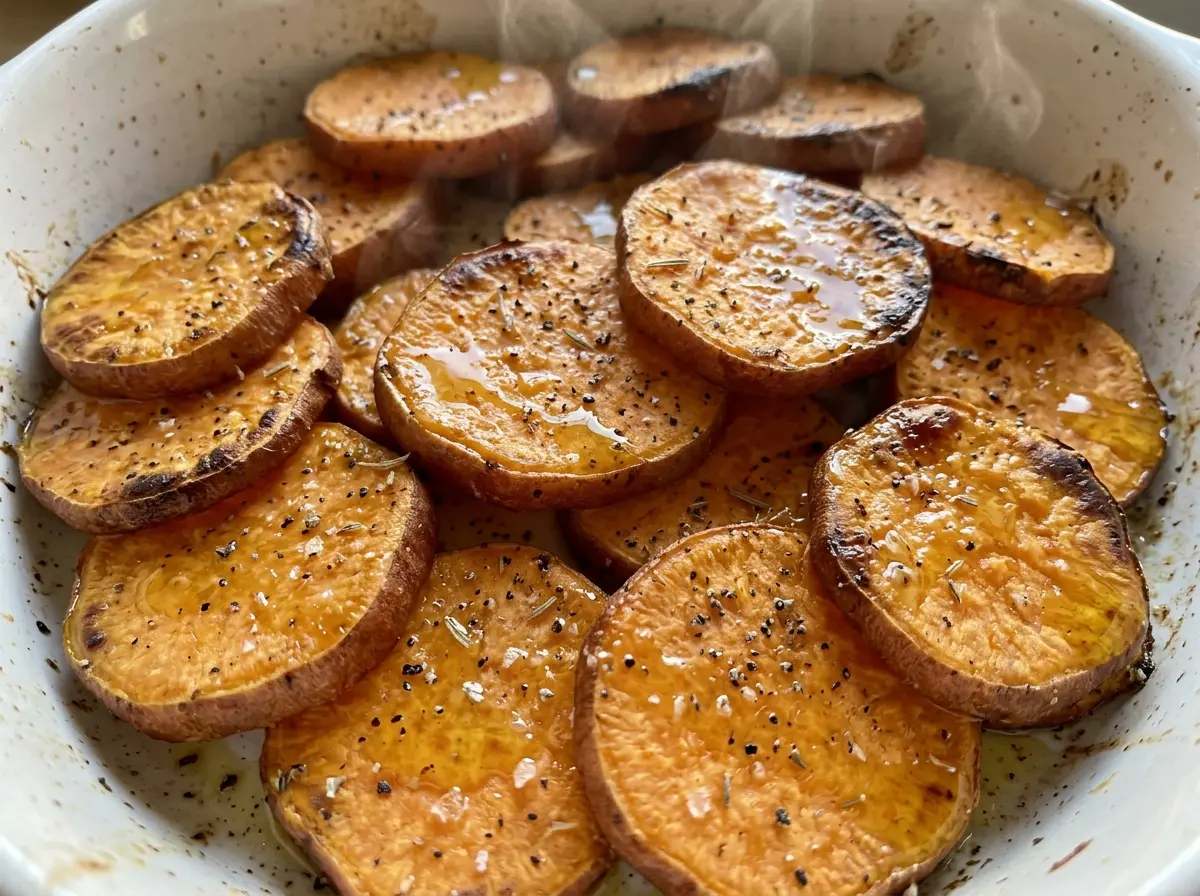
Kitchen Note
Cutting the rounds to a consistent 1/2-inch thickness makes a noticeable difference: thinner pieces soften sooner, while thicker ones can still be firm at the center. I take a moment to keep the slices even before they go onto the pan.
Save these baked sweet potato slices for an easy side with browned edges and tender centers.
Why a Single Layer Matters More Than Extra Oven Time
When the rounds overlap, the covered spots don’t roast in the same way as the exposed edges. They hold on to moisture and soften before they can brown, so adding more time won’t give the whole pan the same texture. A little room between slices lets the hot oven reach the surfaces evenly.
Use the full rimmed 18×13-inch baking sheet and arrange the rounds in one layer rather than piling them up. If the slices are crowded, take a moment to spread them out before baking. That small choice gives the edges a chance to brown while the centers turn tender, instead of leaving you with a pan of unevenly softened pieces.
The parchment helps keep the rounds from sticking while you turn them, and it makes cleanup easier. You’re looking for space around the slices, not a perfectly measured gap; just avoid stacking or overlapping them. The pan should look organized, with each round sitting flat against the parchment.
What the Sweet Potatoes, Oil, and Seasoning Each Bring

- Sweet potatoes — Choose firm potatoes without soft spots or shriveled areas. Scrub them well and leave the skin on for this version; it helps the rounds hold their shape as you flip them. Regular grocery-store sweet potatoes work well, so there’s no need for a specialty variety.
- Olive oil — It coats the cut surfaces so they roast rather than dry out, and an everyday olive oil is all you need here. Save a delicate, expensive oil for a dish where its flavor won’t be muted by the oven. Toss the slices until there are no dry patches before arranging them.
- Kosher salt — Its crystals are easy to distribute over the rounds when you toss them. Use the kind listed for reliable seasoning; finer salts can taste saltier when measured by volume, so they aren’t an automatic one-for-one swap.
- Black pepper — Pepper gives the sweet flesh a mild savory edge. Freshly ground pepper has a more pronounced aroma, but ordinary pre-ground pepper works perfectly well for a straightforward side dish.
From Raw Rounds to Tender, Browned Edges
Get the oven and pan ready
Heat the oven to 425°F and line a rimmed 18×13-inch baking sheet with parchment paper. Starting with the oven heated gives the slices a steady roasting environment from the moment the pan goes in. Keep the parchment flat so it doesn’t fold over the rounds. While the oven heats, scrub the sweet potatoes and cut them into rounds.
Coat the slices on the pan
Put the sweet potato rounds on the prepared sheet and toss them with the olive oil, kosher salt, and black pepper. Turn the pieces through the oil so their cut sides have a light coating. Spread them out flat in one layer before baking. Dry-looking patches are a sign that a round hasn’t been tossed through the oil yet.
Roast, flip, and check the centers
Bake for 25 to 30 minutes, flipping the rounds halfway through. Use a spatula to turn each piece so the second side has time against the hot pan. The edges should be browned, and a fork should pierce the center without resistance. If the edges have color but the center still feels firm, rely on the fork test rather than pulling the pan early.
Two Simple Ways to Change These Sweet Potato Rounds
Peel the potatoes for a softer surface
Peeling before you cut the rounds removes the skin and gives the slices a more uniform, soft exterior. The pieces won’t have the slight chew that comes from leaving the skin on, but the roasting method and seasoning stay the same.
Scale it down for a smaller meal
For a half batch, halve each ingredient and keep the rounds the same thickness. Spread the smaller amount over the same parchment-lined sheet instead of changing the cut; start checking for browned edges and fork-tender centers within the usual roasting window, since a smaller batch may finish a little sooner.
Storage and Reheating
- Refrigerator: Store cooled slices in a covered container for 3 to 4 days. They’ll soften in the refrigerator and won’t be as crisp at the edges.
- Freezer: Freeze the cooled rounds in a single layer first, then transfer them to a freezer-safe container for up to 2 months. Thawing can make the texture softer, so they’re best reheated rather than served cold.
- Reheating: Warm them in a 425°F oven until heated through. Spread them out on a baking sheet; stacking them traps steam and makes the edges softer.
Questions That Come Up While Roasting Sweet Potato Slices
Baked Sweet Potato Slices
Ingredients
Equipment
Method
- Heat the oven to 425°F.
- Line a rimmed 18x13-inch baking sheet with parchment paper.
- Toss the sweet potato slices with the olive oil, salt, and pepper on the baking sheet.
- Arrange the slices in a single layer.
- Bake for 25 to 30 minutes, flipping the slices halfway through, until browned at the edges and tender when pierced with a fork.


