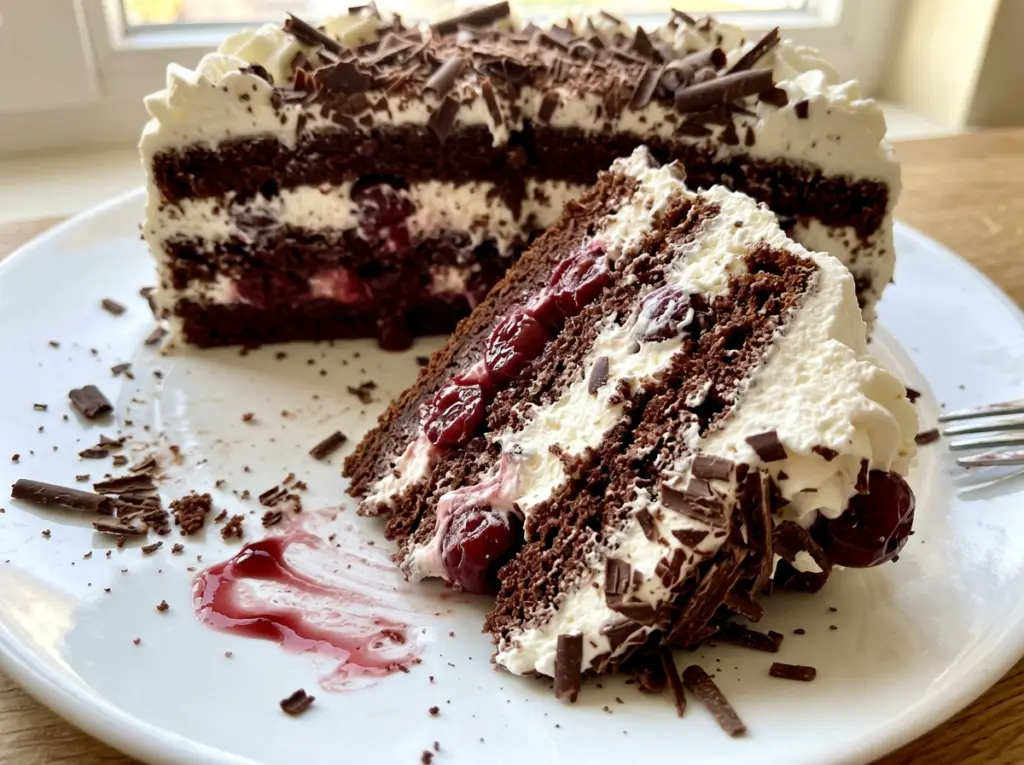
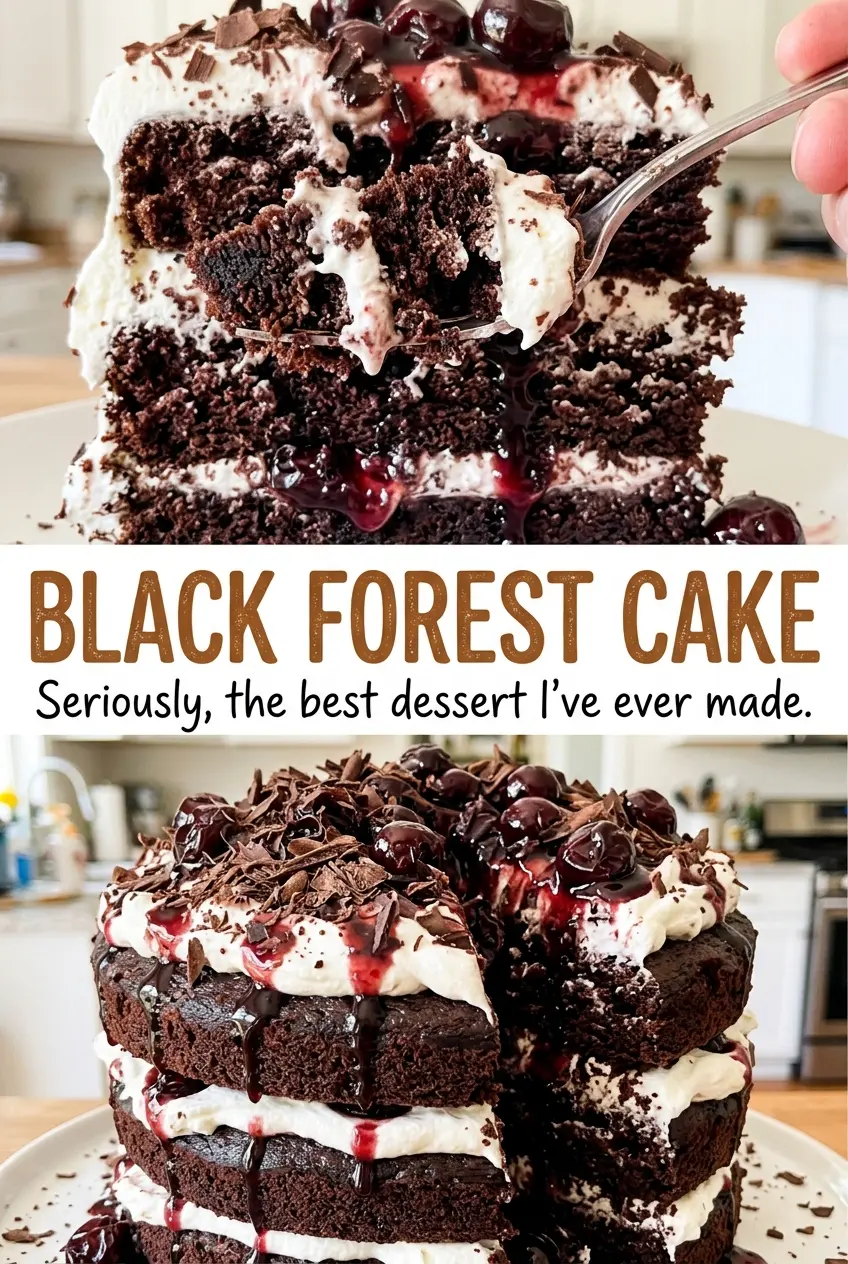
The batter looks surprisingly loose after the hot coffee goes in, and the first time I made this cake I wondered if I’d missed something. I hadn’t: that smooth, pourable batter bakes into tender chocolate layers, and the coffee deepens the cocoa without making the cake taste like a cup of coffee. Black Forest Cake brings those layers together with tart cherries and a soft blanket of whipped cream.
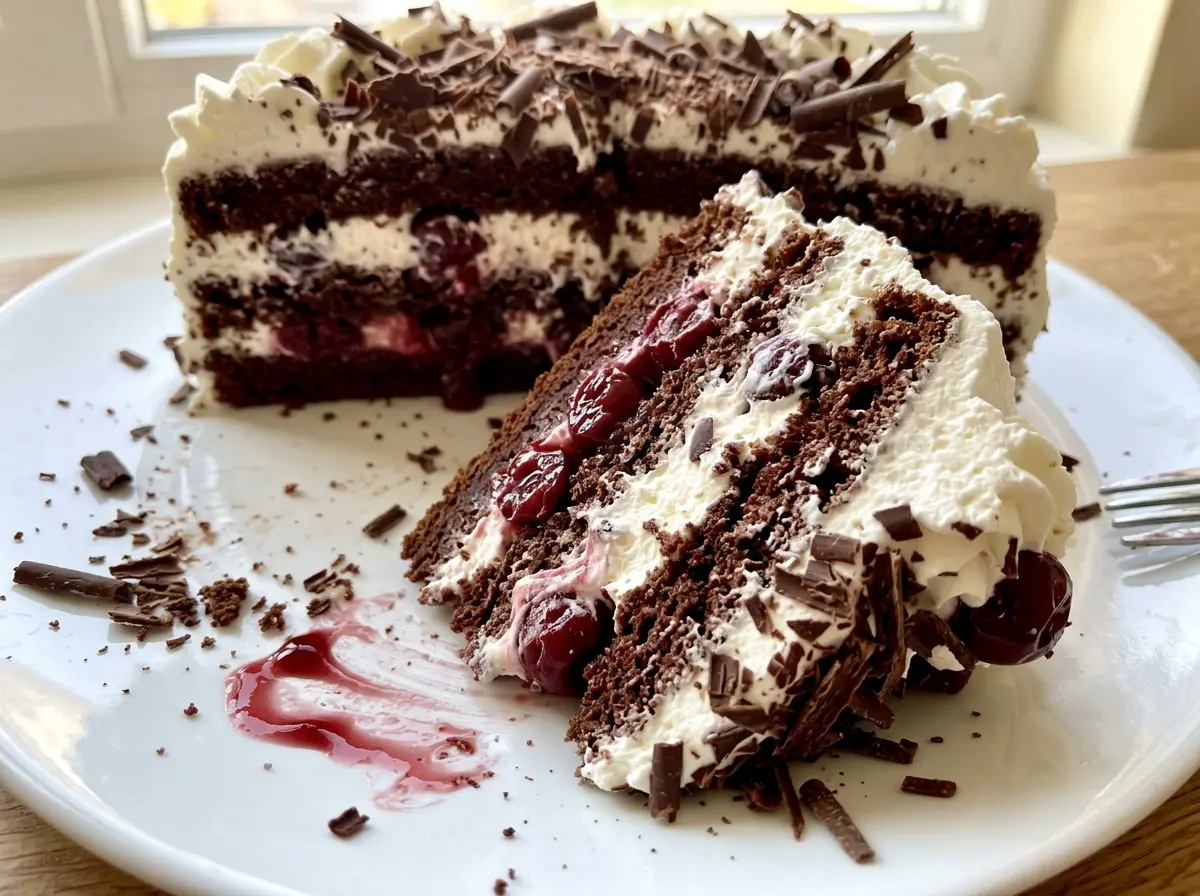
I keep the cherries’ liquid instead of pouring it down the drain. Simmered with sugar, cornstarch, and lemon juice, it turns into a glossy filling that clings to the cherries instead of running out between the layers. Once the cake is chilled, each slice holds its shape: dark chocolate cake, bright cherry filling, cool cream, and delicate shavings of semisweet chocolate.
Kitchen Note
Beat the cream until the peaks stand upright when you lift the beaters. Stop there; if you keep going, the cream can turn grainy and become harder to spread smoothly over the cake.
Save this Black Forest Cake for its tender chocolate layers, tart cherry filling, and cloud of whipped cream.
Why the Cherry Liquid Belongs in the Filling
Those cans of tart cherries hold more than fruit. The reserved liquid carries a concentrated cherry flavor, so using it as the base of the filling gives the cake a stronger, more connected cherry taste than thickening plain water. I measure a cup and top it up with water only if the cans haven’t yielded enough.
The cornstarch does the work of turning that liquid into a filling that stays between the cake layers. Whisking it with the sugar before adding liquid helps it disperse instead of forming little lumps. Once the mixture simmers, it changes from cloudy and thin to thick and glossy; that’s the point to stir in the cherries. The filling needs to cool completely before it goes anywhere near the whipped cream, or the cream will soften and the layers can slide.
The lemon juice keeps the filling’s sweetness in check, while the tart cherries provide a clean, bright contrast to the cocoa. It’s a small saucepan step, but it’s what makes the cherry layer taste like part of the cake rather than a loose spoonful of fruit.
What Gives the Cake Its Chocolate-and-Cherry Balance
- Unsweetened cocoa powder — It provides the cake’s chocolate flavor without adding more sugar. A standard grocery-store unsweetened cocoa works well; skip sweetened cocoa drink mix, which changes both sweetness and texture.
- Hot brewed coffee — Stirred into the batter at the end, it brings out the cocoa’s depth. Use coffee you’d drink, but there’s no need for a specialty roast; the chocolate remains the main flavor.
- Tart cherries and their liquid — Canned pitted cherries in water are convenient and give the filling its tang. Keep the liquid for the saucepan, and drain the fruit well before setting it aside. Sweet cherries aren’t a direct match for the intended balance.
- Cornstarch — This thickens the cherry liquid into a glossy filling. Whisk it with the sugar before any liquid goes in; adding it dry to hot liquid makes lumps much more likely.
- Kirsch — A little cherry spirit sharpens the fruit flavor once the pan comes off the heat. It’s added after cooking, so its aroma doesn’t simmer away; omitting it makes a milder, alcohol-free filling.
- Cold heavy cream — Heavy cream whips into the stable topping and filling layers this cake needs. Keep it cold until whipping; powdered sugar sweetens it without the graininess granulated sugar can leave in whipped cream.
- Semisweet chocolate — A vegetable peeler turns it into fine curls for the finish. A solid bar is easier to shave than chocolate chips, which are shaped to hold their form.
Build the Cake in Four Stages
Mix the Thin Chocolate Batter
Heat the oven to 350°F, grease three 8-inch round cake pans, line their bottoms with parchment, and grease the parchment. Whisk the flour, sugar, cocoa, baking powder, baking soda, and salt in a large bowl so the leaveners are evenly distributed. Add the eggs, milk, oil, and vanilla, then beat with a mixer on medium speed for 2 minutes. Stir in the hot coffee until smooth; the batter will be loose, so divide it evenly among the pans rather than trying to thicken it.
Bake and Cool the Layers Fully
Bake for 25 to 30 minutes, until a toothpick inserted in the center comes out with a few moist crumbs. A toothpick covered in wet batter means the centers need more time; a few crumbs are the cue to pull the pans. Let the cakes cool in their pans for 10 minutes, then run a knife around the edges and turn them out. Remove the parchment and cool the layers completely before assembling, so the whipped cream stays fluffy instead of melting against warm cake.
Simmer a Glossy Cherry Filling
Measure 1 cup of reserved cherry liquid, topping it up with water if needed, and set the drained cherries aside. In a medium saucepan, whisk the sugar and cornstarch together, then gradually whisk in the liquid and lemon juice until the mixture is smooth. Bring it to a simmer over medium heat, stirring, and cook for 1 to 2 minutes until thick and glossy. Stir in the cherries and cook for 1 minute, then remove the pan from the heat, stir in the kirsch, and let the filling cool completely.
Stack, Frost, and Chill
Beat the cold heavy cream and powdered sugar in a chilled bowl until stiff peaks form. Set one cake layer on a serving plate and spread 3/4 cup whipped cream over it, stopping about 1/2 inch from the edge; spoon half the cooled cherry filling over the cream. Add the second layer and repeat with 3/4 cup cream and the remaining filling, then place the last cake layer on top. Frost the top and sides with the remaining cream, shave semisweet chocolate over the cake with a vegetable peeler, and refrigerate for at least 1 hour before slicing.
Two Thoughtful Ways to Adapt This Black Forest Cake
Make the Chocolate Layers Gluten-Free
Replace the all-purpose flour with the same amount of a cup-for-cup gluten-free baking flour blend designed to replace wheat flour. The layers may be a little more delicate, so let them cool completely and turn them out gently before stacking. The cocoa, cherry filling, and whipped cream keep the same character.
Leave Out the Kirsch
For a cherry filling without alcohol, leave out the kirsch and stir the cooked cherries into the thickened liquid as usual. The filling will taste fruit-forward and a little less aromatic, but the tart cherries and lemon juice still give it plenty of brightness.
Storage and Reheating
- Refrigerator: Cover the cake and refrigerate it for up to 3 days. The whipped cream gradually softens, but the cake stays sliceable.
- Freezer: Freezing the assembled cake isn’t recommended; thawing can leave the whipped cream less smooth and the cherry filling wetter.
- Reheating: Don’t reheat this cake. Serve it chilled so the cream and cherry layers keep their shape.
Questions That Come Up When Making Black Forest Cake
Black Forest Cake
Ingredients
Equipment
Method
- Heat the oven to 350°F.
- Grease three 8-inch round cake pans, line the bottoms with parchment paper, and grease the parchment.
- Whisk the flour, sugar, cocoa powder, baking powder, baking soda, and salt in a large bowl.
- Add the eggs, milk, oil, and vanilla, and beat with a mixer on medium speed for 2 minutes.
- Stir in the hot coffee until the batter is smooth.
- Divide the batter evenly among the pans.
- Bake for 25 to 30 minutes, until a toothpick inserted in the centers comes out with a few moist crumbs.
- Cool the cakes in the pans for 10 minutes.
- Run a knife around the edges, turn the cakes out, and remove the parchment.
- Cool the cakes completely.
- Measure 1 cup of the reserved cherry liquid, topping it up with water if needed, and set the drained cherries aside.
- Whisk the sugar and cornstarch in a medium saucepan.
- Gradually whisk in the cherry liquid and lemon juice until smooth.
- Bring the mixture to a simmer over medium heat, stirring, and cook for 1 to 2 minutes until thick and glossy.
- Stir in the cherries and cook for 1 minute.
- Remove the pan from the heat and stir in the kirsch.
- Cool the cherry filling completely.
- Beat the heavy cream and powdered sugar in a chilled bowl until stiff peaks form.
- Set one cake layer on a serving plate.
- Spread 3/4 cup whipped cream over the layer, stopping about 1/2 inch from the edge.
- Spoon half the cooled cherry filling over the cream.
- Add the second cake layer.
- Spread 3/4 cup whipped cream over the second layer, stopping about 1/2 inch from the edge.
- Spoon the remaining cherry filling over the cream.
- Place the final cake layer on top.
- Frost the top and sides with the remaining whipped cream.
- Use a vegetable peeler to shave the chocolate over the top and sides.
- Refrigerate the cake for at least 1 hour before slicing.


