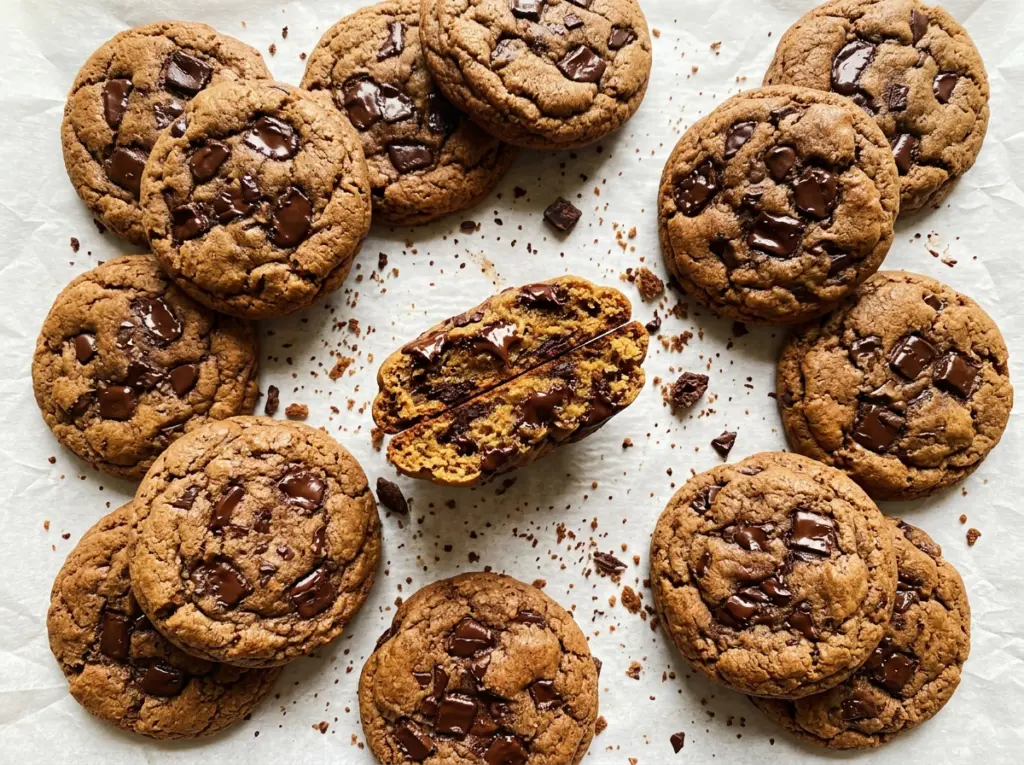
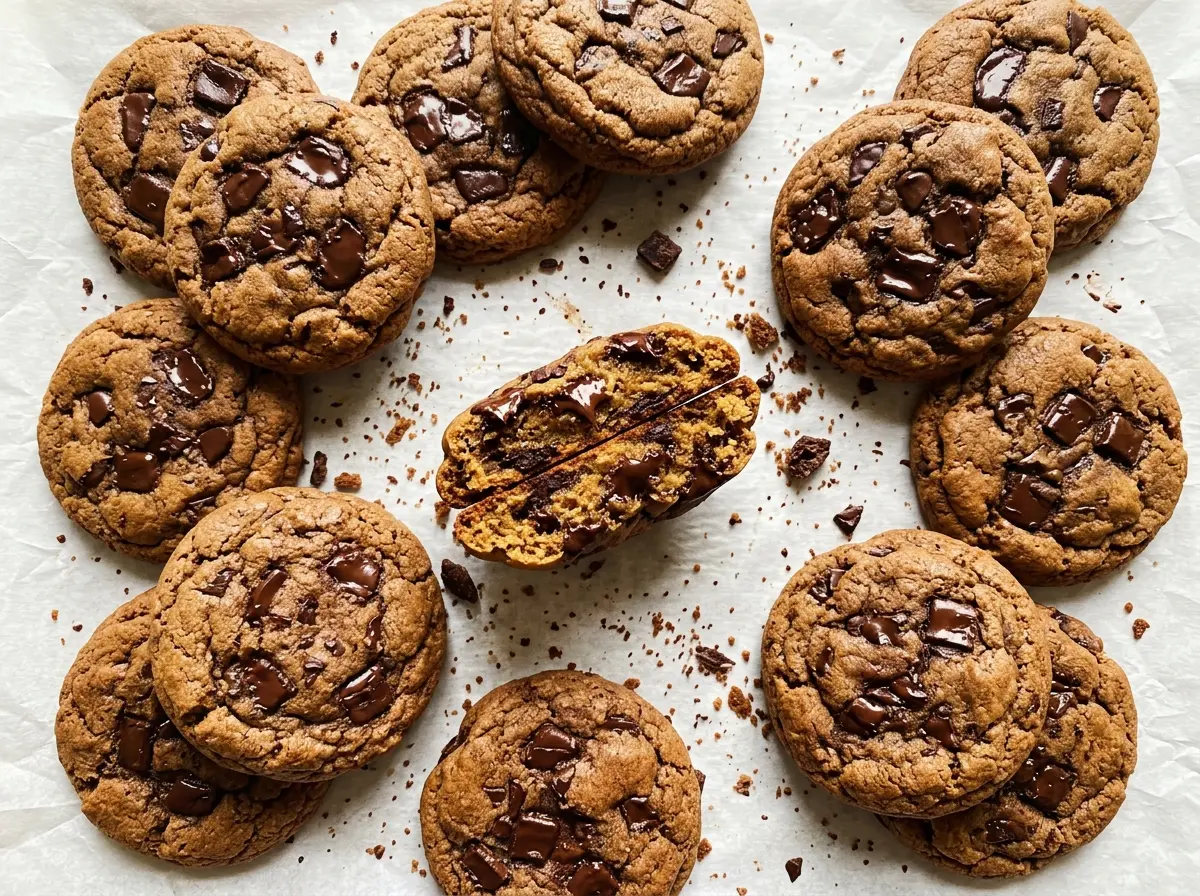
When the oven door opens, the kitchen smells like cocoa before you can even see the cookies. These dark chocolate brown sugar cookies have a deep, brownie-like chocolate base, with chopped chocolate melting into uneven pockets throughout. I like that every bite has a little contrast: a tender middle, a lightly set edge, and pieces of dark chocolate that don’t disappear into the dough.
Light brown sugar keeps the cookies pleasantly chewy, while unsweetened cocoa makes the chocolate flavor feel full rather than sugary. Chilling the dough gives it time to firm up, which makes the portions easier to handle and helps the cookies bake with a thicker shape. Once they’ve cooled, the chocolate settles into soft, rich bites tucked through the cocoa dough.
Kitchen Note
Let the baking sheet cool completely before the next batch goes on. A warm sheet starts melting the butter in the dough before the cookies even reach the oven.
Save these dark chocolate brown sugar cookies for a bake with chewy cocoa centers and generous pockets of chopped chocolate.
Why This Dough Needs a Chill Before It Goes in the Oven
Butter that’s soft enough to cream makes a dough that’s easy to mix, but it also means the finished dough starts out pliable. Cocoa and flour absorb moisture as the dough rests, and the butter firms back up in the refrigerator. That change makes a difference when you scoop: chilled portions hold their shape better instead of slumping as soon as they meet the warm baking sheet.
Skipping the chill can leave you with thinner cookies and less definition between the edge and center. The hour isn’t busywork; it gives the dough time to become more manageable without adding flour, which could make the cookies dry. Covering the bowl also keeps the surface from drying out while the dough rests. When you scoop, the dough should feel cool and hold together cleanly instead of sticking heavily to your hands or spoon.
What the Cocoa and Chopped Chocolate Each Bring

- Unsweetened cocoa powder — This builds the cookie’s chocolate base without adding sweetness. Use cocoa that smells fresh and chocolatey; an old, flat-smelling container won’t give the dough the same depth. Keep it unsweetened so the balance of brown sugar and dark chocolate stays right.
- Dark chocolate — Chopping a bar gives you a mix of small flecks and larger pieces, rather than identical bits. A good everyday bar works well here; the cacao percentage is a useful way to choose whether you want the finished cookie to taste more bittersweet or a little sweeter.
- Light brown sugar — Its moisture helps the cookies stay chewy, and the mild molasses note sits nicely beside the cocoa. Pack it firmly when measuring. Light brown sugar is the intended choice for a balanced flavor; a darker sugar would bring a stronger molasses taste.
- Unsalted butter — Softened butter creams smoothly with the sugar and gives the dough its rich texture. It doesn’t need to be a specialty brand, but it should be softened rather than melted; melted butter changes how the dough comes together.
- Eggs — Room-temperature eggs blend into the creamed butter more evenly than cold ones. Set them out while you gather the other ingredients, rather than warming them in a way that could partially cook them.
- All-purpose flour and baking soda — Together, they give the cookies structure and lift without taking them into cake territory. Measure the flour carefully; adding extra to a cocoa-heavy dough can make the baked cookies noticeably drier.
From Creamed Butter to Soft-Centered Cookies
Cream the Butter and Brown Sugar
Beat the softened butter and packed brown sugar with an electric mixer on medium speed for about 2 minutes. The mixture should look creamy and evenly combined, not like separate butter pieces coated in sugar. If the butter is too firm, it won’t cream smoothly; if it’s melted, the dough will begin with a looser texture than intended.
Add the Eggs, Then the Dry Ingredients
Beat in the eggs one at a time, mixing after each addition, then add the vanilla. In a separate bowl, whisk the flour, cocoa powder, baking soda, and salt until the dry ingredients are evenly distributed. Mix them into the butter mixture on low speed only until the last dry streaks disappear. Stop there; prolonged mixing can make cookies tougher.
Fold in the Chocolate and Chill
Fold the chopped chocolate through the dough so the pieces are distributed from edge to edge. Scrape the bowl as you fold, since chocolate often collects at the bottom. Cover the dough and refrigerate it for 1 hour. The finished dough will be firmer and easier to portion than it was before chilling.
Scoop, Bake, and Let the Cookies Set
Heat the oven to 350°F and line an 18×13-inch baking sheet with parchment paper. Scoop the dough into 2-tablespoon portions, spacing them about 2 inches apart, and bake in batches for 10 to 12 minutes. Take them out when the edges are set but the centers still look soft; waiting for the centers to look fully firm can leave the cookies dry after they cool. Leave each batch on the baking sheet for 5 minutes, then transfer the cookies to a wire rack to cool completely.
Three Small Changes That Give These Cookies a Different Feel
Choose the Sweeter or More Bittersweet End of the Chocolate Range
Use dark chocolate at 60% cacao for a rounder, slightly sweeter chocolate bite, or choose 70% for a more assertive bittersweet note. Both work with the cocoa dough; the choice changes the balance, not the method.
Change the Size of the Chocolate Pieces
Chop the chocolate into smaller pieces for more frequent chocolate flecks in each cookie, or leave a few larger chunks for distinct, rich pockets. Keep the total amount of chocolate the same so the dough keeps its intended balance.
Make a Half Batch
Halve each ingredient, including the eggs, and you’ll get about 12 cookies instead of 24. Use one large egg, keep the same 2-tablespoon portion size, and follow the same chilling and baking process. The smaller batch gives you the same style of cookie without leaving a full two dozen on the counter.
Keeping the Cookies Fresh
- Room temperature: Keep completely cooled cookies in an airtight container for up to 4 days. They soften a little as they sit.
- Freezer: Freeze cooled cookies in an airtight freezer container for up to 2 months. Thaw them at room temperature before serving.
- Reheating: Warm cookies in a 300°F oven for 3 to 4 minutes if you’d like the chocolate soft again. Avoid leaving them in too long, since the centers can dry out.
Questions That Come Up While Baking These Cookies
Dark Chocolate Brown Sugar Cookies
Ingredients
Equipment
Method
- Heat the oven to 350°F.
- Line an 18x13-inch baking sheet with parchment paper.
- Beat the softened butter and packed light brown sugar in a large bowl with an electric mixer on medium speed until creamy, about 2 minutes.
- Beat in the eggs one at a time.
- Mix in the vanilla extract until combined.
- Whisk the flour, cocoa powder, baking soda, and salt in a medium bowl.
- Mix the dry ingredients into the butter mixture on low speed just until no dry streaks remain.
- Fold in the chopped dark chocolate.
- Cover the dough and refrigerate for 1 hour.
- Scoop the dough into 2-tablespoon portions and place them about 2 inches apart on the prepared baking sheet.
- Bake in batches for 10 to 12 minutes, until the edges are set and the centers still look soft.
- Cool the cookies on the baking sheet for 5 minutes.
- Transfer the cookies to a wire rack to cool completely.
- Let the baking sheet cool before baking the next batch.


