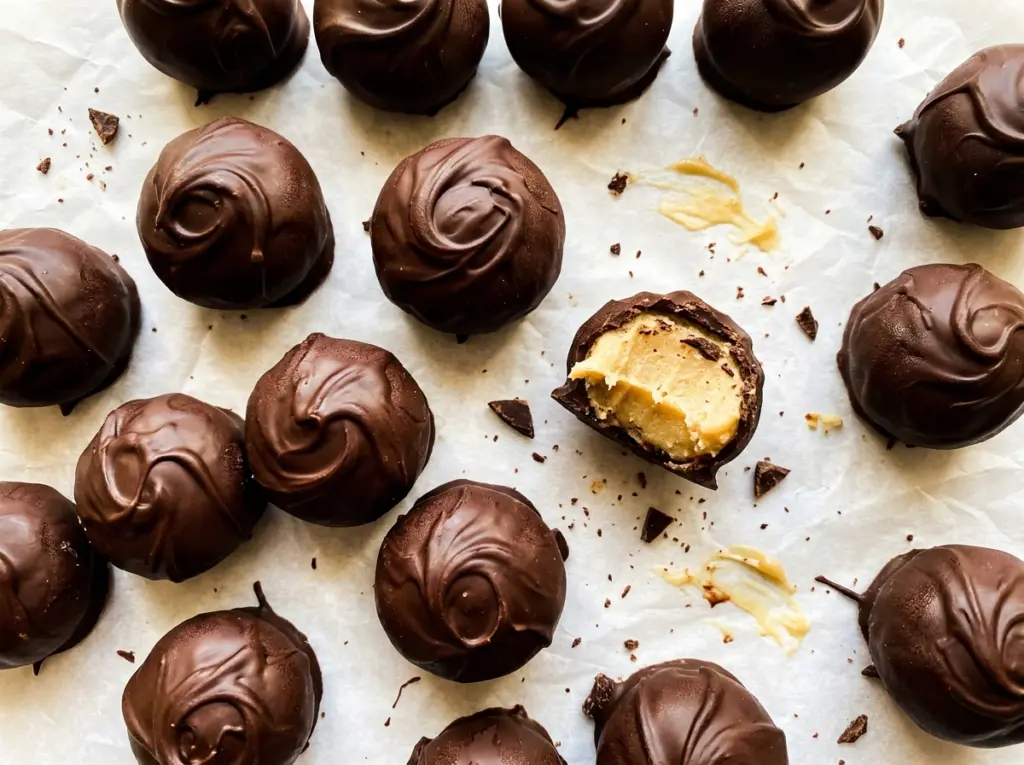
The butter and maple syrup look loose when they first meet in the bowl, and the mixture changes completely once the powdered sugar goes in. That shift is what makes these dark chocolate maple buttercream candies easy to shape: the filling starts smooth, then turns into a firm dough that can be rolled into neat little centers.
I like the contrast here. Pure maple syrup gives the middle its maple flavor, while a dark chocolate shell keeps each bite from tasting one-note sweet. The centers need two separate chills, so I plan for that before I start; the hands-on work is simple, but the cold time is doing useful work.
Once the chocolate sets, the outside snaps gently and gives way to a smooth maple center. They’re rich, tidy little candies with a clear dark-chocolate finish.
Kitchen Note
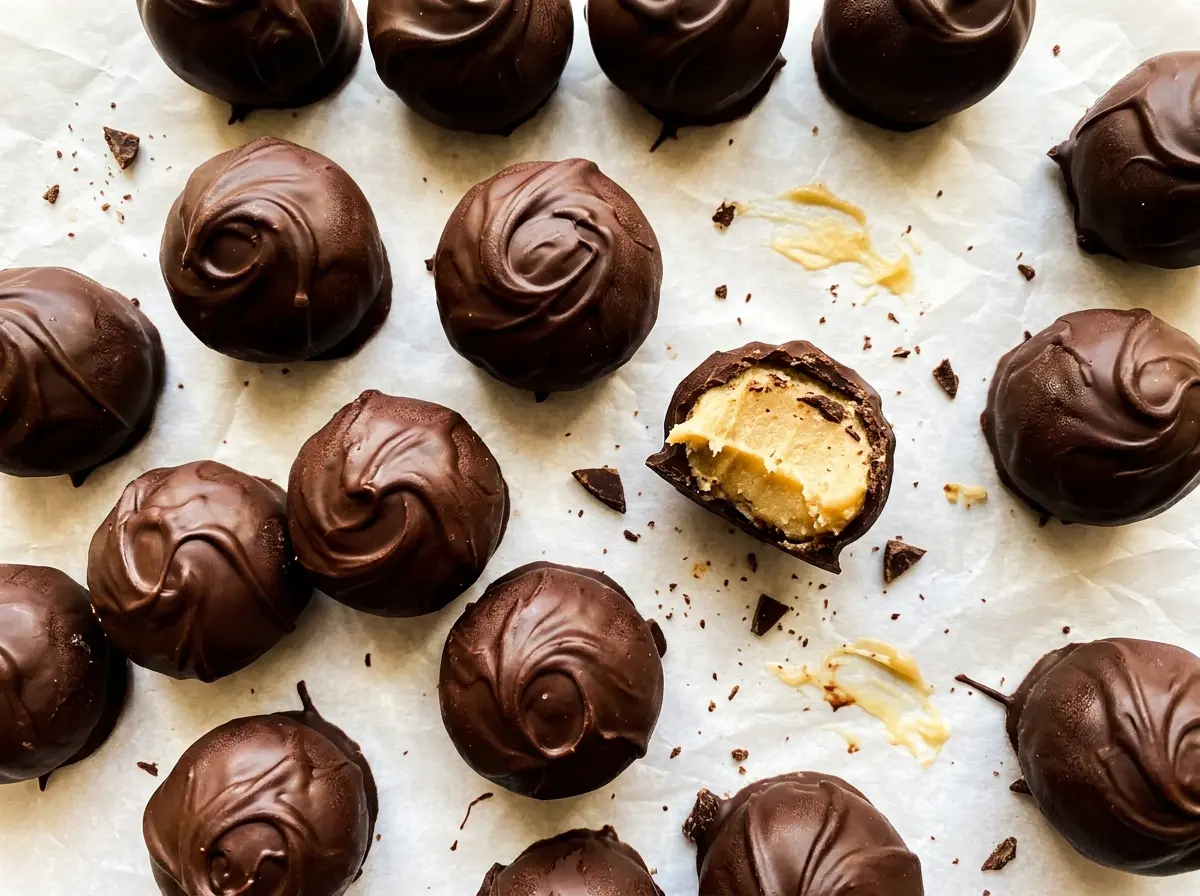
The centers should feel firm after their refrigerator chill, not soft and yielding, before they go into the chocolate. That firmness helps them keep their round shape while you dip and return them to the tray.
Save these dark chocolate maple buttercream candies for a homemade treat with a firm maple center and a bittersweet shell.
Why 60% to 70% Dark Chocolate Balances Maple Buttercream
The filling is built from butter, maple syrup, and powdered sugar, so the coating has an important job beyond holding everything together. Dark chocolate brings a gentle bitterness that cuts through the sweetness and makes the maple taste more distinct. It’s the contrast that keeps these candies from reading as pure sugar from the first bite to the last.
The cacao range gives you room to choose the balance you like without changing the filling. Chocolate at the lower end tastes a little rounder and sweeter; chocolate at the higher end gives you a more pronounced, bittersweet shell. Either way, the finely chopped pieces melt into a smooth coating when warmed gradually. A thick, uneven coating can overwhelm the center, so letting excess chocolate drip back into the bowl matters as much as choosing the chocolate.
Think of the shell as a flavor choice, not just a finish. A stronger chocolate edge makes the maple center seem softer and sweeter by comparison, while a milder shell lets the maple come forward more gently.
What Maple Syrup and Powdered Sugar Each Bring to the Center

- Pure maple syrup — This is where the center gets its unmistakable maple character. Its liquid texture also affects how the buttercream comes together, so pancake-style syrup isn’t a like-for-like choice here. Use a maple syrup you enjoy tasting on its own; the flavor stays noticeable in the finished filling.
- Powdered sugar — Powdered sugar turns the buttery maple mixture into a dough that can be rolled and dipped. Its fine texture blends more smoothly than granulated sugar would, which is why swapping in regular sugar would leave the center gritty rather than giving you the intended smooth bite.
- Unsalted butter — Butter gives the filling its creamy, rich texture. Softened butter blends with the syrup more evenly than cold butter, and unsalted butter lets the measured kosher salt provide the seasoning without adding an unknown amount from the butter.
- Dark chocolate — Finely chopped chocolate melts more evenly than large pieces, and choosing within the stated cacao range lets you decide how bittersweet the shell should taste. A good-quality bar is worth using because chocolate is the first flavor you notice on the outside.
- Refined coconut oil — This helps loosen the melted chocolate so it coats the chilled centers smoothly. Refined oil keeps its flavor quiet, letting the chocolate and maple stay in front.
- Vanilla and kosher salt — Vanilla rounds out the maple filling, while a small amount of salt sharpens its sweetness. Both are supporting flavors, but leaving them out would make the center taste flatter.
From Soft Buttercream to a Clean Chocolate Shell
Beat the Maple Base Until Smooth
Beat the softened butter, maple syrup, vanilla, and kosher salt with a mixer on medium speed until the mixture looks smooth. Scrape down the bowl if butter is clinging to the sides, so the base is evenly combined before the sugar goes in. It may look looser than a finished candy filling at this stage; that’s expected.
Build a Stiff Dough, Then Chill
Add the powdered sugar on low speed, one cup at a time, until a thick, stiff dough forms. Starting low keeps the sugar from flying out of the bowl, and adding it gradually gives the mixer a chance to incorporate it evenly. Cover the bowl and refrigerate the dough for 30 minutes. It should be easier to portion after this rest.
Roll and Firm the Centers
Scoop the dough into 36 portions of about 1 tablespoon each, then roll each one into a ball. Arrange the balls on a parchment-lined 13×18-inch baking sheet with room between them. Refrigerate for 45 minutes, until firm. If a ball feels soft when you lift it, return it to the tray for the remainder of the chill rather than trying to coat it early.
Melt, Dip, and Let the Shell Set
Combine the finely chopped dark chocolate and refined coconut oil in a heatproof bowl. Microwave at 50% power in 30-second intervals, stirring between intervals, until smooth; stop once the chocolate is fluid and glossy. Dip each chilled ball, let the extra chocolate drip back into the bowl, and return it to the baking sheet. Refrigerate the candies for 20 to 30 minutes, until the coating is set.
Choose a Milder or More Bittersweet Chocolate Finish
A Rounder Shell at 60% Cacao
Choose dark chocolate at the lower end of the specified range for a less bitter, slightly sweeter coating. The maple remains clear and prominent, which suits anyone who wants the filling to lead each bite.
A Deeper Shell at 70% Cacao
Use chocolate at the higher end of the range for a more assertive bittersweet bite. The filling will taste sweeter beside it, and the finished candy will have a sharper contrast between the maple middle and chocolate outside.
Keeping and Serving
- Refrigerator: Keep the candies in an airtight container for up to 1 week. The buttercream center will be firmer straight from the refrigerator.
- Freezer: Freeze in an airtight container for up to 2 months. Separate layers with parchment, then thaw in the refrigerator before serving.
- Serving: These are best served cool, when the shell is firm and the center holds its shape. There’s no reheating needed.
Questions That Come Up While Making Maple Buttercream Candies
Dark Chocolate Maple Buttercream Candies
Ingredients
Equipment
Method
- In a large bowl, beat the butter, maple syrup, vanilla, and salt with a mixer on medium speed until smooth.
- Beat in the powdered sugar, 1 cup at a time, on low speed until a thick, stiff dough forms.
- Cover and refrigerate for 30 minutes.
- Scoop the dough into 36 portions of about 1 tablespoon each, roll into balls, and arrange on a parchment-lined 13x18-inch baking sheet.
- Refrigerate for 45 minutes, until firm.
- Combine the chocolate and coconut oil in a heatproof bowl.
- Microwave at 50% power in 30-second intervals, stirring between intervals, until smooth.
- Dip each chilled ball in the melted chocolate, letting excess drip back into the bowl, and return it to the baking sheet.
- Refrigerate the candies for 20 to 30 minutes, until the chocolate coating is set.


