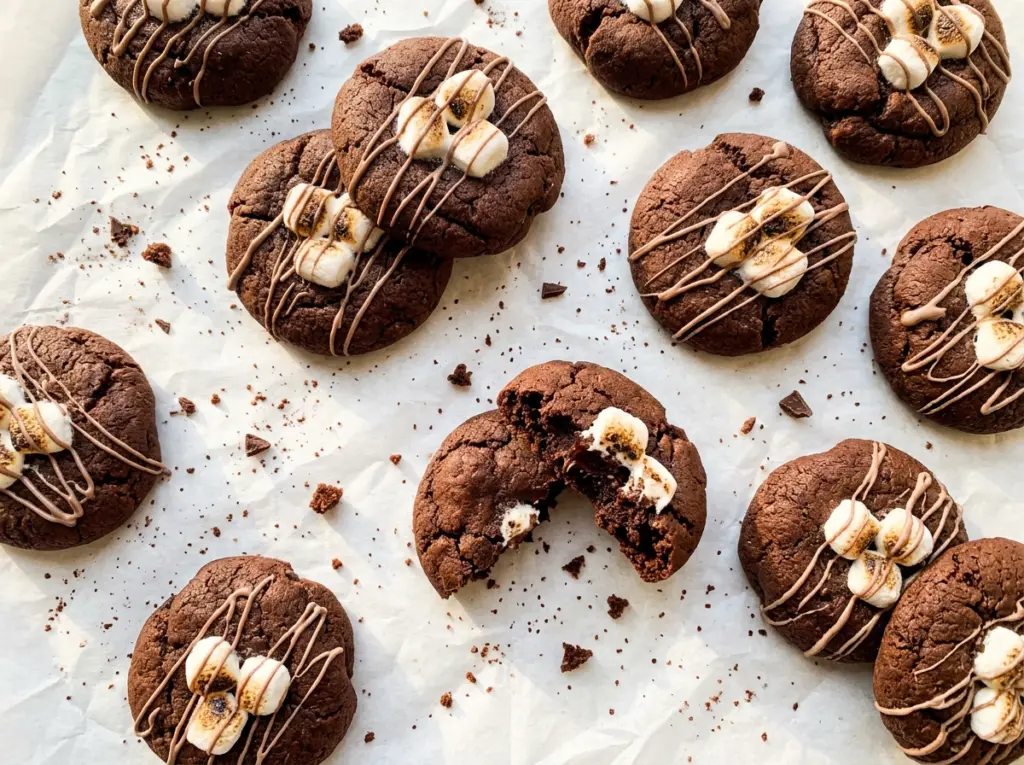
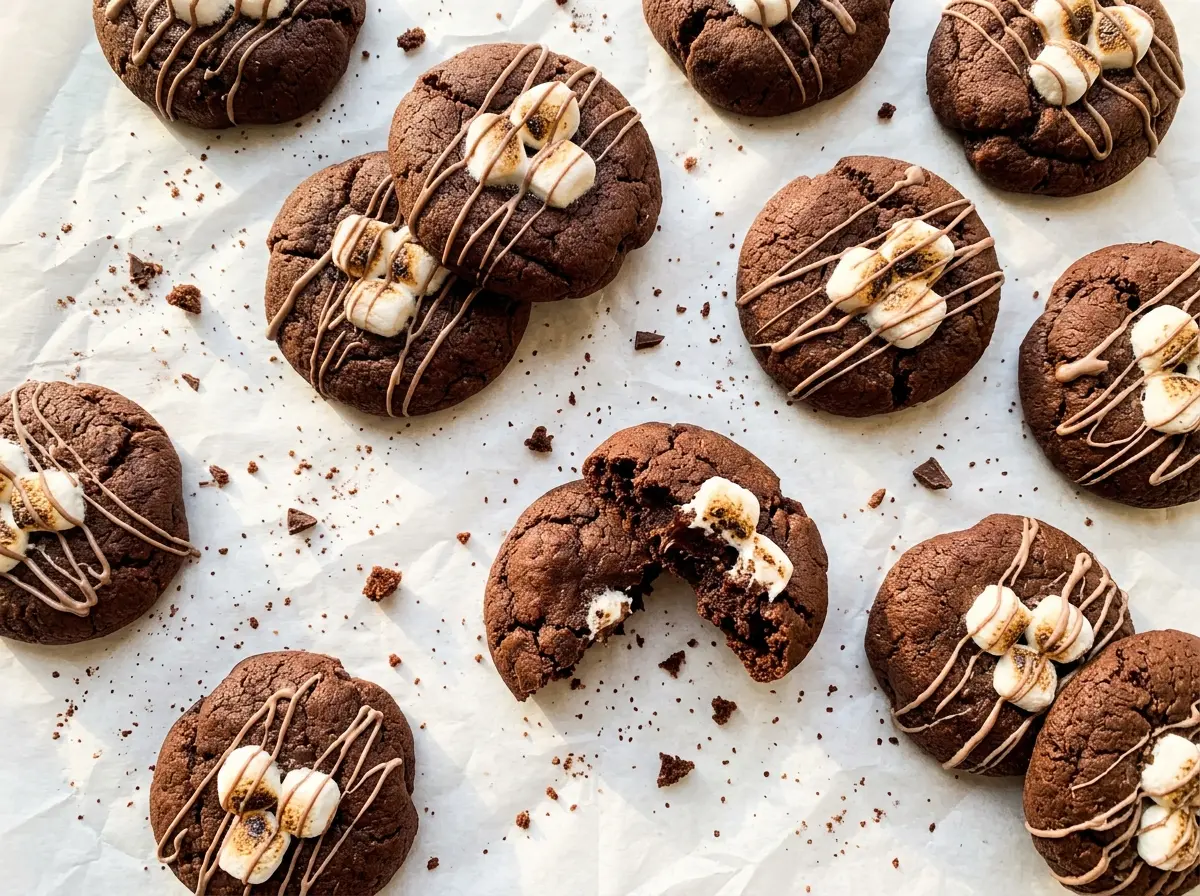
When the first tray comes out, the edges are set but the centers still look soft; that’s the point, not a sign to leave them in longer. I let the cookies cool completely before sandwiching them, because even a little warmth turns the ice cream filling loose. These Frozen Hot Chocolate Cookies sit somewhere between a chewy chocolate cookie and a frozen cocoa treat, with tiny marshmallow bites in the middle.
The cookie dough gets unsweetened cocoa, while the filling gets hot cocoa mix and chocolate syrup. Keeping those chocolate jobs separate gives the cookies a deep cocoa taste and lets the center keep the sweet, familiar hot-chocolate note. I chill the dough before baking so it’s easy to portion into even little rounds.
Once baked, the cookies need time on the rack to cool all the way through before they meet the ice cream. After a good freeze, you get a tender chocolate cookie around a cold, smooth center dotted with marshmallows.
Kitchen Note
Fold the cocoa mixture and marshmallows into the softened ice cream quickly. It should be soft enough to stir, not melted; a loose filling is harder to portion neatly between the cookies.
Save these Frozen Hot Chocolate Cookies for a make-ahead freezer treat, with cocoa-swirled vanilla ice cream and mini marshmallows tucked between chocolate cookies.
Why the Flour Should Disappear Before the Mixer Gets Another Turn
Once flour meets the butter-and-egg mixture, it has enough moisture to start forming gluten. That structure is useful in bread, but too much mixing here can make cookies firm instead of tender. Because cocoa darkens the dough, it’s easy to keep the mixer running while waiting for the usual pale flour streaks to disappear.
Mix on low speed and stop as soon as the dough comes together with no dry pockets; it doesn’t need to turn silky. A bowl of dough that looks perfectly smooth can already be overworked, so don’t beat it just to make it look more polished. The dough should hold together when scooped, without powdery flour left in the bowl. Let the chill firm it up rather than asking the mixer to do extra work.
Why Cocoa Powder Belongs in the Cookies and Cocoa Mix Belongs in the Center

- All-purpose flour and unsweetened cocoa — Flour gives the cookies their structure, and ordinary all-purpose flour from the grocery store works well. Unsweetened cocoa brings concentrated chocolate flavor without adding sweetness; don’t replace it in the dough with hot cocoa mix, which is sweetened and changes the balance. A standard grocery-store cocoa is fine here.
- Butter and sugars — Softened butter creams with the sugars to build the cookie base. Brown sugar contributes moisture and a softer bite, while granulated sugar balances it. Use butter that yields when pressed but isn’t greasy or melted.
- Egg and vanilla — The egg binds the dough, and vanilla rounds out the cocoa flavor. A regular large egg and everyday vanilla extract are all you need; there’s no specialty product doing hidden work here.
- Hot cocoa mix and chocolate syrup — These belong in the filling, not the cookie dough. The mix provides the familiar sweet cocoa note, while syrup brings smooth chocolate flavor; a familiar supermarket cocoa mix works just fine. Stir the two together until smooth before they go near the ice cream.
- Vanilla ice cream and mini marshmallows — Vanilla gives the filling a creamy base that lets the cocoa stand out, and the small marshmallows distribute easily through it. Choose a vanilla ice cream you enjoy eating on its own; soften it only until it’s easy to stir.
From Chocolate Dough to Firm Ice Cream Sandwiches
Mix the Dough and Give It a Chill
Heat the oven to 350°F and line two baking sheets with parchment. Whisk the flour, cocoa powder, baking soda, and salt in a medium bowl. In a large bowl, beat the softened butter with both sugars until creamy, about 2 minutes, then beat in the egg and vanilla. Mix in the flour mixture on low speed just until combined, cover the dough, and chill it for 30 minutes.
Portion and Bake Until the Edges Set
Scoop the dough into 24 portions, about 1 1/2 tablespoons each, and arrange 12 on each baking sheet with 2 inches between them. Bake for 9–11 minutes, rotating the sheets and swapping their oven positions halfway through. Look for set edges and centers that still look just soft. Leave the cookies on the baking sheets for 5 minutes, then transfer them to a rack and cool completely.
Stir Together the Hot Chocolate Filling
In a small bowl, stir the hot cocoa mix and chocolate syrup until smooth. The softened ice cream should be stirrable, not runny. Quickly fold the cocoa mixture and mini marshmallows into the ice cream, keeping the marshmallows distributed through the filling.
Assemble and Freeze Until Firm
Set 12 cookies flat-side up on a parchment-lined baking sheet and divide the filling among them. Top with the remaining cookies, then press gently so the filling spreads to the edges without crushing the cookies. Freeze the sandwiches for at least 3 hours, until firm, then transfer them to an airtight container and keep frozen.
Three Ways to Change the Cookie or the Filling
Make the Cookies Gluten-Free
Replace the all-purpose flour with an equal volume of a cup-for-cup gluten-free baking blend formulated for cookies and containing xanthan gum. The cookies may be a little more delicate, so let them cool completely before lifting them from the parchment; the cocoa-and-marshmallow filling stays the same.
Swap in Coffee Ice Cream for a Mocha Center
Use the same amount of coffee ice cream in place of vanilla. The chocolate syrup and hot cocoa mix still work as written, but the filling takes on a deeper coffee note that makes the finished sandwiches taste more like mocha.
Make a Dairy-Free Batch
Use baking-style plant butter in place of the butter and dairy-free vanilla frozen dessert instead of ice cream. Choose dairy-free hot cocoa mix, chocolate syrup, and mini marshmallows as well. The cookies and filling will be a little less rich, but the frozen sandwich format still works; this adaptation contains egg.
Freezer Storage and Serving
- Freezer: Store the firm sandwiches in an airtight container, with parchment between layers. For the best cookie texture, enjoy them within 2 weeks.
- Serving: Serve straight from the freezer, or let a sandwich stand briefly if you prefer a softer bite. Don’t leave the whole batch out to thaw.
Questions That Come Up When Making Frozen Hot Chocolate Cookies
Frozen Hot Chocolate Cookies
Ingredients
Equipment
Method
- Heat the oven to 350°F.
- Line two baking sheets with parchment paper.
- Whisk the flour, cocoa powder, baking soda, and salt together in a medium bowl.
- Beat the butter, granulated sugar, and brown sugar in a large bowl until creamy, about 2 minutes.
- Beat in the egg and vanilla.
- Mix in the flour mixture on low speed just until combined.
- Cover and chill the dough for 30 minutes.
- Scoop the dough into 24 portions, about 1 1/2 tablespoons each, and arrange 12 on each baking sheet, leaving 2 inches between them.
- Bake for 9–11 minutes, rotating the sheets and swapping their oven positions halfway through, until the edges are set and the centers look just soft.
- Cool the cookies on the baking sheets for 5 minutes.
- Transfer the cookies to a rack to cool completely.
- Stir the hot cocoa mix and chocolate syrup together in a small bowl until smooth.
- Quickly fold the cocoa mixture and mini marshmallows into the softened ice cream.
- Place 12 cookies flat-side up on a parchment-lined baking sheet.
- Divide the filling among the cookies.
- Top with the remaining cookies, gently pressing to spread the filling to the edges.
- Freeze the sandwiches for at least 3 hours, until firm.
- Transfer them to an airtight container and keep frozen.


