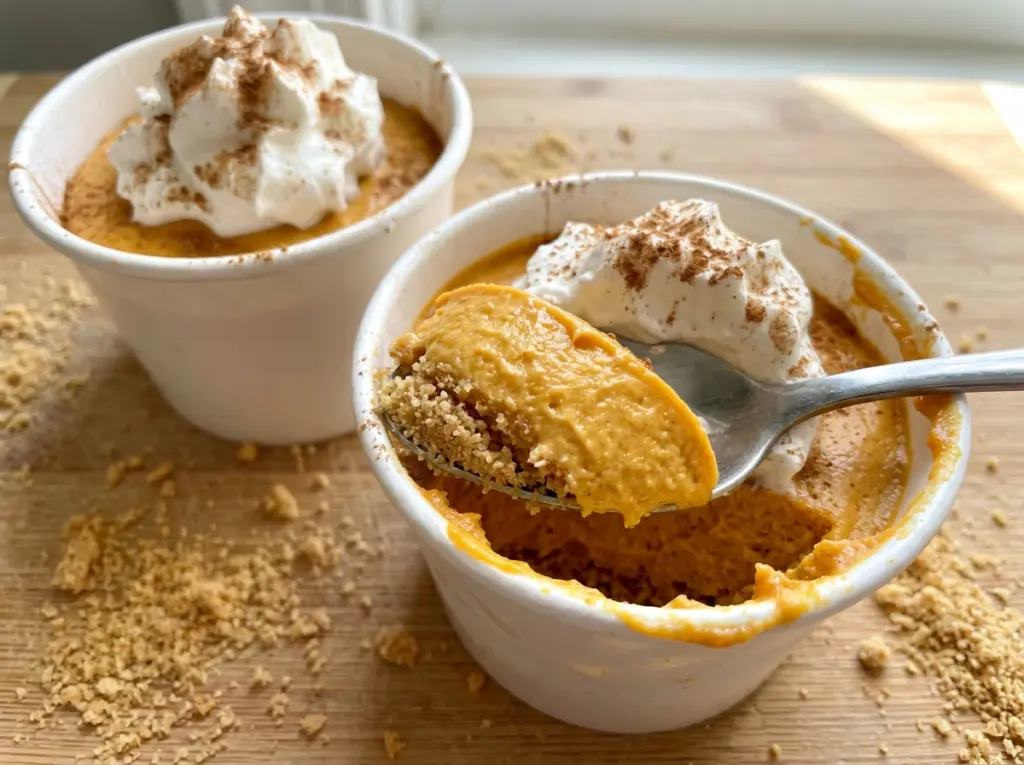
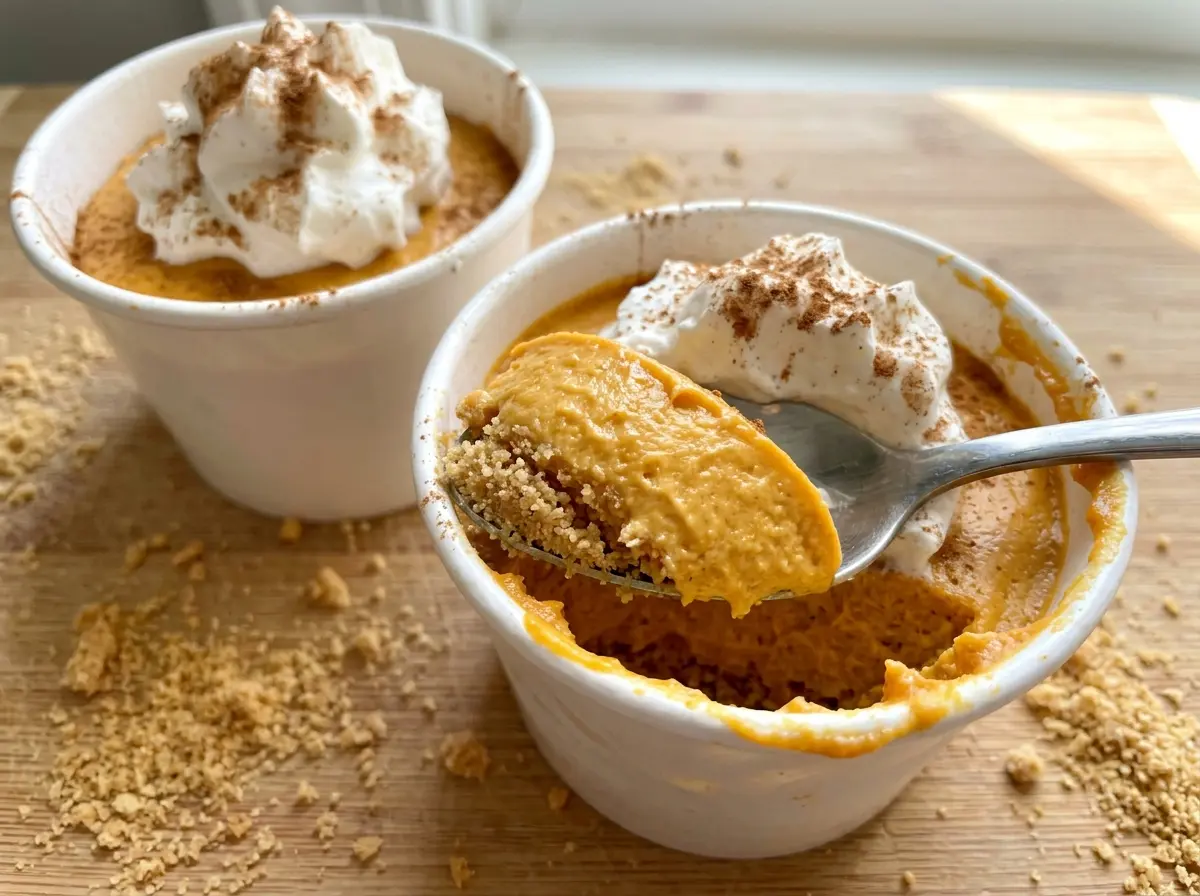
When melted butter meets graham cracker crumbs, the mixture should look evenly damp, not slick; dry pockets are what leave loose crumbs at the bottom of the cup. I divide and press the crust into individual cups before starting the filling, which keeps the layers neat and makes serving simple. These No Bake Pumpkin Cheesecake Cups have a buttery graham base under a creamy pumpkin filling, with each portion ready to pull from the refrigerator when dessert time comes.
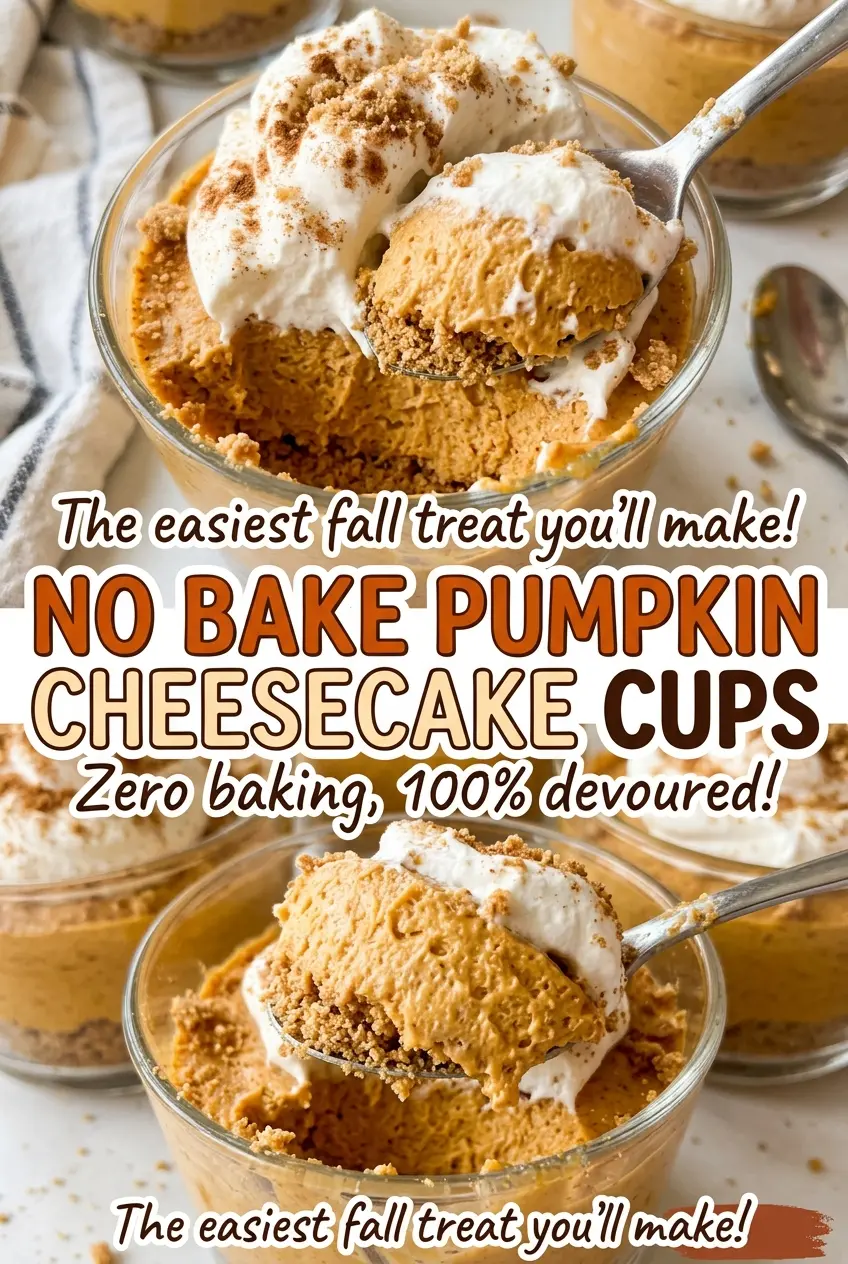
The filling has the familiar tang of cream cheese, but canned pumpkin and pumpkin pie spice make it taste unmistakably like pumpkin cheesecake. Since there’s no oven involved, the chilling time does the work of bringing the cups together. I like serving them in clear cups, where you can see the crumb layer beneath the soft orange filling. They’re cool, gently spiced, and easy to portion without slicing a whole cheesecake.
Kitchen Note
Set out all eight 6-ounce cups before portioning the crust. About 3 tablespoons in each gives you an even base, with plenty of room left for the pumpkin filling.
Save these No Bake Pumpkin Cheesecake Cups for a make-ahead dessert with a buttery crumb base and chilled pumpkin filling.
Why the Whipped Cream Holds Up the Pumpkin Filling
Pumpkin puree brings moisture and weight to a cheesecake filling. The whipped cream gives that mixture lift, so the finished cups feel light rather than dense. It isn’t just folded in for volume: those small pockets of air are what help the filling hold its shape after chilling without adding a separate setting ingredient.
That’s also why the cream needs to reach stiff peaks before it meets the pumpkin mixture. Softer whipped cream has less structure to lend, and vigorous mixing after folding can flatten the air you just built in. Fold only until the pale streaks disappear, then portion the filling. The result should look even and fluffy, not streaky or beaten down.
The order of mixing matters, too. Cream cheese gets beaten smooth before the pumpkin, powdered sugar, vanilla, and spice are added, so the thick cheese has a chance to lose its lumps before the lighter cream goes in. Keep those jobs separate: first make a smooth pumpkin-cheese base, then whip the cream in its own bowl. That gives you a filling that’s cohesive while still soft enough to spoon into the cups.
Which Ingredients Set the Texture of These Pumpkin Cups
- Graham cracker crumbs — Fine, even crumbs make a compact base that’s easy to press into the cups. Store-bought crumbs are convenient and work well here; larger cracker pieces leave a looser crust. The melted unsalted butter coats the crumbs, while the small amount of granulated sugar adds sweetness and helps the base taste balanced against the tangy filling.
- Cream cheese — Use it softened, as listed, so it can beat smooth before the other filling ingredients go in. A standard grocery-store package is fine; softness matters more here than choosing a specialty brand. Reduced-fat cream cheese may give the filling a softer texture, so I stick with regular cream cheese for the intended consistency.
- Canned pumpkin puree — Choose plain pumpkin puree rather than pumpkin pie filling, which is already sweetened and spiced. The puree gives the cups their pumpkin flavor and color; it also adds moisture, so keeping the proportions balanced with the whipped cream matters. There’s no need for a premium brand.
- Powdered sugar — Its fine texture blends into the cream cheese without the graininess that granulated sugar could leave in the filling. It sweetens the pumpkin mixture while keeping it smooth, so I wouldn’t swap in the granulated sugar from the crust.
- Heavy cream — It needs to be cold so it can whip to stiff peaks and support the pumpkin mixture. This is not a good place for a lighter pourable cream that won’t whip into the same structure. Vanilla extract and pumpkin pie spice round out the filling; a fresh, fragrant spice blend makes a noticeable difference, while ordinary vanilla extract works just fine.
From Firm Crumb Bases to a Fluffy Filling
Moisten and Press the Graham Crumbs
Stir the graham cracker crumbs, granulated sugar, and melted butter in a medium bowl until the crumbs are evenly moistened. They should look damp throughout, without dry patches or pools of melted butter. Divide the mixture among the eight 6-ounce cups, using about 3 tablespoons per cup. Press it firmly into each bottom so the crust stays in place when you spoon in the filling.
Beat the Pumpkin-Cream Cheese Base Smooth
Beat the softened cream cheese in a large bowl with an electric mixer until smooth. Add the canned pumpkin puree, powdered sugar, vanilla extract, and pumpkin pie spice, then beat until everything is evenly combined. The mixture should be consistently orange, with no pale cream-cheese streaks. Starting with smooth cream cheese prevents small lumps from carrying through the finished filling.
Whip the Cold Cream to Stiff Peaks
Pour the cold heavy cream into a separate bowl and whip it for 2 to 3 minutes, until stiff peaks form. The cream should hold its shape rather than immediately slumping back into the bowl. If it’s still loose, it won’t give the pumpkin mixture the same support. Keep the pumpkin base and whipped cream in separate bowls until both are ready to combine.
Fold, Portion, and Chill
Fold the whipped cream into the pumpkin mixture until no streaks remain, using gentle strokes rather than beating it in. Divide the filling among the cups over the crumb bases. Cover the cups and refrigerate them for at least 4 hours, until chilled and set. The centers should feel cool and hold their shape when served, rather than looking loose on top.
Two Easy Ways to Change the Cup Format
Make a Crustless Pumpkin Cheesecake Cup
Skip the graham crumb mixture and divide the pumpkin filling among the cups instead. You’ll have a softer, lighter dessert without the buttery crunch underneath; keep the same filling ingredients and chill until set.
Layer the Crumbs for a Parfait-Style Cup
Instead of pressing all the crumb mixture into a single base, alternate it with spoonfuls of filling in the cups. This gives you crumb through the dessert rather than only at the bottom, but the layers won’t have the same firm crust texture.
Storage and Reheating
- Refrigerator: Cover the cups and keep them refrigerated for up to 3 days. The crumb base softens gradually as it sits beneath the filling.
- Freezer: Freezing isn’t my first choice; the whipped filling may lose some of its airy texture after thawing.
- Reheating: These are served cold, so reheating isn’t needed. Let them stay chilled until you’re ready to serve.
Questions That Come Up With No Bake Pumpkin Cheesecake Cups
No Bake Pumpkin Cheesecake Cups
Ingredients
Equipment
Method
- Stir the graham cracker crumbs, granulated sugar, and melted butter together in a medium bowl until evenly moistened.
- Divide the mixture among eight 6-ounce cups, about 3 tablespoons per cup.
- Press the mixture firmly into the bottoms of the cups.
- Beat the cream cheese in a large bowl with an electric mixer until smooth.
- Beat in the pumpkin puree, powdered sugar, vanilla extract, and pumpkin pie spice until evenly combined.
- In a separate bowl, whip the cold heavy cream to stiff peaks, 2 to 3 minutes.
- Fold the whipped cream into the pumpkin mixture until no streaks remain.
- Divide the filling among the cups.
- Cover and refrigerate for at least 4 hours, until chilled and set.


