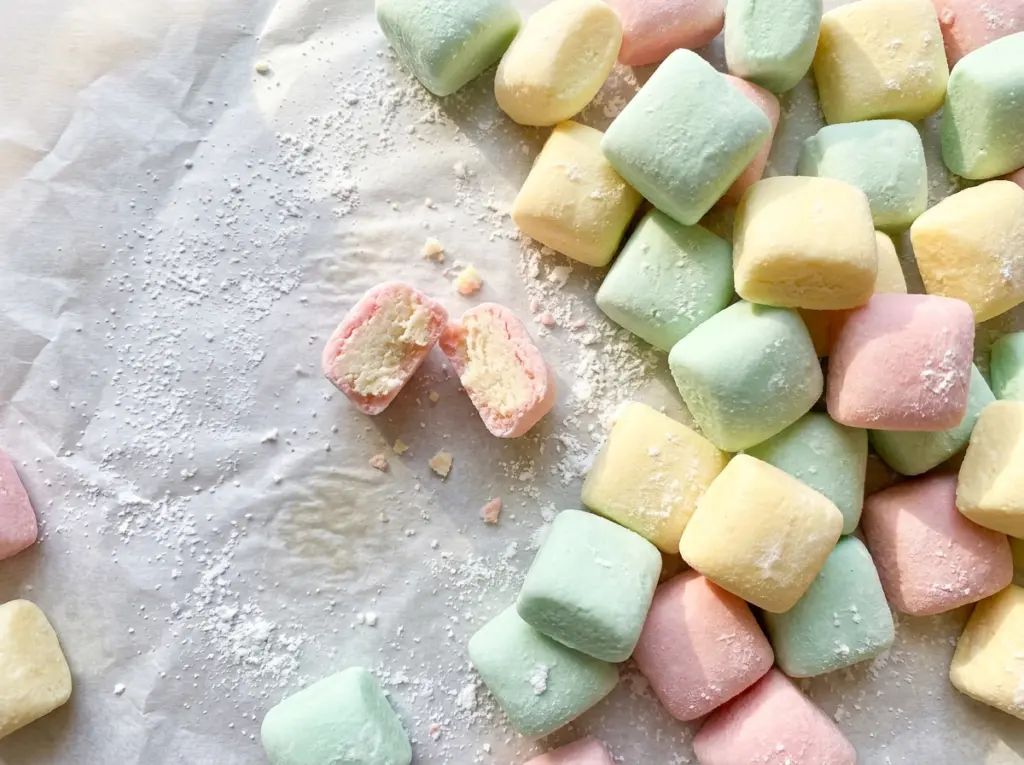
The butter goes from soft lumps to smooth and creamy in about a minute, then the bowl fills with the cool, unmistakable scent of peppermint. These old fashioned butter mints have that tender, melt-away texture, but the dough needs to be soft enough to roll and firm enough to cut cleanly. I add the confectioners’ sugar gradually, which keeps the mixture manageable instead of turning it into a stiff, powdery mess all at once.
There’s no oven involved, so the finish comes from time rather than heat. A short chill firms the dough for shaping, and the cut pieces dry uncovered until their surfaces feel set instead of tacky. The peppermint stays clear and bright against the rich butter, and each little piece has a smooth, delicate bite.
Kitchen Note
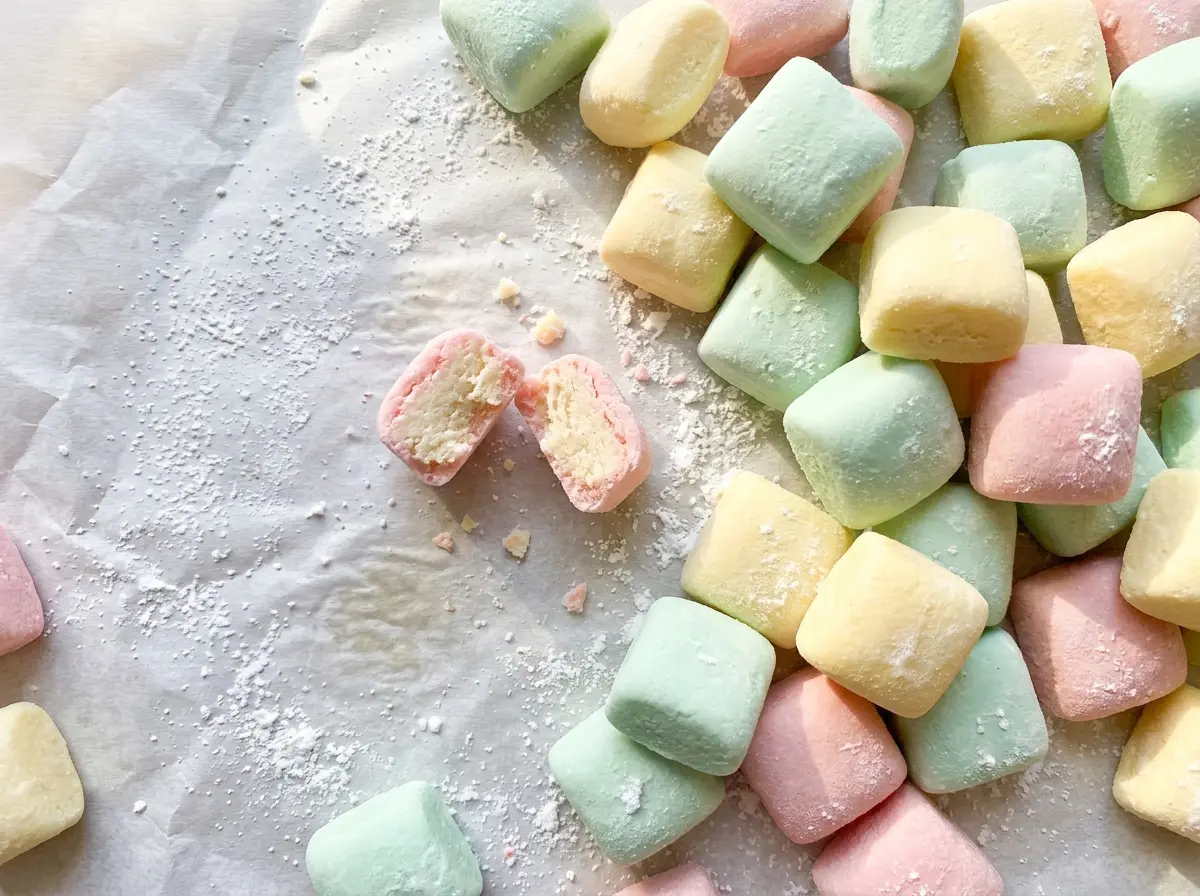
Keep the ropes close to 1/2 inch thick before you cut. Pieces of similar size dry at the same pace, so you won’t end up with a mix of firm mints and sticky centers.
Save these old fashioned butter mints for a homemade candy with a cool peppermint finish and a soft, delicate bite.
Why Butter Mints Need a Full Day to Lose Their Tack
These mints don’t set by baking, and that changes what “done” looks like. Freshly cut pieces are soft, and their surfaces need time in open air to dry. Leaving them uncovered lets moisture escape rather than trapping it against the candy. Turning them halfway through gives the bottoms that were resting on parchment their own time exposed to air.
Use the texture cue as well as the clock: after the first six hours, turn the mints, then leave them for another six hours until they’re set and no longer tacky. A covered container or a crowded pile slows that surface drying, so keep them in a single layer while they rest. If you move them before they’re dry, the pieces can stick together and lose their neat edges. Their centers stay tender, but the outside should feel dry to the touch.
What Butter, Cream, and Fine Sugar Each Bring to These Mints

- Unsalted butter — Butter supplies the rich base and the soft, melt-away feel; its flavor is easy to notice in a short ingredient list, so fresh butter is worth choosing, though a standard grocery-store brand works well. Softening it before mixing helps it turn smooth and creamy instead of leaving hard bits in the dough. Unsalted butter also lets you control the salt separately.
- Peppermint extract — This is where the cool mint character comes from, and a regular grocery-store extract is fine. Extracts vary in strength, so use the measured amount rather than adding extra by instinct; too much can make the mint taste sharp and medicinal. Peppermint oil isn’t a dependable one-for-one replacement because it’s more concentrated.
- Heavy cream — Cream adds the moisture that brings the sugar and butter together while contributing richness. A fresh carton is all you need; there’s no advantage to seeking out a specialty cream for this candy. Milk is thinner and doesn’t provide the same richness, so I don’t recommend swapping it into this dough.
- Confectioners’ sugar — Its fine texture gives the mints a smooth bite and builds the dough without the crunch granulated sugar would leave behind. A basic store-brand bag works; check for hard lumps, which can leave little pockets in an otherwise smooth mint. Granulated sugar isn’t a direct substitute because it won’t create the same fine texture.
Mixing and Shaping the Dough Without a Sticky Mess
Cream the Butter Until Smooth
Beat the softened butter and kosher salt in a large bowl with an electric mixer on medium for about one minute. Stop when the butter looks smooth and creamy, with no firm pieces clinging to the bowl. Starting with softened butter helps it blend evenly; melted butter won’t give you the same starting texture. Scrape down the bowl if butter is sitting above the beaters.
Build a Soft, Pliable Dough
Beat in the peppermint extract and heavy cream until they’re combined with the butter. Add the confectioners’ sugar one cup at a time, mixing on low after each addition. The mixture will look loose at first, then gather into a soft dough as the sugar incorporates. Keep the mixer on low so the sugar stays in the bowl instead of puffing into the air.
Chill Before Rolling
Cover the bowl and refrigerate the dough for 30 minutes. It should feel firm enough to handle without sticking to your fingers or the work surface. If it still feels very soft when you take it out, give it a little more time in the refrigerator rather than working extra sugar into it. The goal is a pliable dough, not a hard one.
Cut and Dry the Mints
Divide the dough into four portions and roll each on a clean work surface into a rope about 1/2 inch thick. Cut the ropes into 1/2-inch pieces and arrange them in a single layer on a parchment-lined baking sheet. Leave them uncovered at room temperature for six hours, turn each piece over, and let them dry for another six hours. They’re ready when they feel set and no longer tacky.
Small Swaps and Shape Changes for a Different Batch
Make a vanilla version
Replace the peppermint extract with the same amount of vanilla extract. The result is a mellow, buttery candy rather than a mint; the dough still uses the same mixing and drying method.
Use salted butter instead
If salted butter is what you have, use it in place of the unsalted butter and leave out the kosher salt. The finished candy will have a slightly more pronounced salty edge, but the dough will still come together and shape the same way.
Cut tiny party mints
For smaller pieces, roll the ropes a little narrower and cut shorter pieces. You’ll get more petite candies with a higher ratio of dry surface to soft center; arrange them with a bit of space between each one and use the same no-tack cue to judge when they’re set.
Storage and Reheating
- Refrigerator: Store the fully set mints in an airtight container for up to 2 weeks. They’ll be firmer straight from the refrigerator.
- Freezer: Freeze the mints in a single layer until firm, then transfer them to an airtight freezer container for up to 2 months. Thaw them in the closed container to limit condensation.
- Reheating: Don’t heat these candies. If they’re cold and firm, let the closed container sit at room temperature before opening it; opening it while the mints are still cold can leave condensation on their surfaces.
Questions That Come Up While Making Butter Mints
Old Fashioned Butter Mints
Ingredients
Equipment
Method
- In a large bowl, beat the softened unsalted butter and kosher salt with an electric mixer on medium until smooth and creamy, about 1 minute.
- Beat in the peppermint extract and heavy cream until combined.
- Add the confectioners' sugar 1 cup at a time, mixing on low after each addition until a soft, pliable dough forms.
- Cover and refrigerate the dough for 30 minutes, until firm enough to roll without sticking.
- Divide the dough into 4 portions and roll each into a rope about 1/2 inch thick on a clean work surface.
- Cut the ropes into 1/2-inch pieces and arrange the mints in a single layer on a parchment-lined baking sheet.
- Leave the mints uncovered at room temperature for 6 hours.
- Turn the mints over, then let them dry for another 6 hours, until set and no longer tacky.


