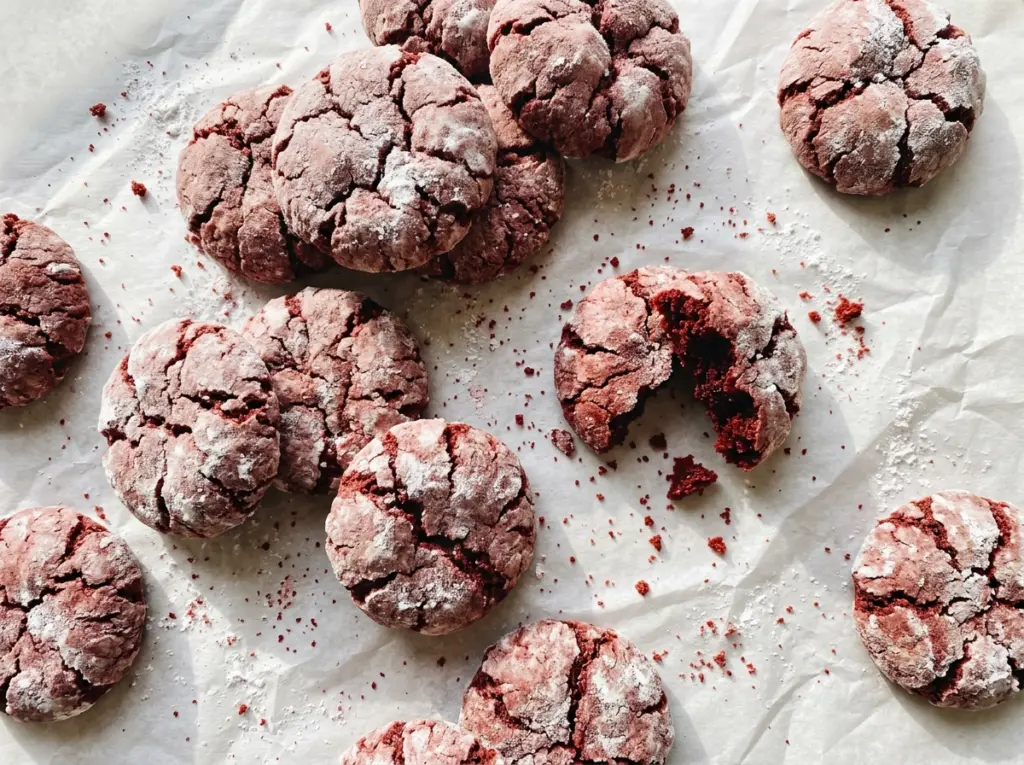
The dough feels softer and stickier than classic cookie dough when the cake mix first disappears into the eggs and oil. I used to think it needed more flour; it doesn’t. After a rest in the refrigerator, the red velvet cake mix cookies are easier to portion, and the white chocolate chips pop against the deep red dough. The edges bake up set while the centers stay tender, so they look a little soft when they come out of the oven.
Boxed cake mix already brings the dry ingredients and red velvet flavor, so there’s no separate flour-and-sugar step to balance by feel. Stir the eggs and oil together first, then mix in the cake mix just until no dry pockets remain. Fold in the chips last, and you’ll have cookies with a soft red velvet base and creamy white chocolate in every bite.
Kitchen Note
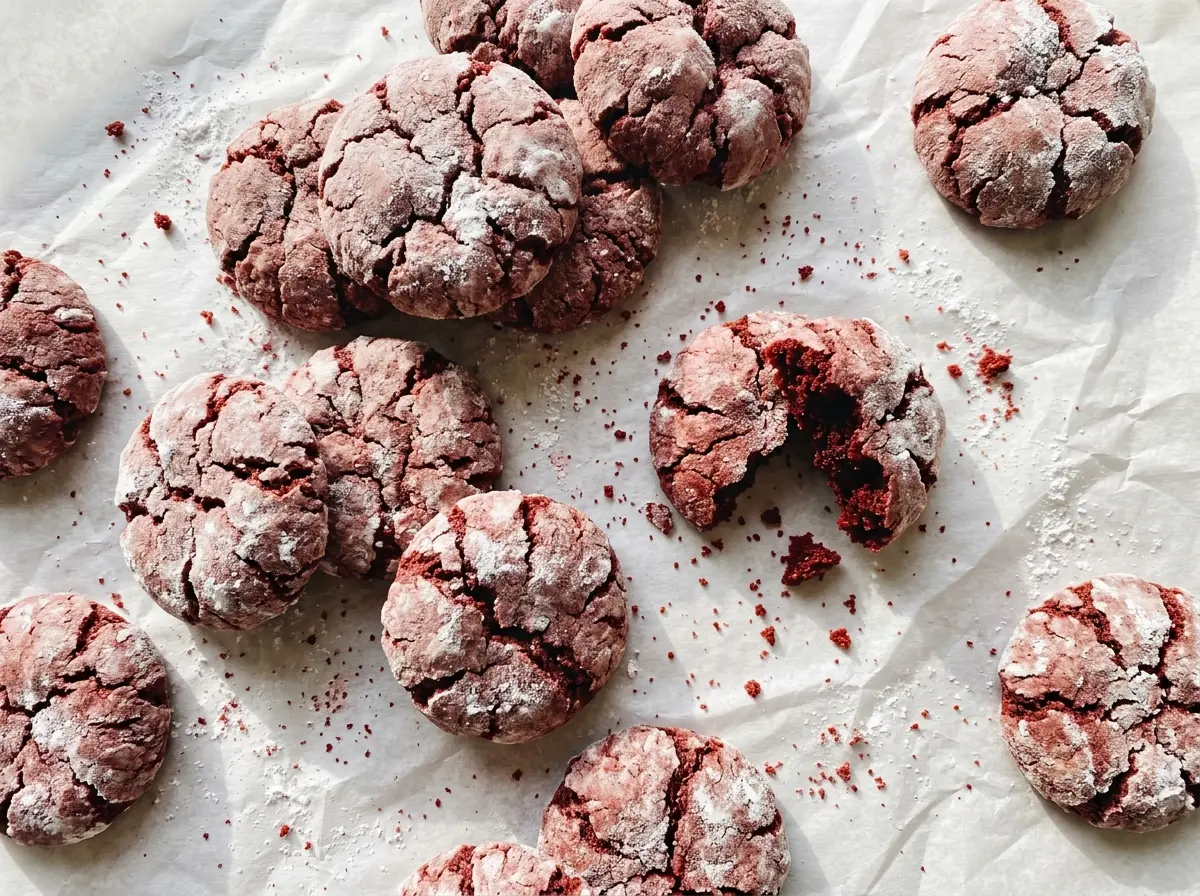
Let the cookies sit on the baking sheet for the full five minutes before moving them. Their warm centers are fragile straight from the oven, and that short rest helps each cookie lift cleanly onto the rack.
Save these red velvet cake mix cookies for a quick bake with soft centers and creamy white chocolate chips.
Why This Oil-Based Dough Needs a Refrigerator Rest
Cookie dough made with vegetable oil doesn’t firm up the same way a butter-based dough does. Right after mixing, this one is soft and tacky, which can make neat, even portions harder to scoop. The refrigerator rest cools the dough and gives the cake mix time to absorb moisture from the eggs and oil, so it has more body when you portion it.
Chilling also helps the cookies hold their shape as they bake instead of spreading too quickly. The dough shouldn’t become hard; it’ll still feel soft, but it should be less sticky and easier to handle. Keep the bowl covered while it chills so the surface doesn’t dry out. Skipping the rest may leave you with flatter cookies and uneven portions, especially if the kitchen is warm.
The box mix does a lot of the structural work here, so resist the urge to add flour if the dough initially feels softer than you expect. Extra flour changes the balance and can leave the cookies dense. Give the refrigerator time to do its job, then scoop the dough while it’s cool.
What the Cake Mix, Eggs, and Oil Each Bring

- Red velvet cake mix — It supplies the dry base, sweetness, leavening, and red velvet flavor in one package. Use the standard-size box specified for the recipe; swapping in plain flour won’t reproduce that balance. A different cake-mix flavor is a full flavor change, not a direct replacement for the red velvet mix.
- Eggs — Large eggs bind the mix and give the cookies enough structure to hold together. If you need an egg-free option, use 1/4 cup unsweetened applesauce per egg; expect a softer, more cake-like cookie rather than the same tender, chewy texture.
- Vegetable oil — Neutral oil adds moisture without bringing a strong flavor, and an inexpensive bottle works perfectly here. Canola oil is the closest easy swap; use the same amount. Melted butter isn’t a one-for-one texture match, since it changes both the flavor and how the dough behaves.
- White chocolate chips — Chips hold their shape as the cookies bake and add creamy sweetness to the cocoa-tinged dough. Semisweet chocolate chips work in the same volume if you prefer a less-sweet contrast. Fold them in after the dough is mixed so they stay distributed instead of breaking up.
Mixing and Baking Without Guesswork
Stir the Wet Ingredients First
In a large bowl, stir the eggs and vegetable oil together, then mix in the cake mix. Stop when the dry pockets disappear; the dough will still feel soft and tacky. Fold in the white chocolate chips so they’re spread through the dough without crushing them. Mixing the eggs and oil first helps the wet ingredients combine before the dry mix goes in.
Chill, Then Portion the Dough
Cover the bowl and refrigerate the dough for 30 minutes. Near the end of that chill, heat the oven to 350°F so it’s ready when you finish portioning. Line two large baking sheets with parchment paper and scoop the dough into 24 portions of about 1 1/2 tablespoons each. Arrange 12 portions on each sheet, leaving at least 2 inches between them so the cookies have room to spread.
Bake One Sheet Until the Edges Set
Bake one sheet at a time for 9 to 11 minutes. Look for edges that appear set and centers that still look slightly soft; don’t wait for the centers to look firm in the oven. If the whole cookie looks fully dry before you pull it, it may bake up less tender once it cools. Keep the second sheet ready while the first one bakes.
Cool Before Moving to the Rack
Let the first batch rest on its baking sheet for five minutes, then transfer the cookies to a wire rack to cool completely. Bake the second sheet the same way. The cookies will be delicate while hot, so use a thin spatula and lift from underneath rather than pressing on the tops. Once cool, the centers will feel more set and the white chocolate will have firmed again.
Two Flavor Changes That Keep the Cookie-Mix Method Simple
Turn Them Into Chocolate Cake Mix Cookies
Swap the red velvet mix for a same-size chocolate cake mix and keep the eggs, oil, and white chocolate chips unchanged. The cookies lose their red velvet color and tangy cocoa note, but the method stays the same and the white chocolate still gives each bite a creamy contrast.
Make a Dairy-Free Batch
Choose a red velvet cake mix made without dairy and use dairy-free white chocolate chips, keeping the eggs and vegetable oil. The result stays close to the original, though the dairy-free chips may have a slightly different melt and sweetness than standard white chocolate.
Storage and Reheating
- Refrigerator: Keep the cooled cookies in an airtight container for up to 5 days. The cold firms them, so let a cookie sit at room temperature briefly before eating.
- Freezer: Freeze cooled cookies in an airtight freezer-safe container for up to 2 months. Thaw at room temperature while still covered to keep condensation off the cookies.
- Reheating: For a warm cookie, microwave one for about 5 to 8 seconds. Longer heating can make the center overly soft and the white chocolate too hot.
Questions That Come Up With Cake Mix Cookies
Red Velvet Cake Mix Cookies
Ingredients
Equipment
Method
- Stir together the eggs and vegetable oil in a large bowl.
- Mix in the red velvet cake mix until no dry pockets remain.
- Fold in the white chocolate chips.
- Cover the bowl and refrigerate the dough for 30 minutes.
- Heat the oven to 350°F near the end of chilling.
- Line two large baking sheets with parchment paper.
- Scoop the dough into 24 portions, about 1 1/2 tablespoons each, arranging 12 portions at least 2 inches apart on each sheet.
- Bake one sheet at a time for 9 to 11 minutes, until the edges are set and the centers still look slightly soft.
- Let the cookies cool on the baking sheet for 5 minutes.
- Transfer the cookies to a wire rack to cool completely.
- Bake the second sheet the same way.


