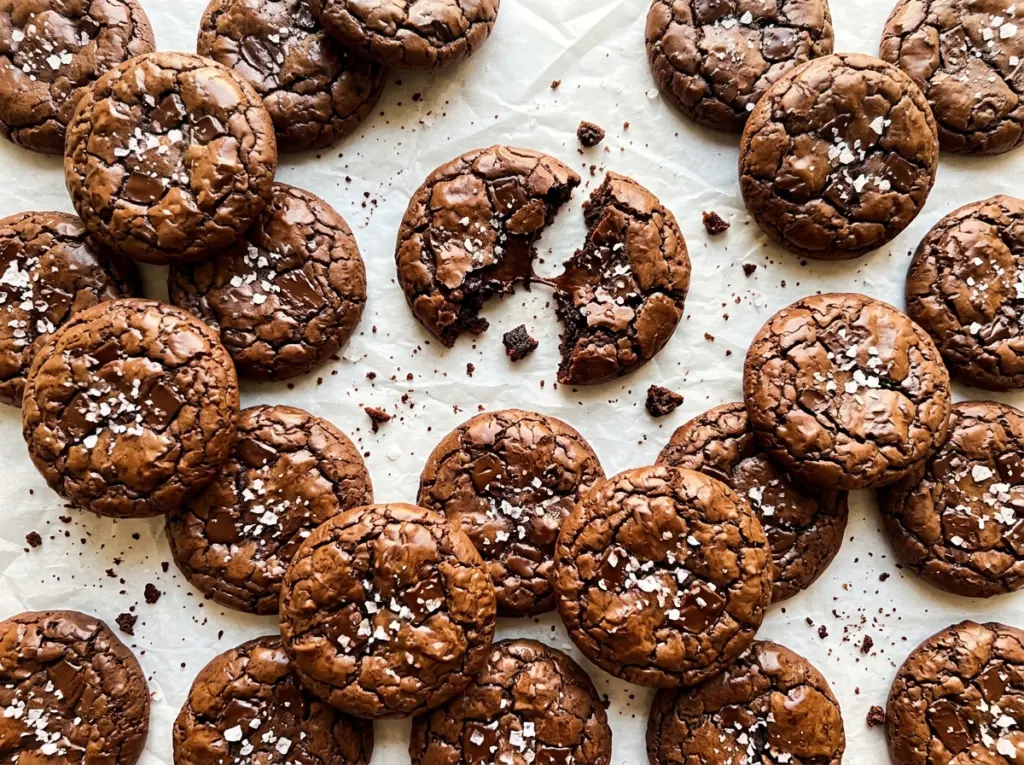
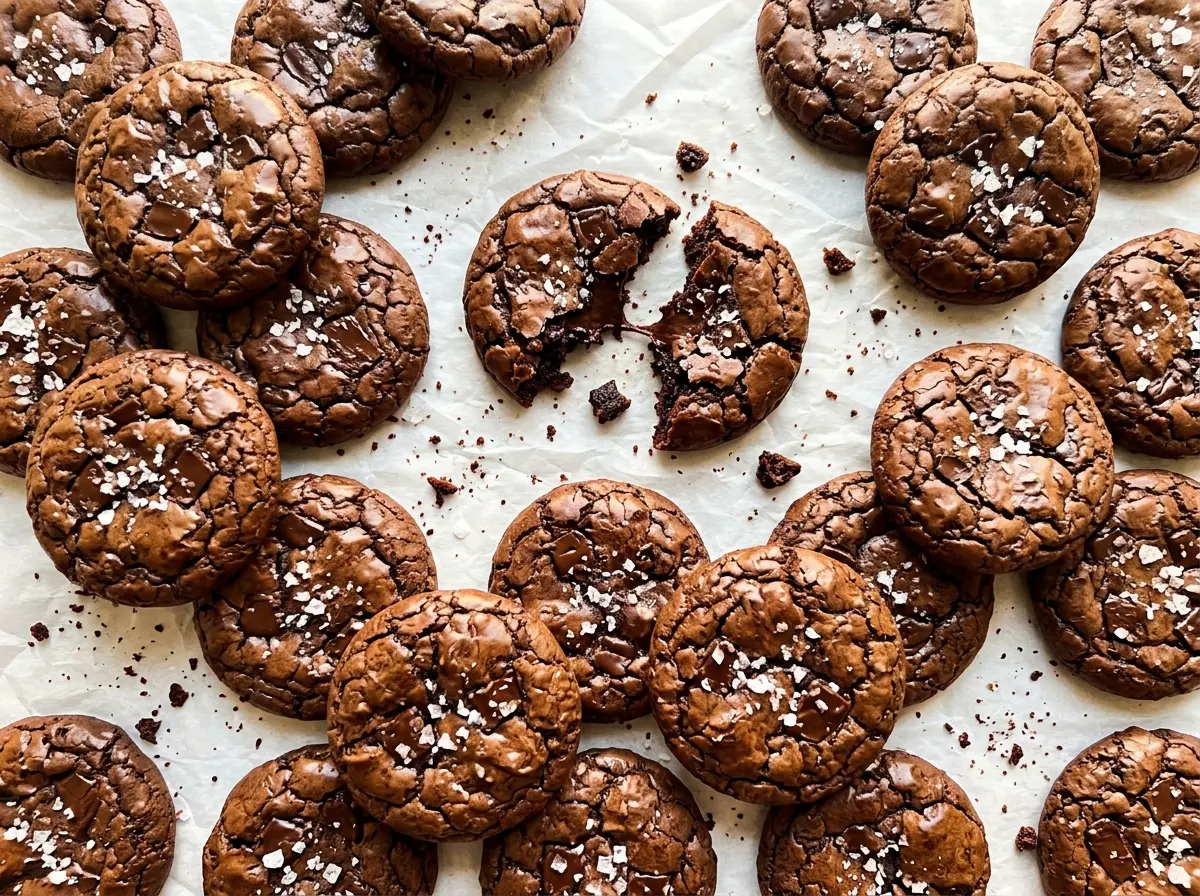
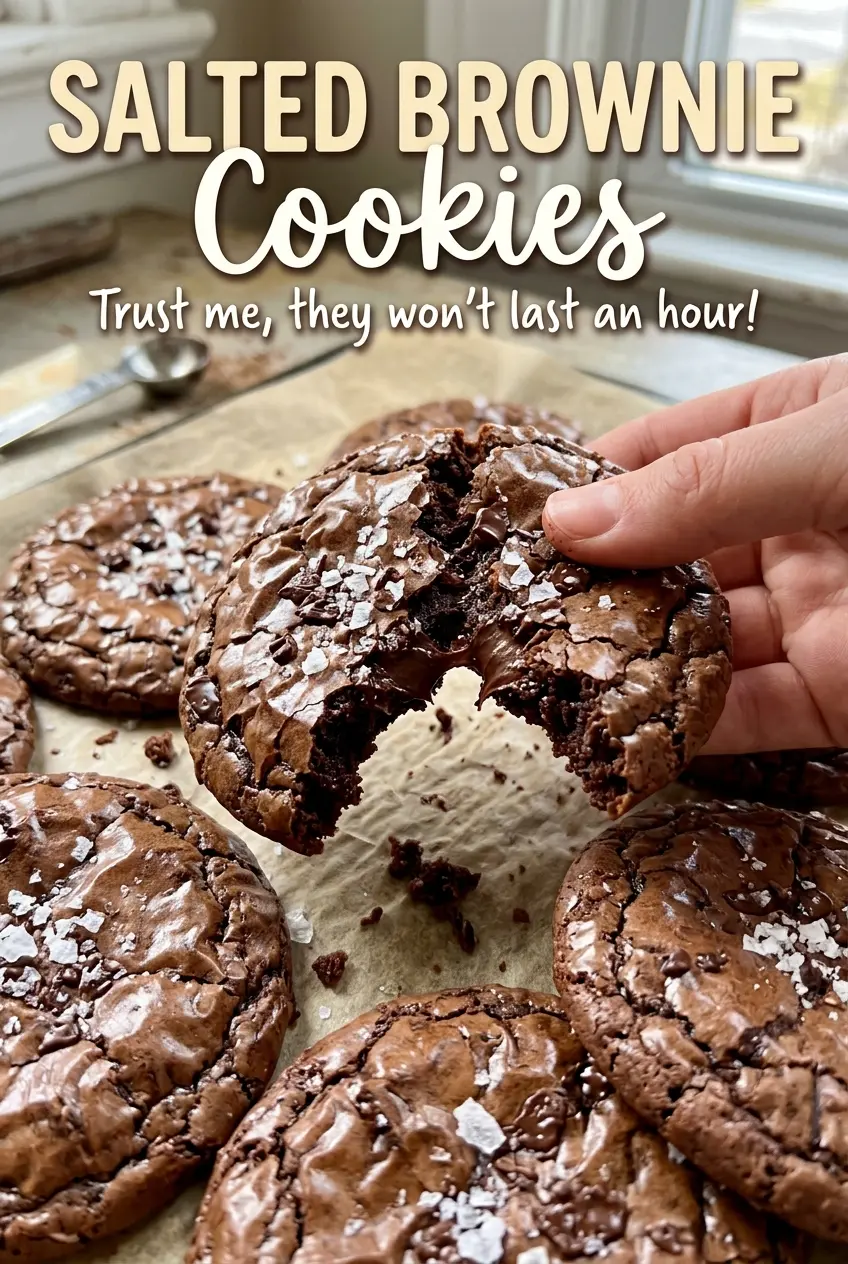
The first thing you notice is the tops: they turn glossy and crackle while the edges set, but the centers still look a little soft. That contrast is exactly what I want from a brownie cookie. These salted brownie cookies bring the deep, fudgy feel of a brownie into a cookie that’s ready to pick up, with a little flaky salt to keep the chocolate from tasting one-note.
I get the texture by beating the eggs and sugar until they’re pale and thick before adding the melted chocolate. It takes a few minutes, but that airy base helps the cookies rise and gives their tops those fine cracks. After the flour goes in, the batter gets a short rest to thicken, which makes it easier to portion and helps the cookies hold their shape. The finished cookies have crisp, delicate tops, soft middles, and just enough salt on each bite.
Kitchen Note
Give the batter its full 10-minute rest after folding in the dry ingredients. It thickens enough to scoop neatly, so the portions stay rounded instead of running together on the baking sheet.
Save these salted brownie cookies for a chocolate craving: crackly tops, fudgy centers, and a sprinkle of flaky salt in every batch.
Why the Egg-and-Sugar Beating Makes Those Crackly Tops
Brownie-cookie batter can look chocolatey and promising, then bake into plain, smooth domes. The difference here starts before the chocolate goes in: the eggs and sugar need a full 3 to 4 minutes on medium-high speed, until the mixture looks pale and thick. That beating incorporates air and creates a foamy base that helps the cookies rise as they bake.
When that lift meets the rich melted chocolate, the surface sets into a delicate, crackled top while the middle stays soft. If you stop beating while the mixture is still loose and dark, the cookies won’t have the same structure. Watch for the change in texture, not just the timer: the beaters should leave visible trails that linger briefly before sinking back in. Once the flour mixture is added, fold gently and stop as soon as the last dry streak disappears; stirring hard at that point knocks out some of the air you worked in.
Why Semisweet Chocolate and Flaky Salt Matter Here
- Semisweet chocolate — This is the main source of chocolate flavor and richness, so choose a chocolate you like eating. A reliable baking bar is a good fit; the most expensive option isn’t necessary. Chop it into pieces of similar size so it melts evenly. Bittersweet chocolate works as a variation, but it makes the cookies less sweet and more intense.
- Eggs at room temperature — Room-temperature eggs blend more easily with the sugar and melted chocolate than cold eggs do. Set them out while you get the other ingredients ready. The eggs provide structure as well as the air that helps create the signature top.
- Unsalted butter — Butter melts together with the chocolate to make a smooth, rich base. Unsalted butter lets the fine salt and the finishing salt stay in control of the seasoning. Use butter that’s fresh; there’s no need to seek out a specialty brand.
- All-purpose flour and unsweetened cocoa powder — Flour gives the batter enough structure to bake into cookies, while cocoa deepens the chocolate flavor without adding sweetness. Whisk these with the baking powder and fine salt before folding them in, which helps distribute the small amount of leavener evenly. For a gluten-free batch, a cup-for-cup gluten-free flour blend is the most practical swap; the cookies may have a slightly more tender texture.
- Flaky sea salt — The larger crystals give you distinct little salty sparks against the sweet chocolate, unlike fine salt, which disappears into the batter. Sprinkle it over each portion before baking so it stays visible on top. If you don’t have flaky salt, leave off the topping rather than replacing it with an equal-looking pile of fine salt.
- Vanilla and baking powder — Vanilla rounds out the chocolate without taking over, and baking powder gives the cookies a little lift. Measure the leavener carefully; too much can push the texture away from dense and brownie-like.
From Smooth Chocolate to Crackled, Soft-Centered Cookies
Melt the Chocolate Without Scorching It
Heat the oven to 350°F and line two baking sheets with parchment paper. Put the chopped semisweet chocolate and butter in a heatproof bowl, then microwave in 20-second bursts, stirring between each one. Stop when the mixture is smooth; small pieces often melt as you stir, so don’t keep heating once the bowl looks nearly there. Let it cool for 5 minutes before mixing it with the eggs.
Beat the Eggs and Sugar Until Thick
In a large bowl, beat the room-temperature eggs and granulated sugar with an electric mixer on medium-high speed for 3 to 4 minutes. The mixture should turn pale and thick rather than staying dark and runny. Beat in the vanilla, then gradually mix in the cooled chocolate mixture until it’s combined. Pouring the chocolate in gradually helps it blend into the whipped eggs without leaving dark streaks.
Fold, Then Give the Batter Time to Settle
Whisk the flour, cocoa powder, baking powder, and fine salt together in a small bowl so the leavener isn’t clumped in one spot. Fold the dry mixture into the chocolate batter just until you can’t see dry streaks; a few careful turns are better than vigorous mixing. Let the batter stand for 10 minutes, when it should feel thicker and easier to portion. If you keep folding after the flour disappears, the cookies can lose some of their lightness.
Bake Until the Tops Crack and the Centers Stay Soft
Drop the batter in 2-tablespoon portions onto the prepared sheets, leaving about 2 inches between cookies, and sprinkle each with flaky sea salt. Bake one sheet at a time for 9 to 11 minutes. Look for crackly tops and edges that are set while the centers still appear slightly soft; baking until the middles look completely firm will take away their brownie-like texture. Cool the cookies on the baking sheet for 10 minutes, then move them to a wire rack to cool completely.
Simple Swaps for a Different Chocolate Cookie
Use bittersweet chocolate for a darker batch
Replace the semisweet chocolate with the same amount of chopped bittersweet chocolate. The cookies will taste less sweet and more deeply chocolatey, while keeping the same basic texture.
Make them gluten-free with a cup-for-cup blend
Replace the all-purpose flour with a gluten-free baking blend labeled for a one-to-one swap. Choose one that includes a binder such as xanthan gum; the cookies may bake up a little more tender, but you’ll still get the chocolate flavor and crackled tops.
Make a dairy-free version
Use dairy-free semisweet chocolate and a firm vegan butter stick in place of the semisweet chocolate and unsalted butter. The cookies will keep their rich chocolate character, though the exact firmness can vary a little by brand; avoid soft tub-style spread, which has a different water content.
Storage and Reheating
- Refrigerator: Keep the cookies in an airtight container for up to 1 week. Chilling firms them and takes away some of the soft, brownie-like feel.
- Freezer: Freeze fully cooled cookies in an airtight freezer-safe container for up to 2 months, with parchment between layers. Thaw at room temperature before eating.
- Reheating: For a warm cookie, microwave one for about 5 to 8 seconds. Longer heating can make the center tough, so use a short burst rather than trying to heat it all the way through.
Questions That Come Up While Baking Brownie Cookies
Salted Brownie Cookies
Ingredients
Equipment
Method
- Heat the oven to 350°F.
- Line two baking sheets with parchment paper.
- Combine the chocolate and butter in a heatproof bowl and microwave in 20-second bursts, stirring between bursts, until melted and smooth.
- Let the chocolate mixture cool for 5 minutes.
- In a large bowl, beat the eggs and sugar with an electric mixer on medium-high speed for 3 to 4 minutes, until pale and thick.
- Beat in the vanilla.
- Gradually mix in the melted chocolate mixture until combined.
- Whisk together the flour, cocoa powder, baking powder, and fine salt in a small bowl.
- Fold the dry ingredients into the chocolate mixture just until no dry streaks remain.
- Let the batter stand for 10 minutes to thicken.
- Drop the batter in 2-tablespoon portions onto the prepared baking sheets, spacing them about 2 inches apart.
- Sprinkle each portion with flaky sea salt.
- Bake one sheet at a time for 9 to 11 minutes, until the tops are crackly and the edges are set while the centers still look slightly soft.
- Cool the cookies on the baking sheet for 10 minutes.
- Transfer the cookies to a wire rack to cool completely.


