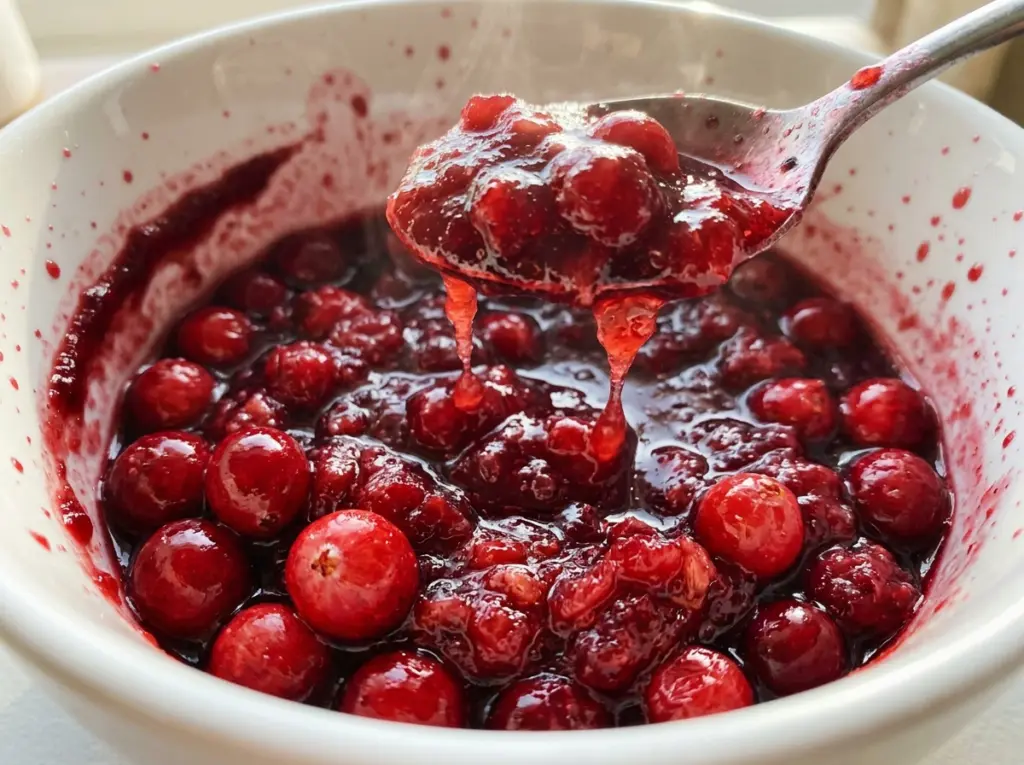
The cranberries start popping one by one, then the pan gets busy: little red skins split, juice bubbles up, and the sharp fruit smell fills the kitchen. That’s the moment this Sugar Free Cranberry Sauce starts looking like cranberry sauce, even though it may still seem thinner than you expect.
I make this version with granulated allulose instead of regular sugar, so the cranberries stay front and center. The water gives them enough liquid to simmer, while occasional stirring helps the berries cook evenly without turning the whole pan into a puree.
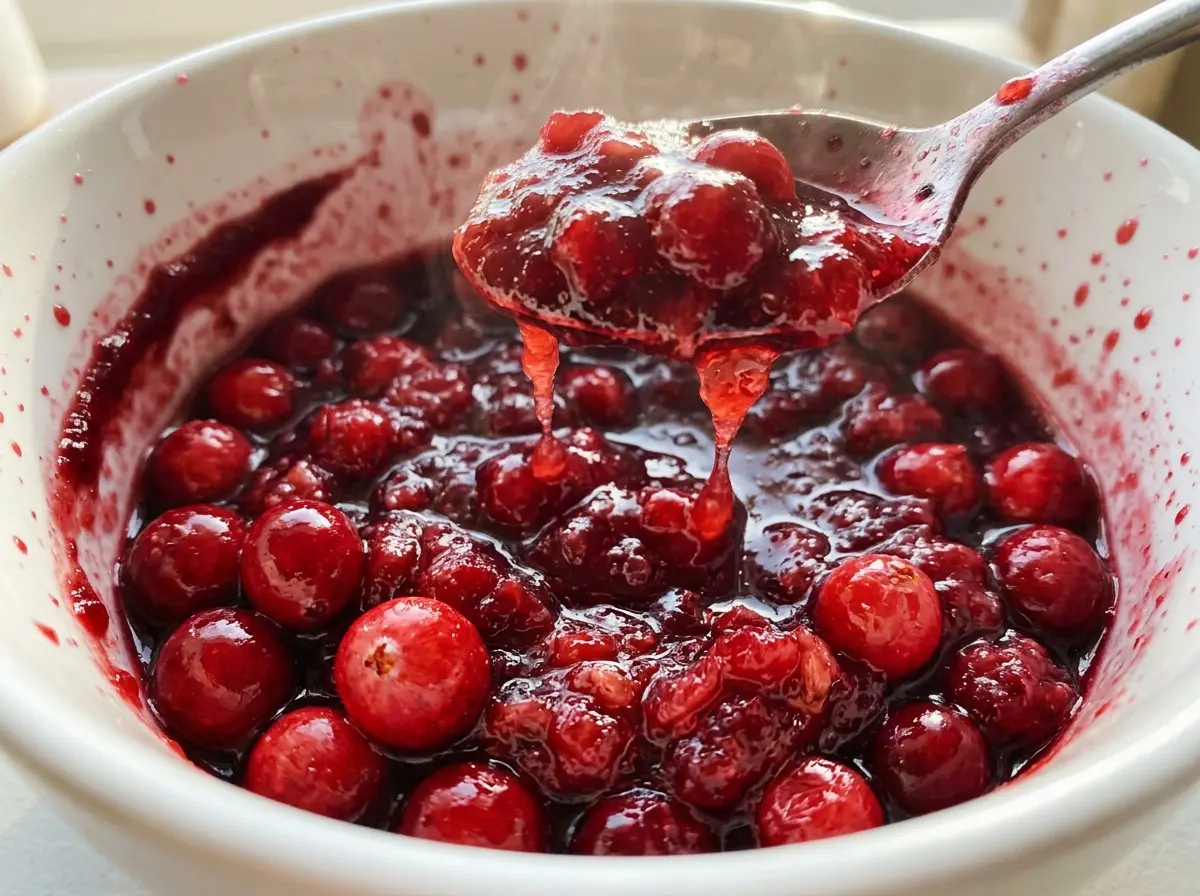
Give the finished sauce time to cool before deciding whether it’s thick enough. It firms up as it rests, leaving a spoonable sauce with plenty of tart cranberry flavor and a few berries still holding their shape.
Kitchen Note
I add the salt with the water and allulose, before the cranberries go in. It dissolves into the cooking liquid early, so you won’t get a salty bite in one part of the finished sauce.
Save this Sugar Free Cranberry Sauce for a tart, ruby-red side made with fresh or frozen cranberries and granulated allulose.
Why This Cranberry Sauce Keeps Its Tart Berry Character
Cranberries bring a sharp, bright flavor that can get buried beneath a heavy sweetness. Here, granulated allulose sweetens the cooking liquid without adding a different flavor such as molasses or caramel. The berries still taste like cranberries, which is exactly what I want from a simple sauce.
That balance also means it’s worth using the sweetener named for this version rather than treating every granulated sweetener as interchangeable. Different products can vary in sweetness and bulk, and liquid sweeteners would change the amount of liquid in the pan. A direct swap could leave the finished sauce tasting or setting differently.
The recipe stays focused on four ingredients: cranberries, water, granulated allulose, and salt. There’s no need to build a complicated flavor base. As the berries soften and release their juice, they supply the color and the unmistakable cranberry tang.
What the Cranberries and Allulose Bring to the Pan

- Fresh or frozen cranberries — These are the whole structure of the sauce, not just a flavoring. Fresh berries are handy when you want to inspect them as you add them; frozen berries are a useful option when that’s what you have. Both are included here, so choose either and cook until the berries soften and the sauce thickens.
- Granulated allulose — This provides the sweetness in a recipe made without regular granulated sugar. Granulated form matters because it goes into the water at the start and dissolves as the liquid heats. Keep it in that form rather than substituting a liquid sweetener or assuming another granulated product will behave the same way.
- Water — The water gives the cranberries a cooking liquid before they release their own juice. It also helps the allulose and salt disperse through the pan. Measure it accurately; adding extra liquid would change how long the sauce takes to thicken.
- Salt — A small amount rounds out the fruit’s tartness without making the sauce taste salty. Add it to the liquid before the berries, where it can dissolve instead of lingering in a concentrated spot.
From a Boiling Sweetener Base to a Spoonable Sauce
Bring the Water, Allulose, and Salt to a Boil
Use a 2-quart saucepan and combine the water, granulated allulose, and salt. Set the pan over medium-high heat and bring the mixture to a boil before adding the fruit. Keep an eye on the pan as it heats; once it boils, move straight to the cranberries rather than letting the liquid boil away.
Simmer Until Most of the Berries Burst
Stir in the cranberries, then reduce the heat to medium-low. Let the mixture simmer for 10 to 15 minutes, stirring occasionally, until most of the berries have burst and the sauce has thickened. If the berries are still mostly whole and the liquid looks thin, keep watching the simmer rather than turning the heat back up; the berries need time to soften and release their juice.
Let the Sauce Set as It Cools
Take the pan off the heat and let the sauce cool for at least 30 minutes. Don’t try to judge its final consistency while it’s still piping hot: it thickens further during the cooling period. After cooling, it should be easy to spoon, with some tender cranberry pieces visible rather than a completely smooth texture.
Fresh or Frozen: Choose the Cranberry Version That Fits Your Kitchen
A Fresh-Cranberry Batch
Choose fresh cranberries when you have a bag on hand and want to watch the berries soften as they simmer. They give you a clear visual cue as they begin to split, and the finished sauce keeps the same bright, tart character. There’s no other ingredient change needed.
A Frozen-Cranberry Batch
Frozen cranberries work in this same stovetop method, which makes them a practical choice when fresh berries aren’t available. Add them where the fresh berries go and use the burst berries and thickened sauce as your doneness cues. The fruit is still the main flavor, so this version stays recognizably tart and cranberry-forward.
Storage and Reheating
- Refrigerator: Store covered in the refrigerator for 3 to 4 days. The sauce will be firmer when cold; stir before serving if you’d like a more even texture.
- Freezer: It freezes well. Transfer cooled sauce to a freezer-safe airtight container, leaving a little room at the top, and freeze for up to 2 to 3 months. Thaw it in the refrigerator and stir it before serving.
- Reheating: This sauce is good chilled, so reheating is optional. To serve it warm, heat gently in a saucepan over low heat, stirring often; avoid a hard boil, which can make the sauce looser than you want.
Questions I Get Asked About Sugar Free Cranberry Sauce
Sugar Free Cranberry Sauce
Ingredients
Equipment
Method
- Combine the water, allulose, and salt in a 2-quart saucepan.
- Bring the mixture to a boil over medium-high heat.
- Stir in the cranberries.
- Reduce the heat to medium-low and simmer for 10 to 15 minutes, stirring occasionally, until most berries have burst and the sauce has thickened.
- Remove the pan from the heat.
- Let the sauce cool for at least 30 minutes; it will thicken further as it cools.


