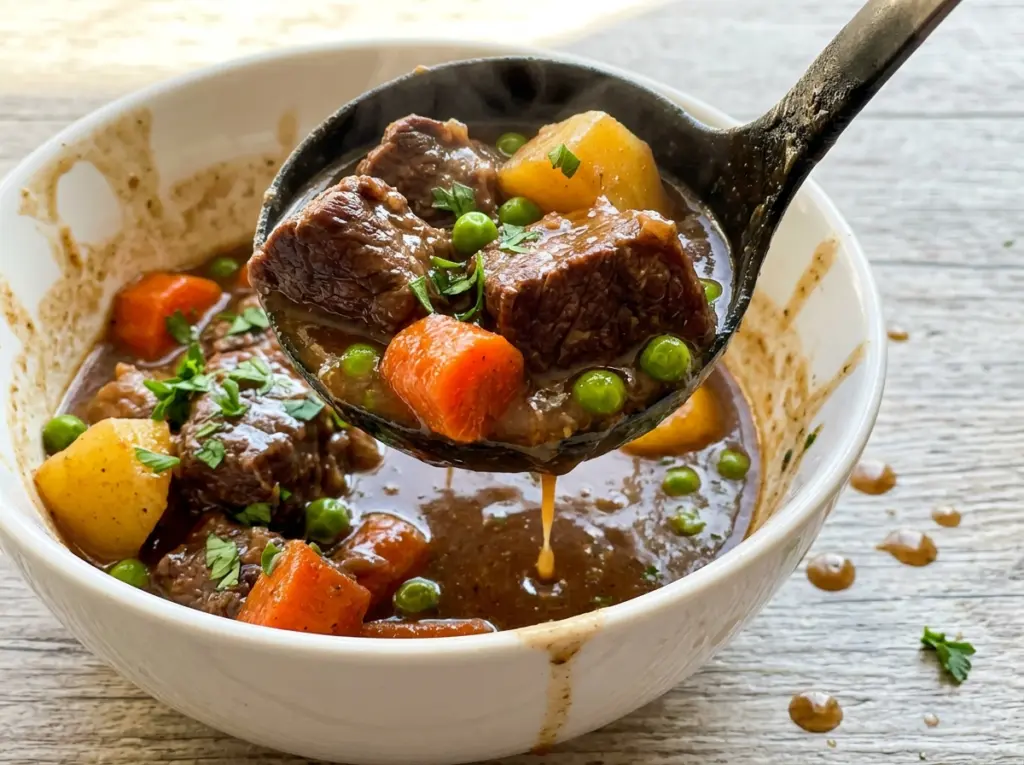
The beef needs room to brown, and you can see the difference as soon as it hits the Dutch oven: pieces spread across the hot bottom take on deep color, while a crowded pot fills with steam. I brown it in batches for Witchs Cauldron Beef Stew, then use the same pot to build a savory base from the vegetables and browned bits. That means every bit of flavor from the sear ends up in the broth.
This is a covered oven stew, so the beef has time to turn fork-tender before the carrots and Yukon Gold potatoes go in. Adding those vegetables later keeps them from spending the entire braise in the pot. The broth gets body from flour cooked with the vegetables, then the peas go in at the end for a little sweetness and color. What comes out is a hearty, spoonable stew with tender chunks of beef and vegetables that still hold their shape.
Kitchen Note
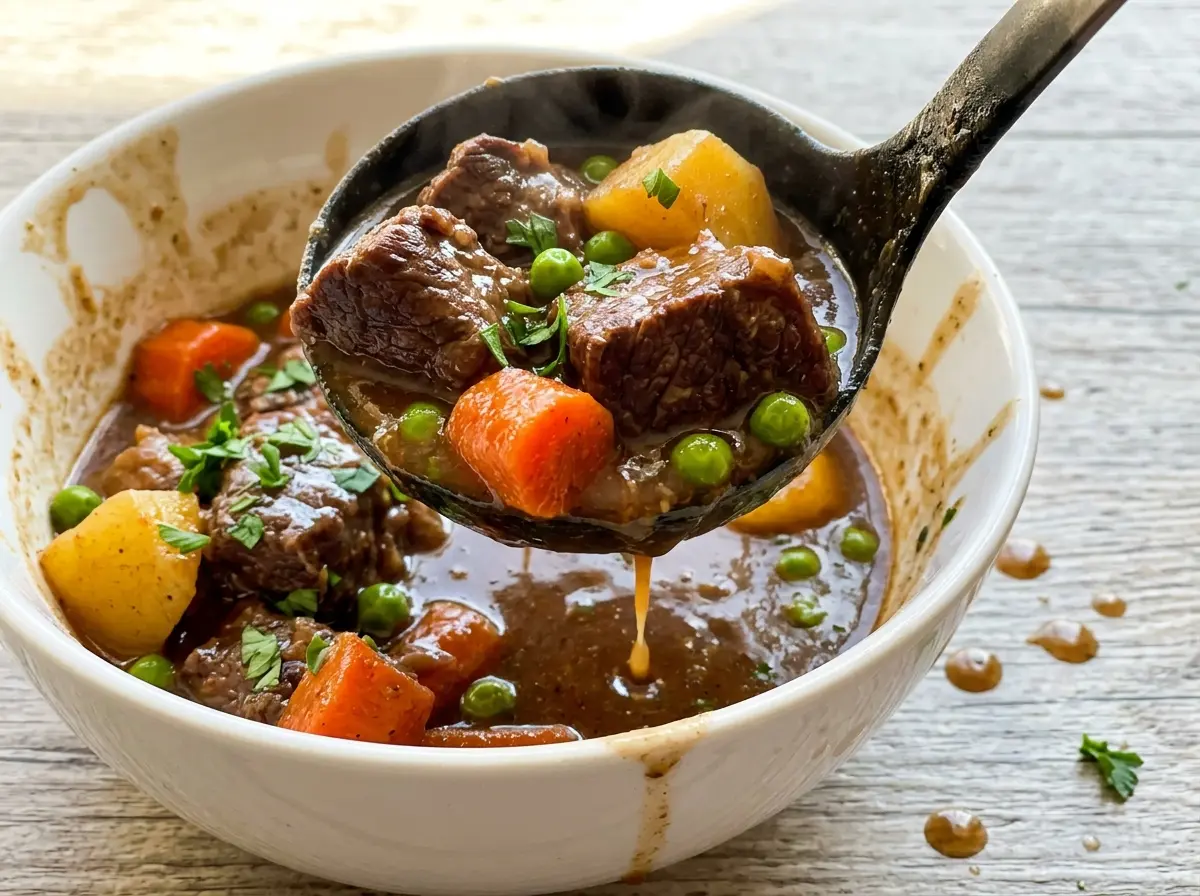
Give the pot its full 10-minute rest after baking. The bubbling settles, and it’s easier to ladle the stew without breaking up the soft vegetables.
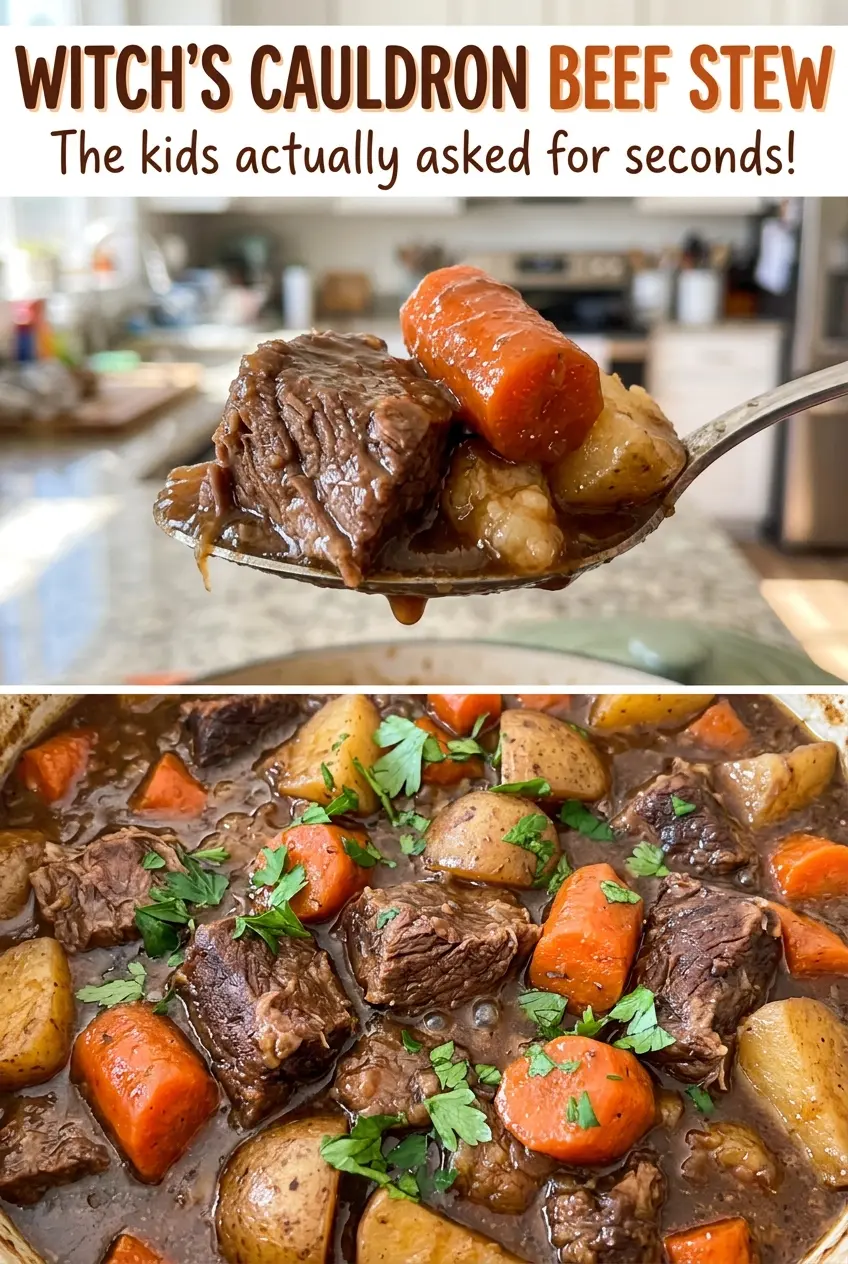
Save Witchs Cauldron Beef Stew for a cozy supper: tender beef, soft potatoes, and a rich red-wine broth.
Why the Beef Needs Space Before It Meets the Broth
Browning isn’t just about putting color on the meat. Those browned bits stuck to the bottom of the Dutch oven become part of the stew’s savory base when the wine goes in. If the beef is crowded, it releases moisture faster than it can brown, and you lose both the deep crust and the flavorful fond that gives the broth its richness.
Work in batches and let each piece make good contact with the pot. The beef doesn’t need to cook through at this stage; it will finish braising in the covered pot. A deep brown exterior is what you’re after, not a pale gray surface. When the wine loosens the browned bits, scrape the bottom well so they dissolve into the liquid instead of staying behind in the pot.
The other useful choice is holding back the carrots and potatoes until the beef has had its first stretch in the oven. Chuck needs that time to soften, while root vegetables turn soft much sooner. Staggering when they go in lets the beef become tender without asking the potatoes to withstand the whole braise.
What Gives This Stew Its Deep, Rounded Broth
- Beef chuck — Chuck has enough connective tissue to become tender during a long, gentle braise. Ask for chuck and cut it into even pieces; very lean beef won’t give the broth the same richness and can turn dry before it softens.
- Yellow onion, celery, and garlic — This trio gives the stew its savory base. Fresh garlic matters most here because it’s cooked briefly with the tomato paste; minced garlic from a jar is convenient, but it can taste less bright.
- Tomato paste — A short cook in the pot takes away its raw edge and adds a concentrated savory note. Tube or canned paste both work; refrigerate or freeze any leftover paste after opening.
- All-purpose flour — The flour coats the vegetables and helps thicken the broth as the stew bakes. For a gluten-free version, use the cornstarch method in the variation below rather than swapping in another flour.
- Dry red wine — Wine contributes a deep, lightly fruity note and helps lift the browned bits from the pot. If you don’t cook with wine, replace it with an equal amount of beef broth; the stew will taste more straightforwardly savory.
- Beef broth, Worcestershire sauce, thyme, and bay leaves — Together they make the braising liquid savory and aromatic. Use a broth you like the taste of on its own; a very salty broth can make the finished stew taste overly seasoned as it reduces.
- Carrots, Yukon Gold potatoes, and peas — Yukon Golds hold their shape well while turning creamy inside. Frozen peas are handy and go in near the end, so there’s no need to thaw them first.
Building the Stew in Stages, From Sear to Soft Vegetables
Brown the Chuck in Uncrowded Batches
Heat the oven to 325°F and season the patted-dry beef with kosher salt and black pepper. Heat the vegetable oil in a 6-quart Dutch oven over medium-high heat, then brown the beef in batches on all sides, about 8–10 minutes total. Transfer the browned pieces to a plate as you work. If the meat is steaming rather than browning, the pot is too crowded; give the next batch more room.
Cook the Aromatics and Build the Base
Add the chopped onion and celery to the pot and cook, stirring, until softened, about 5 minutes. Stir in the minced garlic and tomato paste and cook for 30 seconds, then sprinkle in the flour and stir for 1 minute so it coats the vegetables. Pour in the red wine and scrape up the browned bits, then let it simmer for 2 minutes. Scrape thoroughly across the bottom, where the best browned flavor is concentrated.
Let the Beef Braise Before Adding Vegetables
Stir in the beef broth, Worcestershire sauce, dried thyme, and bay leaves, then return the beef and any juices from the plate to the pot. Cover and bake for 1 1/2 hours. Keep the lid on during this first braise so the liquid stays in the pot and the beef cooks gently. The beef will continue cooking with the vegetables, so it doesn’t need to be fully fork-tender yet.
Add the Roots, Then Finish with Peas
Stir in the carrots and potatoes, cover, and bake for 45–60 minutes, until the beef is fork-tender and the vegetables are soft. Check a piece of beef with a fork rather than relying only on the clock; the pieces should yield easily. Stir in the frozen peas, bake uncovered for 5 minutes, then remove the bay leaves. Let the stew rest for 10 minutes before serving.
Two Easy Ways to Adapt Witchs Cauldron Beef Stew
Make the stew gluten-free
Leave out the all-purpose flour. Instead, mix 2 tablespoons of cornstarch with a little cold beef broth until smooth, then stir it into the pot with the peas. Bake uncovered for the same 5 minutes; the broth will turn glossy and thicken without the flour. Use gluten-free Worcestershire sauce for this adaptation.
Trade the peas for frozen corn
Use the same amount of frozen corn in place of the peas and stir it in at the same point. The corn brings a sweeter pop and a slightly firmer bite, while keeping the quick finish convenient. Add it frozen; it warms through during the uncovered bake.
Storage and Reheating
- Refrigerator: Store covered for 3–4 days. The potatoes will soften a little more as they sit.
- Freezer: Freeze in airtight containers for up to 3 months. The stew is safe to freeze, though the potatoes may turn softer or slightly grainy after thawing.
- Reheating: Warm on the stovetop over medium-low heat, stirring gently, until it reaches 165°F. Avoid a hard boil, which can break up the potatoes and make the beef seem dry.
Questions That Come Up While the Stew Bakes
Witchs Cauldron Beef Stew
Ingredients
Equipment
Method
- Heat the oven to 325°F.
- Season the beef with the salt and pepper.
- Heat the oil in a 6-quart Dutch oven over medium-high heat.
- Brown the beef in batches on all sides, about 8–10 minutes total.
- Transfer the beef to a plate.
- Add the onion and celery to the pot and cook, stirring, until softened, about 5 minutes.
- Stir in the garlic and tomato paste and cook for 30 seconds.
- Sprinkle in the flour and stir for 1 minute to coat the vegetables.
- Pour in the wine and scrape up the browned bits from the bottom of the pot.
- Simmer for 2 minutes.
- Stir in the beef broth, Worcestershire sauce, thyme, and bay leaves.
- Return the beef and any accumulated juices to the pot.
- Cover and bake for 1 1/2 hours.
- Stir in the carrots and potatoes.
- Cover and bake for 45–60 minutes, until the beef is fork-tender and the vegetables are soft.
- Stir in the peas and bake uncovered for 5 minutes.
- Remove the bay leaves and let the stew rest for 10 minutes before serving.