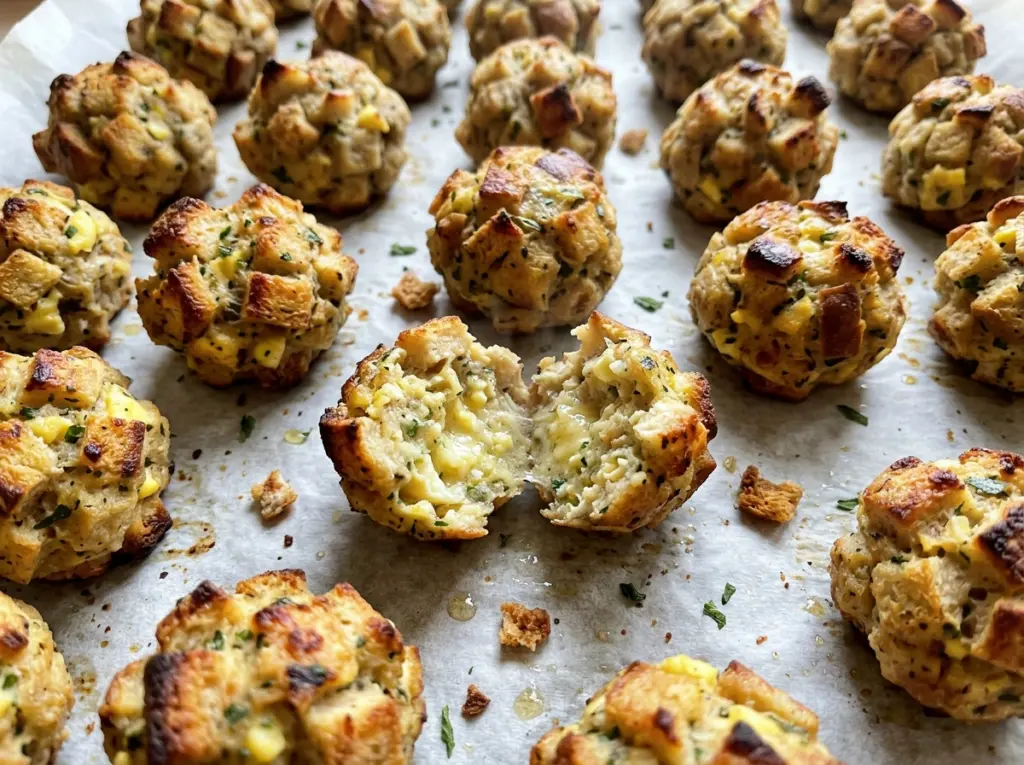
The dry corners of stuffing mix can look stubborn when broth first hits them, while the pieces underneath turn soft almost at once. Stirring until everything is evenly moistened makes a big difference in these 3 Ingredient Stuffing Balls; you want the whole bowl to feel consistent before you start shaping. I like this recipe because the seasoned mix already brings its own savory flavor, and the eggs help each ball hold together in the oven.
Letting the mixture stand before shaping gives the bread time to take up the broth, so the balls are easier to form and less likely to crumble as you move them to the pan. Keep them close to the same size, too, so the centers cook at a similar pace. They come out lightly browned, with a tender middle and a familiar stuffing flavor in a tidy, easy-to-serve shape.
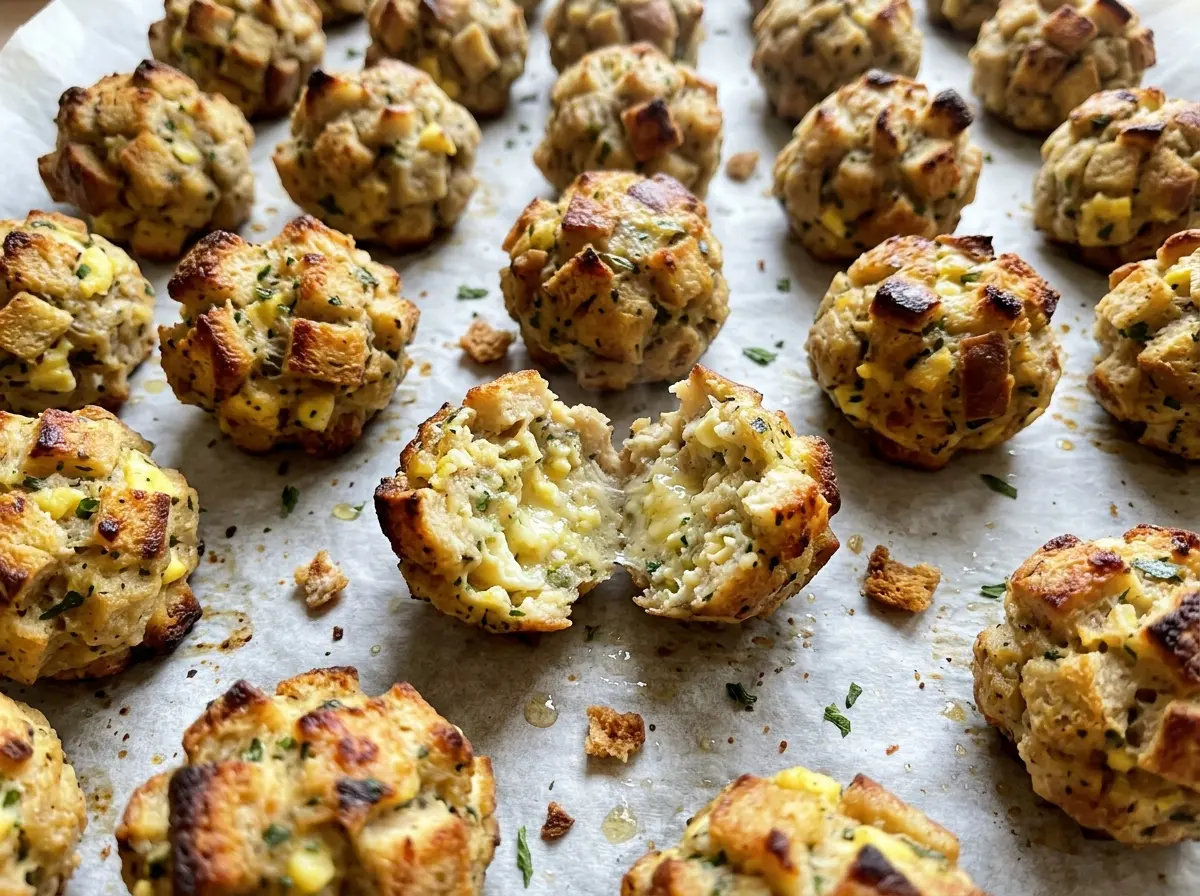
Kitchen Note
I line the baking sheet and get the oven heating before I mix anything. Then the full 10-minute rest can happen without a pause to find parchment or clear a spot on the counter.
Save these 3 Ingredient Stuffing Balls for a savory, lightly browned side dish that keeps the familiar flavor of stuffing in an easy-to-serve shape.
Why Stuffing Balls Need a Rest Before They Hit the Oven
Stuffing mix doesn’t absorb liquid at the same speed all at once. The pieces on the outside of the bowl may soften quickly, while bread tucked underneath still has dry spots. Give the mixture its full 10-minute rest before shaping. That pause lets the broth distribute through the bread instead of leaving you with damp clumps and dry crumbs in the same ball.
The eggs do their binding work as the balls bake, but they can’t fix uneven moisture in the bowl. If you shape the mixture while some pieces are still dry, those spots can loosen and break away when you form or move the balls. Stir until the bread is evenly moistened, then leave the mixture alone for the rest. You’ll get a more cohesive mixture that’s easier to portion, and the finished centers stay tender rather than crumbly. The wait is short, but it’s part of the structure—not dead time.
Why Seasoned Stuffing Mix Is More Than a Shortcut
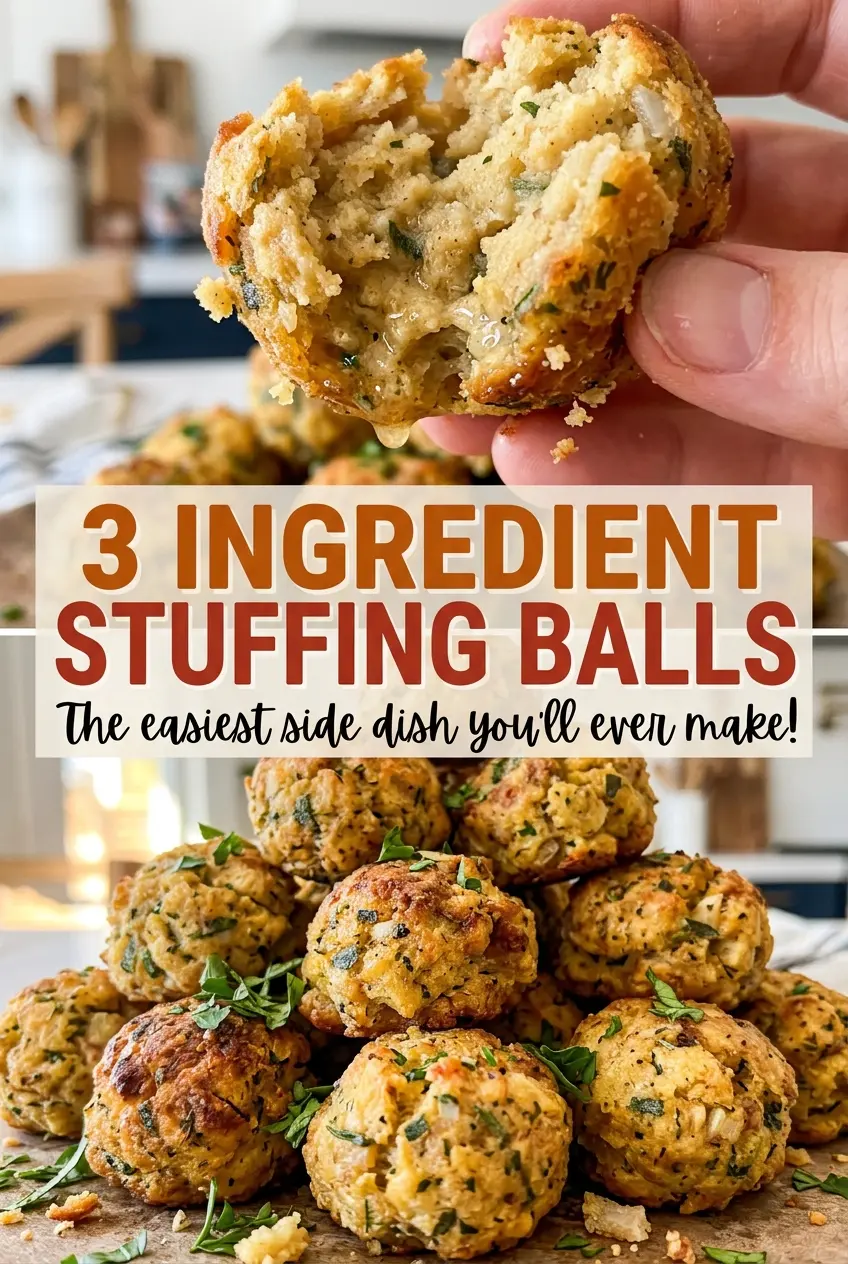
- Seasoned stuffing mix — The dried bread pieces provide the base, while the seasoning is already distributed through the mix. A basic bag is all you need; there’s no benefit to choosing a premium brand for this preparation. Plain breadcrumbs or fresh bread aren’t direct substitutes because they don’t have the same shape, seasoning, or absorption.
- Chicken broth — Broth moistens the bread and adds savory flavor throughout. Regular chicken broth works well, while low-sodium chicken broth gives you a milder, less salty result; the seasoning level in stuffing mixes varies by brand. Pour it over the mix gradually so you can stir the whole bowl evenly.
- Large eggs — Eggs help hold the softened bread together as the balls bake. Use large eggs for the intended balance; smaller eggs provide less binding and moisture. There isn’t a simple egg-free replacement that keeps the same texture and structure.
How to Moisten, Shape, and Bake Them Evenly
Get the Oven and Pan Ready
Heat the oven to 375°F and line a baking sheet with parchment paper before you begin mixing. A flat sheet gives the balls a stable place to bake, and the parchment keeps them from sticking as their surfaces brown. Have a large bowl ready for the stuffing mix. Getting the setup out of the way leaves you free to shape the mixture once it has rested.
Moisten the Stuffing Mix
Put the stuffing mix in the large bowl and drizzle the chicken broth over it. Add the eggs, then stir until the bread is evenly moistened throughout. Scrape the bottom and sides of the bowl as you stir; dry pieces can settle there and disappear from view. Don’t judge the mixture by the first wet patches you see—keep stirring until the moisture is spread through the bowl.
Let It Stand, Then Shape
Leave the mixture to stand for 10 minutes, then shape it into 12 balls about 1 1/2 inches wide. Keep the portions close in size so they bake at a similar rate. Arrange the balls on the prepared baking sheet. If the mixture seems loose before the rest, give it the full pause before deciding how it handles; the bread needs that time to absorb the broth.
Bake Until Browned Through the Center
Bake for 22 to 28 minutes, until the outside is lightly browned and the centers reach 160°F. Start checking near the earlier end of the baking window, since oven timing can vary. The browned surface is a useful cue, but color alone doesn’t tell you whether the center has reached its target temperature. Check the center of a ball with an instant-read thermometer, then take the pan out once the balls are done.
Two Ingredient Swaps for Different Tables
Use Vegetable Broth for a Vegetarian Version
Replace the chicken broth with vegetable broth for a vegetarian-leaning version with a slightly different savory note. The seasoned stuffing mix also needs to be meat-free for the finished dish to be vegetarian. Keep the same amount of broth and follow the same mixing and baking method.
Choose Gluten-Free Stuffing Mix
Use a 6-ounce package of gluten-free seasoned stuffing mix in place of the regular mix. The texture depends on the bread blend, so the balls may be a little more delicate or compact, but the broth and eggs still provide moisture and binding. Keep the mixture’s full resting time before you shape it.
Storage and Reheating
- Refrigerator: Store cooled stuffing balls in an airtight container for 3 to 4 days. They’ll soften as they sit.
- Freezer: Freeze the cooled balls in a single layer, then transfer them to a freezer-safe bag or container for up to 2 to 3 months.
- Reheating: Warm in a 350°F oven until the centers reach 165°F. Avoid heating them for too long in the microwave, which can make the outside soft rather than lightly crisp.
Questions That Come Up When Shaping Stuffing Balls
3 Ingredient Stuffing Balls
Ingredients
Equipment
Method
- Heat the oven to 375°F.
- Line a baking sheet with parchment paper.
- Put the stuffing mix in a large bowl and drizzle with the broth.
- Add the eggs and stir until evenly moistened.
- Let the mixture stand for 10 minutes.
- Shape the mixture into 12 balls about 1 1/2 inches wide and arrange them on the baking sheet.
- Bake for 22 to 28 minutes, until the balls are lightly browned and the centers reach 160°F.


