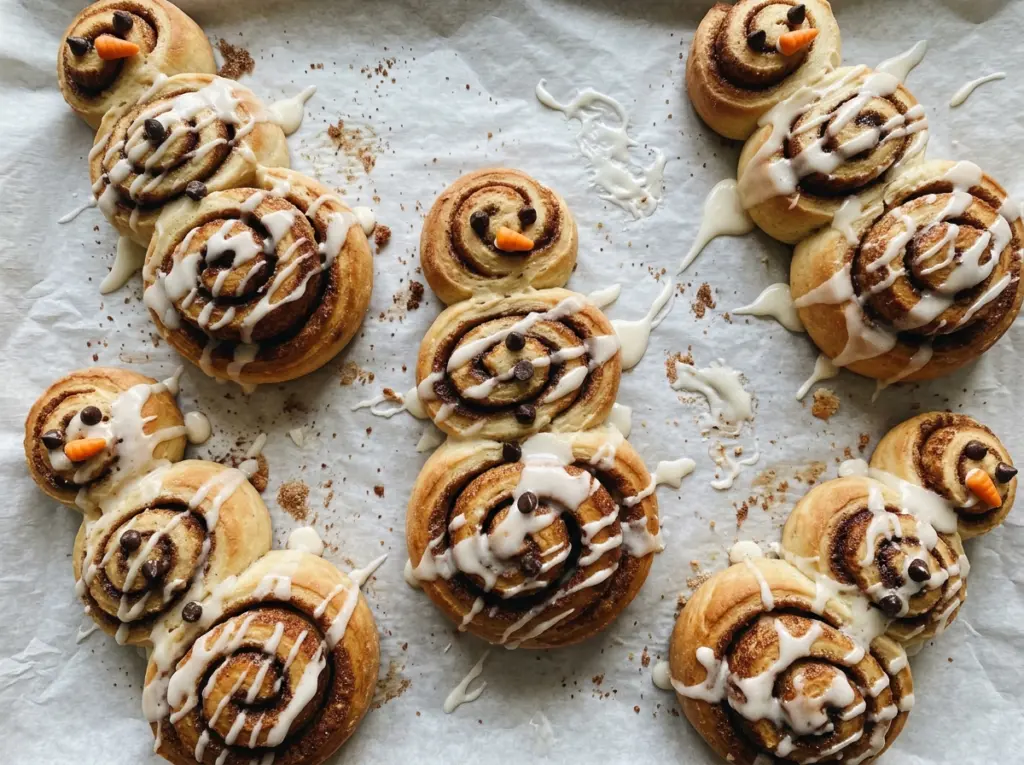
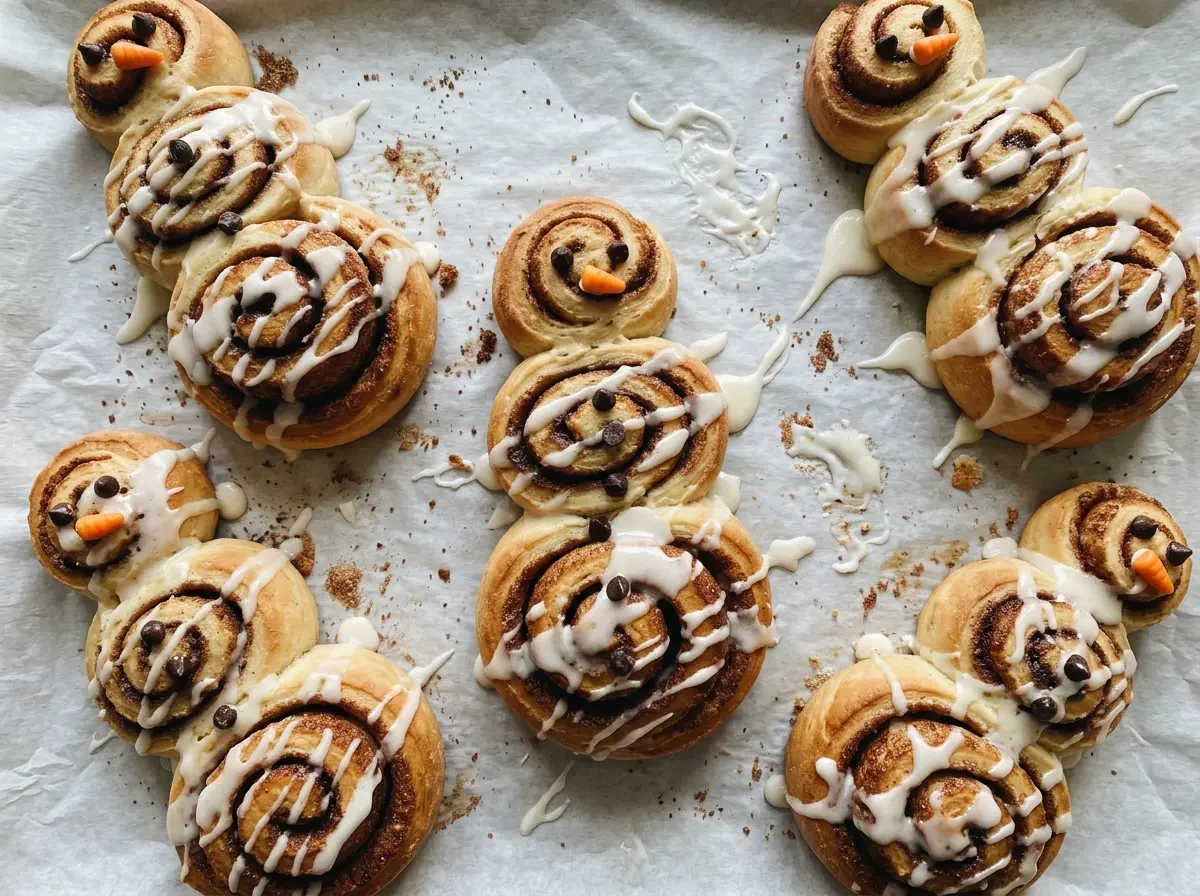
As the rolls bake, their edges soften and puff until the separate spirals become one pull-apart snowman. I arrange the head, middle, and base before the pan goes into the oven, because once the dough starts baking, there’s no tidy way to reshape it. This Cinnamon Roll Snowman turns a can of refrigerated cinnamon rolls into an easy centerpiece, with the included icing doing double duty as a snowy coating and a backdrop for the face.
The arrangement matters more than fancy decorating. One roll makes the head, three make the middle, and four form the base, with the edges touching all the way around. That gives the baked rolls a connected outline while keeping the familiar cinnamon swirls intact. After a short rest on the baking sheet, spread on the icing and add chocolate-chip eyes, a smile and buttons, an orange candy nose, and pretzel-stick arms. It’s a playful breakfast or dessert that serves eight, and everyone can pull off a warm piece.
Kitchen Note
Give the baked rolls their full 5 minutes on the baking sheet before icing them. The brief cool-down helps the icing stay on the surface instead of immediately running into the warm spirals.
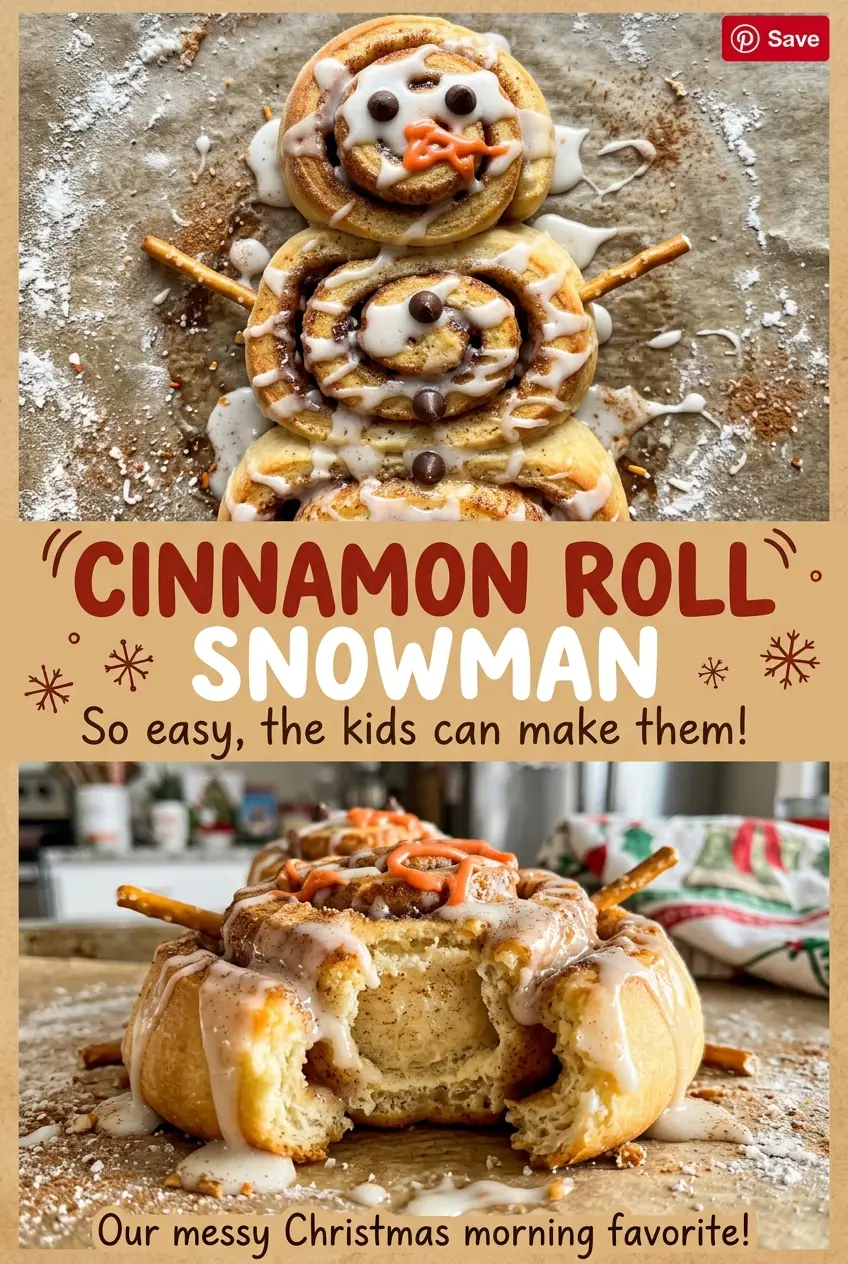
Save this Cinnamon Roll Snowman for a cheerful pull-apart treat with cinnamon swirls, snowy icing, and a candy nose.
Why the Snowman Needs a 1–3–4 Shape, Not Eight Rolls in a Row
Eight cinnamon rolls could be arranged in plenty of ways, but the one-head, three-middle, four-base layout gives this design its recognizable silhouette. The base is wider than the middle, so the snowman looks grounded instead of like a straight column. Keeping the edges touching also gives the baked shape continuity: the rolls stay together as a pull-apart centerpiece rather than eight unrelated pastries.
There’s a practical reason to work with the dough while it’s still separated. You can see the outline clearly on the parchment-lined rimmed baking sheet and adjust the rolls before they bake. Leave the head as a single roll, center the three-roll section above the four-roll base, and bring neighboring edges together without stacking one roll on top of another. The spirals remain visible, and each section is still easy to pull apart after baking.
Use the same arrangement every time you make it. If the middle or base is shifted far to one side, the snowman’s outline will look lopsided; if the rolls are laid in a line, there’s no broad base. The simple count does the shaping work before the oven does the baking.
The Canned Rolls, Icing, and Decorations Each Have a Job
- Refrigerated cinnamon rolls — The can supplies eight portioned rolls that are already shaped and sized for the snowman layout, plus the icing used after baking. Use a can with eight rolls so the head, middle, and base fit the intended arrangement; rolls of very different sizes won’t make the same balanced outline.
- Included icing — This is the snowy finish and the surface that makes the dark and bright decorations stand out. Use all of it over the baked snowman. There isn’t a like-for-like replacement in the listed ingredients; leaving it off changes both the appearance and the finished sweetness.
- Mini chocolate chips — Their small size suits the eyes, smile, and buttons without overwhelming the cinnamon rolls. Regular-sized chocolate chips would look much larger against the face, so mini chips are the better choice for the details.
- Orange candy-coated chocolate — Its bright color makes the nose easy to distinguish from the chocolate-chip features. If you don’t have an orange piece, a mini chocolate chip can stand in, but the nose will blend into the face instead of providing that contrast.
- Pretzel sticks — Straight sticks make clear arms and add a crisp contrast to the soft rolls. Press them gently into the sides of the middle section after icing and decorating; pushing hard can pull the connected rolls apart.
Assembling and Baking a Snowman That Holds Together
Set the Shape on Parchment
Heat the oven to 400°F and line a rimmed baking sheet with parchment paper. Separate the rolls and arrange one for the head, three for the middle, and four for the base, keeping the edges touching. Check the outline before baking: the single roll belongs at the top, and the widest group belongs at the bottom. The dough is easiest to position before it goes into the oven, so fix any gaps or crooked sections now.
Bake Until the Center Is Cooked Through
Bake for 15–19 minutes, until the rolls are golden brown and cooked through in the center. Start checking at the earlier end of the range, but don’t pull the snowman just because the outer edges have colored; the middle needs to be cooked through too. The dough should look baked rather than wet or raw between the joined rolls. Oven differences can affect where it lands within the time range.
Ice and Add the Face
Cool the rolls on the baking sheet for 5 minutes, then spread all the icing over the snowman. Arrange the mini chocolate chips for eyes, a smile, and buttons, and set the orange candy in place for the nose. Press a pretzel stick into each side of the middle section to make the arms. Place the small decorations deliberately; on the white icing, even a slight shift changes the expression.
Small Decoration Changes That Keep the Snowman Recognizable
A Simple Face Without Buttons
For a less decorated look, use the mini chocolate chips for the eyes and smile, and skip the buttons. The snowman keeps its face and orange nose, while more of the iced cinnamon-roll surface stays visible.
A Snowman Without Pretzel Arms
Leave off the pretzel sticks for a cleaner outline or when you’d rather keep the sides easy to pull apart. The rolls, icing, and face decorations stay the same; the finished snowman simply has a softer, less detailed silhouette.
Storage and Reheating
- Refrigerator: Cover leftovers and refrigerate for up to 3 days. The rolls will be firmer when chilled, and the pretzels may soften.
- Freezer: The decorated snowman isn’t a great candidate for freezing because the candy and pretzels can lose their texture. For better results, freeze the baked rolls before icing or decorating, wrapped airtight for up to 2 months; thaw, warm, and decorate before serving.
- Reheating: Warm a portion in the microwave in short 5-second bursts until just warm. Longer heating can make the icing run and soften the decorations.
Questions That Come Up When Making a Cinnamon Roll Snowman
Cinnamon Roll Snowman
Ingredients
Equipment
Method
- Heat the oven to 400°F.
- Line a rimmed baking sheet with parchment paper.
- Separate the cinnamon rolls and arrange them with edges touching in a snowman shape: 1 roll for the head, 3 rolls for the middle, and 4 rolls for the base.
- Bake for 15–19 minutes, until golden brown and cooked through in the center.
- Cool the rolls on the baking sheet for 5 minutes.
- Spread all the icing over the snowman.
- Decorate with the chocolate chips for eyes, a smile, and buttons.
- Use the orange candy for the nose.
- Press a pretzel stick into each side of the middle section for arms.


