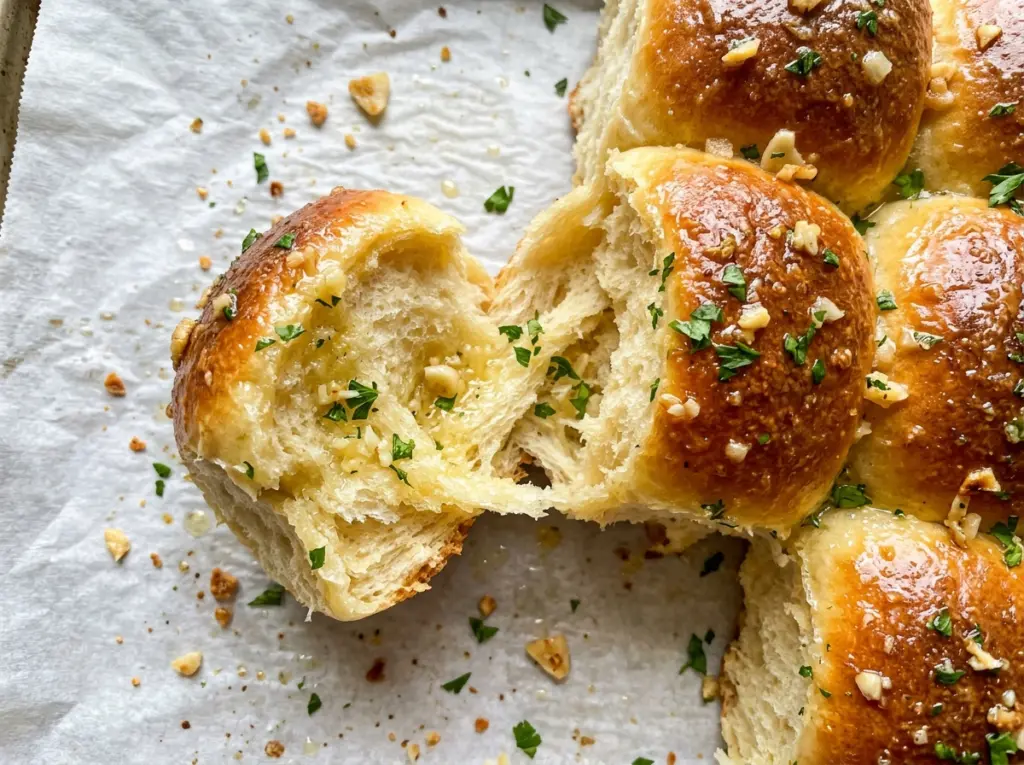
The dough feels soft and a little tacky after kneading, and that’s exactly what I want for tender rolls. Once it rises, the surface turns smooth and airy, then the shaped rounds puff together in the baking dish. These Garlic Butter Bread Rolls come out golden on top with soft sides and a warm, savory finish.
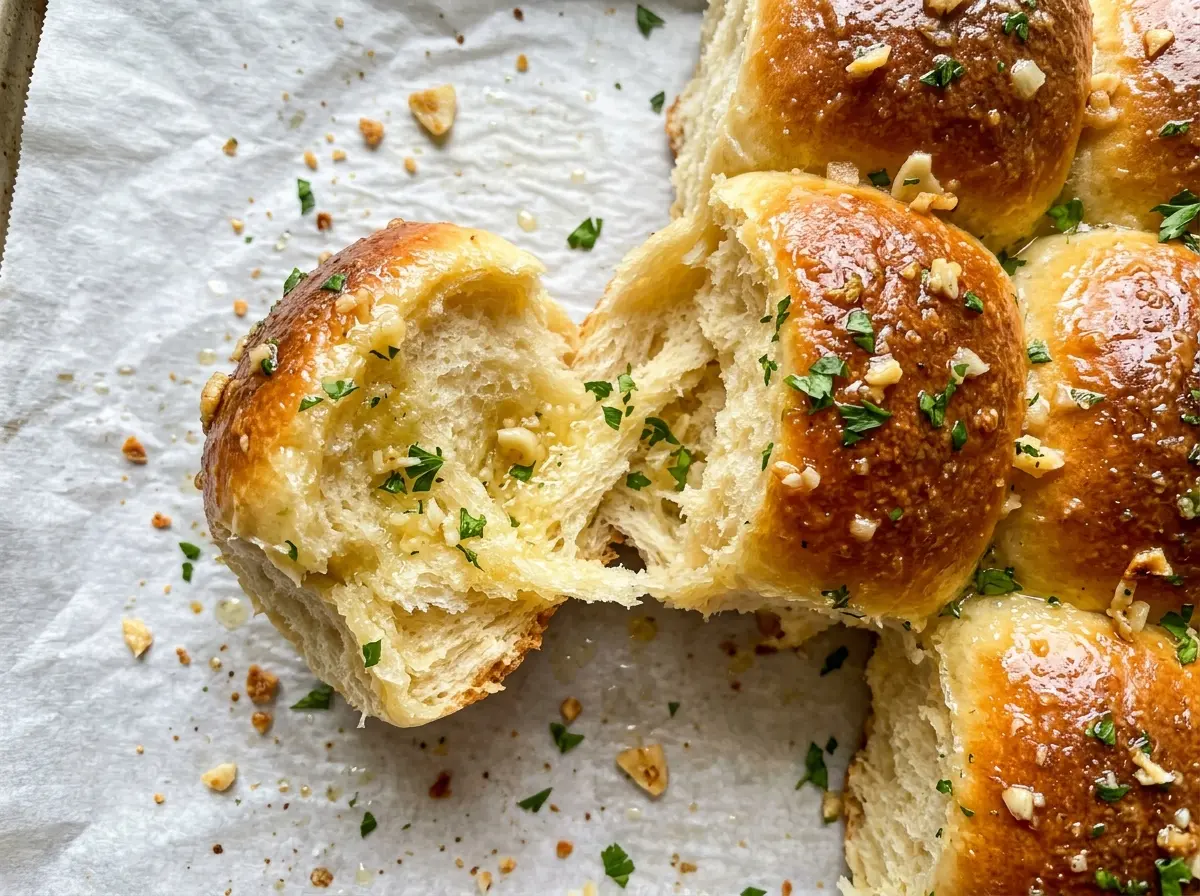
I brush the garlic butter over the rolls as soon as they leave the oven, while their tops are still hot enough to soak it in. The garlic gets a quick, gentle cook in butter first, so it smells fragrant without turning bitter. A little fresh parsley keeps the buttery coating bright, and each roll is ready to pull apart after a short rest.
Kitchen Note
Stay close to the saucepan once the garlic goes in. It only needs 30–60 seconds over low heat; take it off as soon as it smells fragrant, before the pieces start to brown.
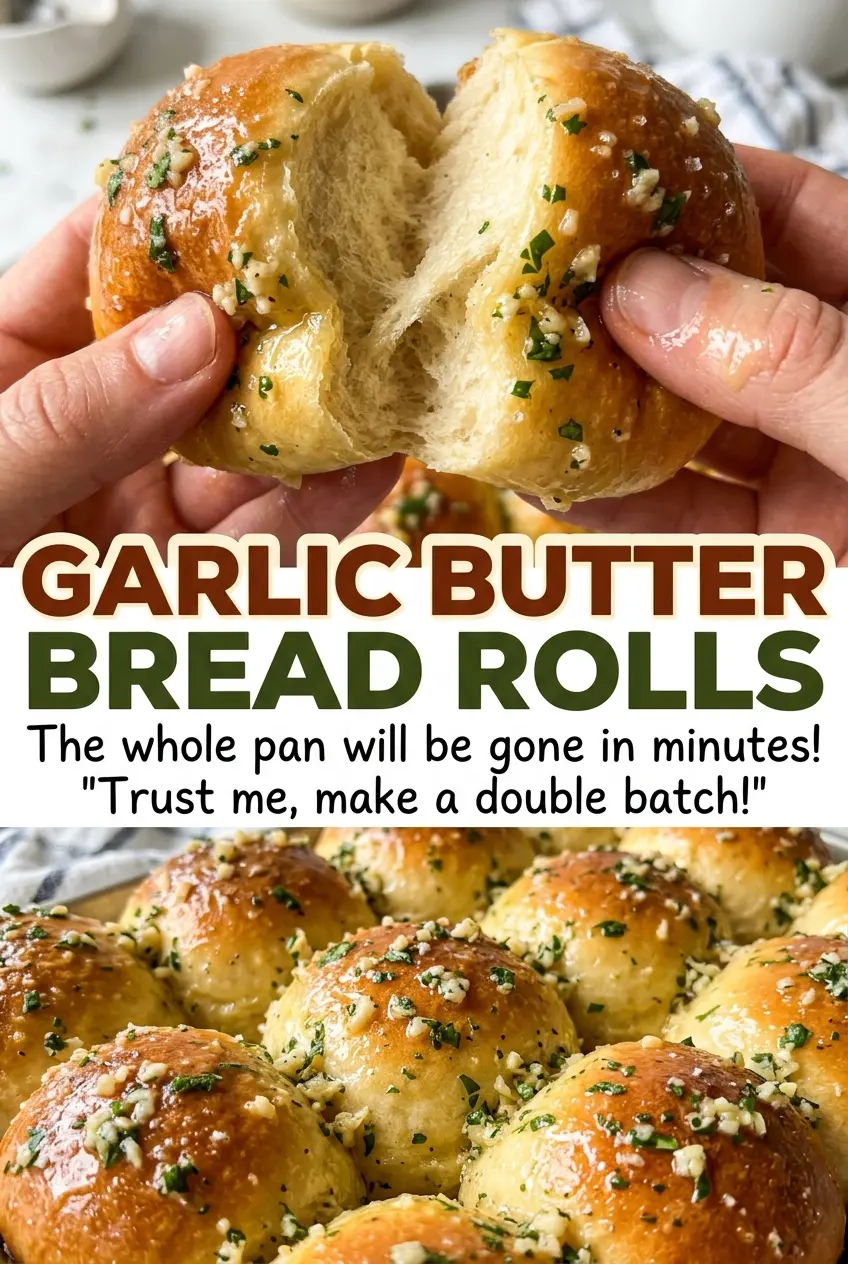
Save these Garlic Butter Bread Rolls for a soft, golden side coated with warm garlic butter and fresh parsley.
Why the Garlic Butter Goes on After the Rolls Leave the Oven
Garlic butter brushed on before baking would leave the minced garlic exposed to the oven’s heat for the full bake. Adding it afterward protects that fresh garlic flavor and lets the butter settle into the golden tops instead of baking away. The hot rolls do the work: their surface is warm and receptive, so the parsley and garlic cling to each one.
There’s a texture difference, too. The butter gives the tops a soft, glossy finish while the sides stay tender, rather than forming a drier crust. I use a pastry brush to reach the edges and get some of the garlic in every spot. Then I give the rolls five minutes to rest; that brief pause lets the coating settle and makes them easier to pull apart without losing the soft crumb.
What Milk, Butter, and Yeast Contribute to These Soft Rolls
- Whole milk — It gives the dough a tender, lightly rich crumb. Warm it to 105–110°F so the yeast can activate; a thermometer takes the guesswork out. Two-percent milk works in the same amount, though the rolls will be a little less rich. There’s no need to buy a specialty brand.
- Active dry yeast — This is what lifts the dough through both rises. Check that it’s fresh, especially if the jar has been open for a while; the foamy surface after resting is a useful sign it’s active. Instant yeast can replace it in the same amount, but the foam test is less dependable with that type.
- Unsalted butter — Melted, cooled butter enriches the dough, while the second portion carries the garlic and parsley over the baked rolls. Regular unsalted butter is all you need; an expensive cultured butter would bring a stronger flavor but isn’t necessary. Let the melted dough butter cool before mixing it with the egg.
- All-purpose flour — It gives these rolls enough structure without making them chewy. Spoon the flour into the measuring cup and level it; packing flour into the cup can leave the dough dry and stiff. Standard all-purpose flour is the right choice here, and I wouldn’t swap in a gluten-free blend or whole-wheat flour cup for cup.
- Fresh garlic and parsley — Freshly minced garlic infuses the butter with a clear, savory flavor, and fresh parsley adds a clean finish. Choose firm garlic cloves, but inexpensive parsley is fine. If fresh parsley isn’t available, use 1 teaspoon dried parsley in its place; the topping will taste less bright.
From Foamy Yeast to a Soft Garlic-Butter Finish
Wake Up the Yeast and Mix the Dough
Stir the warm milk, granulated sugar, and active dry yeast together in a large mixing bowl, then let the mixture stand for 5–10 minutes until foamy. Whisk in the room-temperature egg and the melted, cooled butter. Add the flour and salt, mixing until the ingredients form a shaggy dough. If you don’t see foam after the resting time, check that the milk was in the right temperature range and use fresh yeast rather than continuing with a weak mixture.
Knead Until Smooth, Then Let the Dough Rise
Turn the shaggy dough onto a clean work surface and knead for 8–10 minutes, until it feels smooth and elastic. A well-kneaded dough should stretch rather than tear as soon as you handle it. Transfer it to a large bowl lightly coated with 1 teaspoon of vegetable oil, cover, and leave it in a warm place for 1–1 1/2 hours, until doubled in size. The rise can take longer in a cool room, so look for the dough to double rather than relying on the clock alone.
Shape Twelve Rolls and Let Them Puff
Grease a 9×13-inch baking dish with the remaining 2 teaspoons of vegetable oil. Divide the dough into 12 equal pieces, shape each into a ball, and arrange them in the dish. Cover loosely and leave the rolls to rise for 30–45 minutes, until they look puffy; while they rise, heat the oven to 350°F. If the rounds still look tight and small, give them more time instead of sending them straight to the oven.
Bake Until Golden and Brush While Hot
Bake the rolls for 20–25 minutes, until the tops are golden brown. While they bake, melt the remaining butter in a small saucepan over low heat, stir in the minced garlic, and cook for 30–60 seconds until fragrant. Take the pan off the heat and stir in the parsley and remaining salt. Brush the garlic butter over the hot rolls, then let them rest for 5 minutes before serving.
Three Easy Ways to Change the Garlic Butter Rolls
Make Them Dairy-Free
Use unsweetened soy milk in place of the whole milk and unsalted dairy-free butter in place of both portions of butter, keeping the amounts the same. The rolls will be a little less rich, and they’ll still contain egg, so this change makes them dairy-free rather than vegan.
Swap Parsley for Chives
Stir chopped fresh chives into the garlic butter instead of parsley. Their gentle onion flavor makes the topping a little sharper, while keeping the same buttery, herb-flecked finish.
Add a Little Heat
Stir a pinch of crushed red pepper into the melted garlic butter after you take it off the heat. The warmth comes through in the topping without changing the soft texture of the rolls.
Storage and Reheating
- Refrigerator: Store cooled rolls in an airtight container for up to 3 days; the crumb will firm up in the fridge.
- Freezer: Freeze fully cooled rolls in an airtight freezer bag for up to 2 months. Thaw before reheating for the most even warmth.
- Reheating: Cover with foil and warm in a 300°F oven for 8–10 minutes. Avoid heating them uncovered for too long, which can dry the tops and edges.
Questions That Come Up When Baking Garlic Butter Rolls
Garlic Butter Bread Rolls
Ingredients
Equipment
Method
- Lightly coat a large bowl with 1 teaspoon of the vegetable oil.
- Stir the warm milk, sugar, and yeast together in a large mixing bowl; let stand for 5–10 minutes, until foamy.
- Whisk in the egg and 4 tablespoons of the melted, cooled butter.
- Add the flour and 1 teaspoon of the salt, then mix until a shaggy dough forms.
- Knead on a clean work surface for 8–10 minutes, until the dough is smooth and elastic.
- Transfer the dough to the oiled bowl, cover, and let rise in a warm place for 1–1 1/2 hours, until doubled in size.
- Grease a 9x13-inch baking dish with the remaining 2 teaspoons of oil.
- Divide the dough into 12 equal pieces, shape into balls, and arrange them in the dish.
- Cover loosely and let rise for 30–45 minutes, until puffy.
- Meanwhile, heat the oven to 350°F.
- Bake for 20–25 minutes, until the rolls are golden brown on top.
- Melt the remaining 4 tablespoons of butter in a small saucepan over low heat.
- Add the garlic and cook for 30–60 seconds, stirring, until fragrant.
- Remove from the heat and stir in the parsley and remaining 1/8 teaspoon of salt.
- Brush the garlic butter over the hot rolls.
- Let the rolls rest for 5 minutes before serving.


