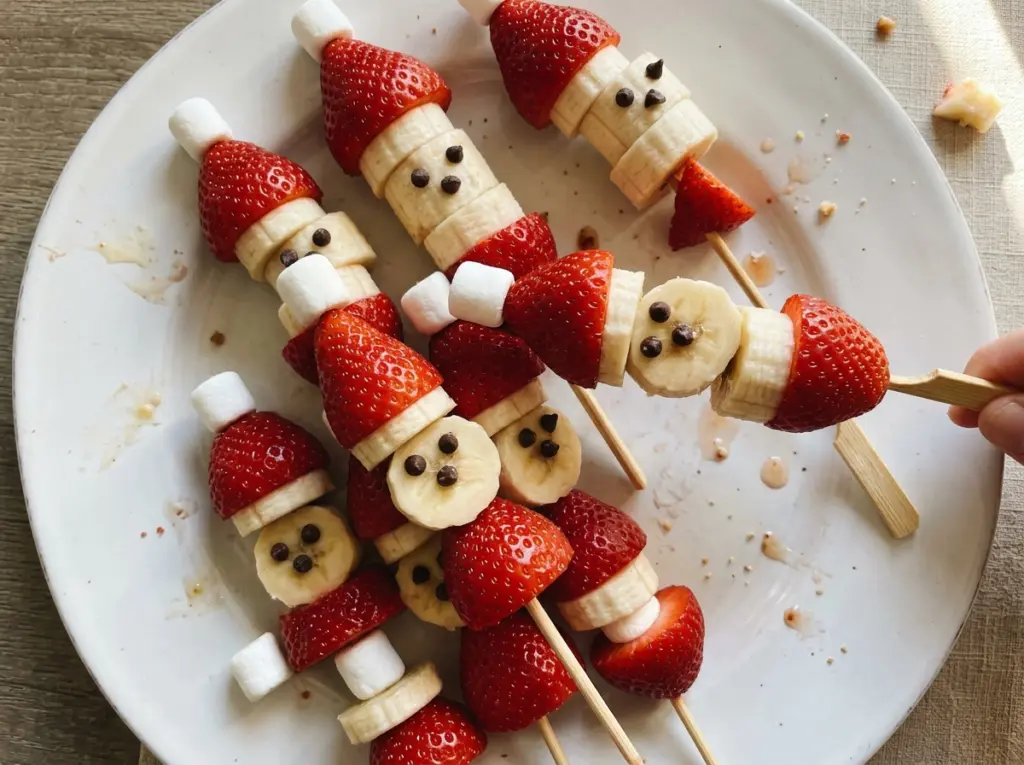
The strawberry cap is the part that makes these little skewers look like Santa, but the banana underneath does more than fill the middle. It gives you a soft, pale face for the chocolate-chip eyes and keeps the fruit stacked neatly between the marshmallows. Santa Skewers are a cheerful no-bake treat built from familiar ingredients, and there’s no oven or mixer to pull out.
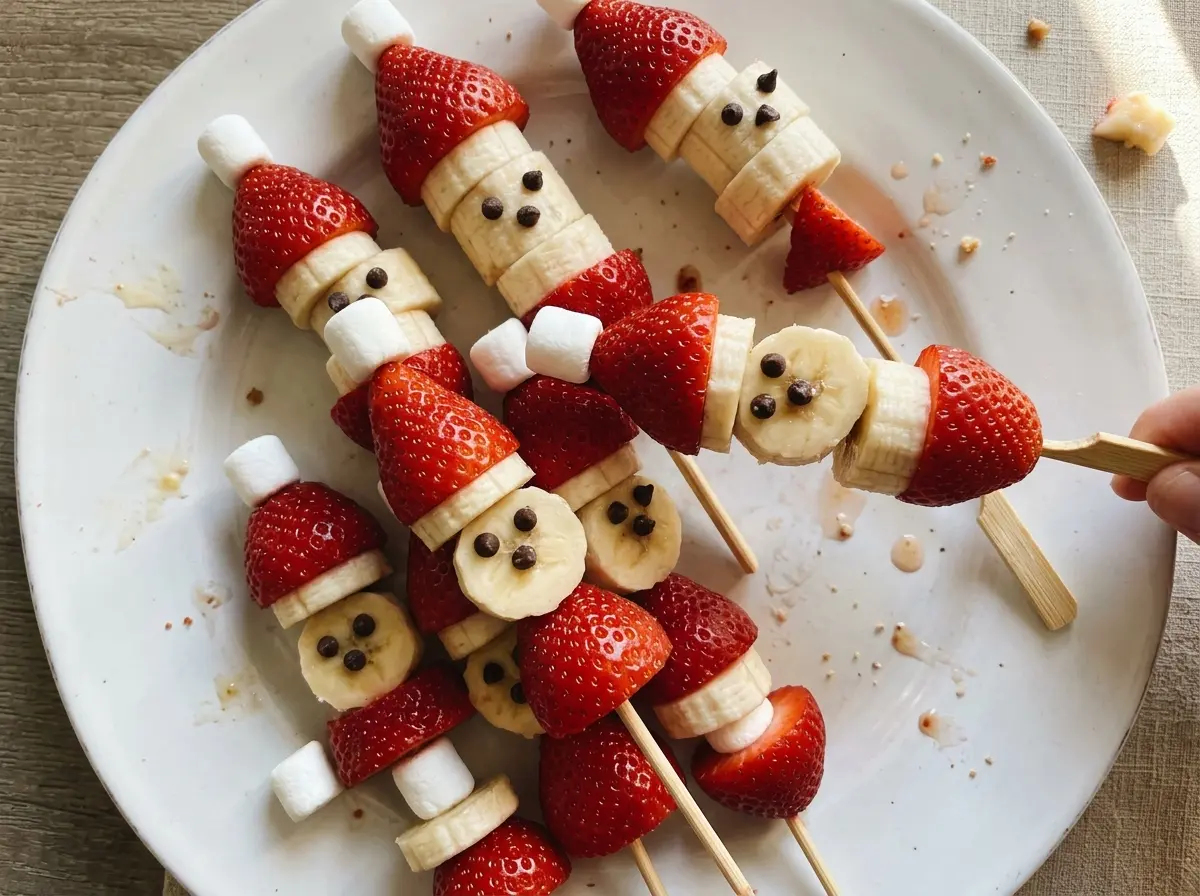
I keep the assembly simple: dry the strawberries well, cut the banana into even rounds, and thread the pieces in the right order. The detail that changes the look is the strawberry’s position. Its hulled end sits against the banana, with the point facing up like a hat. A marshmallow at each end finishes the skewer, and the chocolate chips make every banana round look like a tiny face.
They’re best assembled close to serving time, when the banana still looks fresh and the strawberries haven’t dampened the marshmallows. Set them out on a platter, and you have a bright, bite-size fruit treat with a little chocolate in every face.
Kitchen Note
Dry the strawberries thoroughly after rinsing; water on the surface makes the stack slippery and can dampen the marshmallows. I wait until the berries feel dry to the touch before threading them.
Save Santa Skewers for an easy no-bake fruit treat, with strawberry hats, banana faces, and marshmallow trim.
Why the Strawberry’s Hulled End Goes Against the Banana
The order of the stack is what makes the pieces read as little Santa faces rather than just fruit on a stick. The banana round is the face, and the two mini chocolate chips are its eyes. Put the strawberry’s hulled end against that round and point the tip upward; the berry becomes a hat sitting directly above the face.
The marshmallows frame the fruit from both ends. One goes onto the skewer before the banana, and another finishes the top, with the skewer tip pushed fully into that final marshmallow. Keeping that sequence consistent gives each skewer the same recognizable silhouette. It also means the chocolate-chip eyes stay on the exposed banana surface instead of getting hidden against another piece of fruit.
Cutting the banana into rounds of even thickness helps the faces look like a set, too. A round that’s much thinner is harder to decorate without breaking, while a much thicker one can make the stack feel bulky. The specified half-inch cut gives the chips a stable place to sit and leaves enough banana visible to read as a face.
What Each Santa Skewer Ingredient Does Best
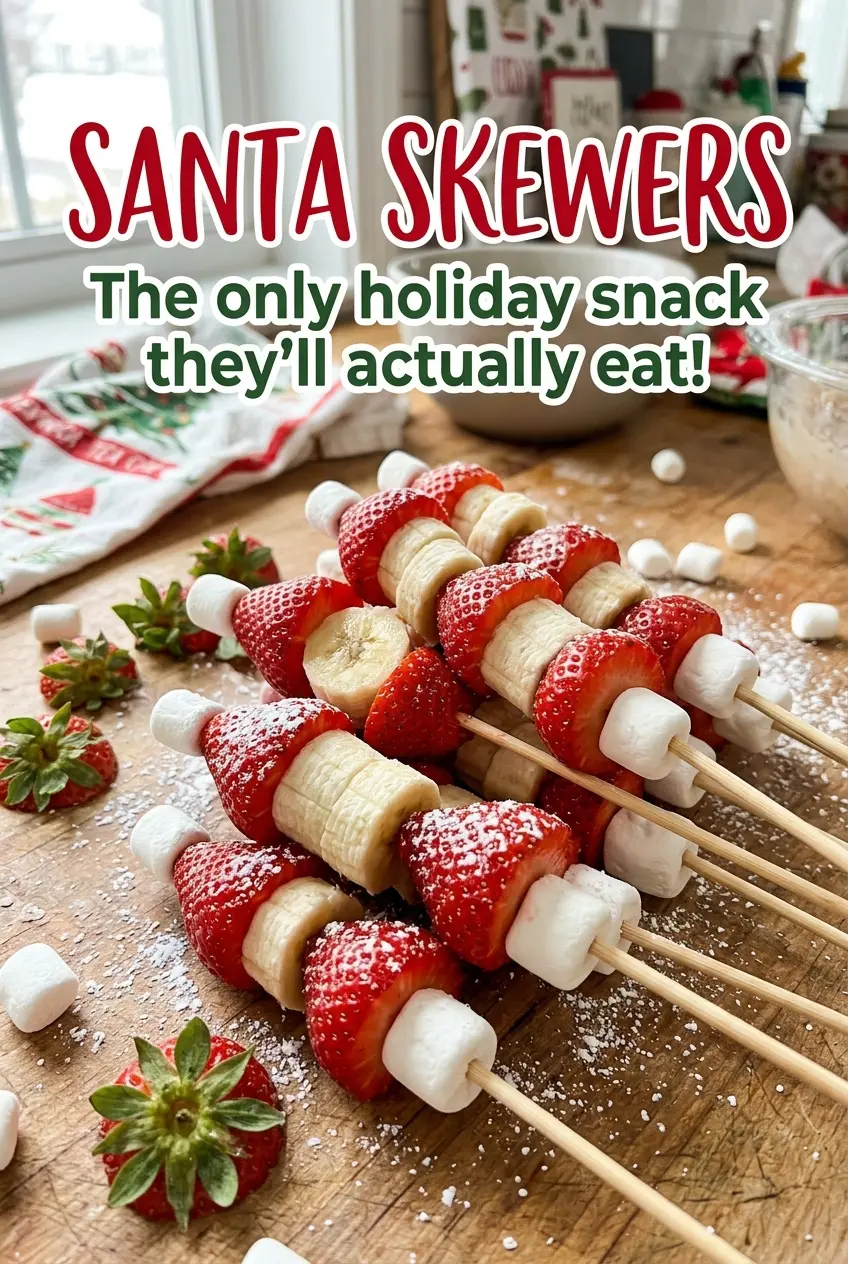
- Strawberries — Medium berries make a hat that’s in proportion to the banana face and fit the short skewer. Choose berries that hold their shape, and hull them without cutting away more fruit than needed. Rinse and dry them thoroughly; damp berries are more difficult to thread neatly.
- Bananas — The banana gives the chocolate-chip eyes a light-colored surface to stand out against. Use bananas that slice into rounds without turning mushy, then cut the rounds evenly so the chips press in rather than pushing through. Banana is the part most likely to discolor after cutting, which is another reason to assemble these close to serving time.
- Mini chocolate chips — Their small size suits the banana rounds and makes two distinct eyes. Regular-size chips are too large for the same face proportions, so stick with mini chips for this design.
- Mini marshmallows — These form the trim at the bottom and the finishing cap at the top. Their compact size fits the stack without covering the strawberry or banana. Push the skewer tip fully into the final marshmallow so no sharp point is left exposed.
- Wooden skewers — The 6-inch length gives room for the marshmallow, face, strawberry, and finishing marshmallow without making an oversized serving. Set them out before cutting the banana so the fruit can go straight onto the skewers.
Assemble the Banana Faces Before Adding the Strawberry Hats
Cut and Decorate the Banana Rounds
Set out the skewers, then cut the bananas into twelve half-inch-thick rounds. Press two mini chocolate chips into each round to make the eyes. Keep the chips on the same face of each round, with enough space between them for both eyes to show clearly. If a round splits while you press in a chip, use a gentler touch on the remaining pieces; the banana should hold together as the skewer goes through.
Thread the Face and Strawberry in Order
Thread one mini marshmallow onto each skewer, followed by one banana round and one strawberry. Place the strawberry’s hulled end against the banana, and keep its point facing up. The chip-decorated side of the banana should remain visible rather than being turned into the strawberry. Work steadily, since the cut fruit is easier to handle before it has had time to soften or discolor.
Finish the Tip and Serve
Add one mini marshmallow at the top of each skewer, pushing the tip fully into the marshmallow. Check that the fruit and marshmallows are threaded securely, without squeezing the banana round out of shape. The finished skewers should show the marshmallow trim, chocolate-chip face, and strawberry hat in sequence. Serve promptly for the freshest-looking fruit.
Small Ways to Change the Look Without Changing the Ingredients
Give Each Banana Face Its Own Expression
Keep two mini chocolate chips on every banana round, but vary how far apart you press them. Closer-set eyes give the faces a different look from widely spaced eyes, while the same small chips still fit the banana surface.
Turn the Faces Toward the Front
As you thread each banana round, orient its chocolate-chip side toward the same direction. The ingredient order stays the same, but the finished skewers look tidier when the faces all point forward together.
Holding and Leftovers
- Refrigerator: If any are left, cover and refrigerate them promptly. The banana may darken and the fruit can soften, so they look best freshly assembled.
- Freezer: Freezing isn’t a good fit for these assembled skewers; thawed banana and strawberries lose their fresh, firm texture.
- Serving: Serve promptly rather than leaving the cut fruit out for an extended time. These are best enjoyed cold and don’t need reheating.
Questions That Come Up When Making Santa Skewers
Santa Skewers
Ingredients
Method
- Set out the skewers.
- Cut the bananas into twelve 1/2-inch-thick rounds.
- Press 2 mini chocolate chips into each round to make eyes.
- Thread 1 mini marshmallow, 1 banana round, and 1 strawberry onto each skewer, with the strawberry’s hulled end against the banana and its point facing up.
- Finish with 1 mini marshmallow, pushing the skewer tip fully into the marshmallow.
- Serve promptly.


